Becky Miles
Bronze Feedback Medal for All Time! 158 Feedbacks 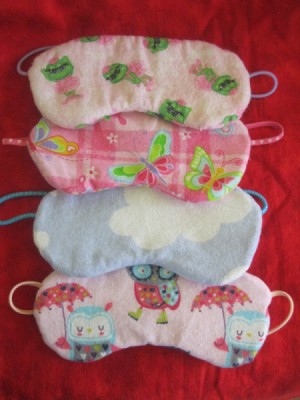 I once purchased a sleep mask in the dollar bin at Joann's. My girls are always fighting for who gets to use it. So, why not make one for everyone? This is a very simple and inexpensive project. It even costs less than the one I got in the dollar bin! You can make several for yourself or others. I can think of no greater gift than a good night's sleep!
Total Time: 20 minutes
Supplies:
- fabric (I used flannel for it's softness)
- batting (optional) - It just makes it a little cozier!
- thin elastic headbands (I found a pack of 8 at the Dollar Store)
- thread
- needle
- scissors
- sewing machine
Steps:
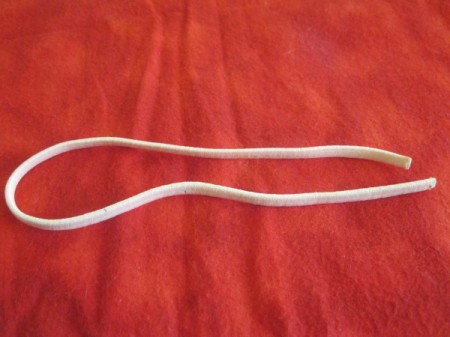
- Take your thin headband and make one cut in it. This will be the band that holds the mask on. It's not vital, but I burn the ends over a flame for a brief second so that it doesn't unravel.
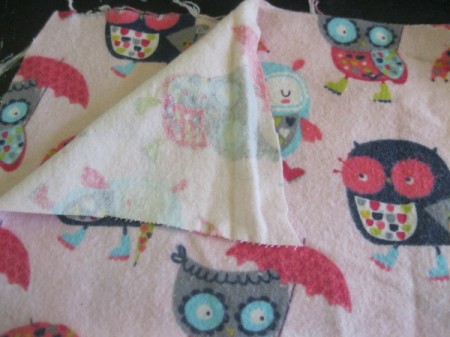
- Double up your fabric. If there is a pattern going a certain way, make sure the both sides are facing the right way.
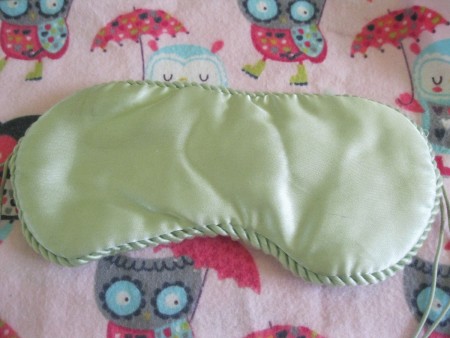
- Use a sleep mask you already have or you could use a pair of sunglasses as a template. Or, if you are especially gifted, you can draw it freehand!

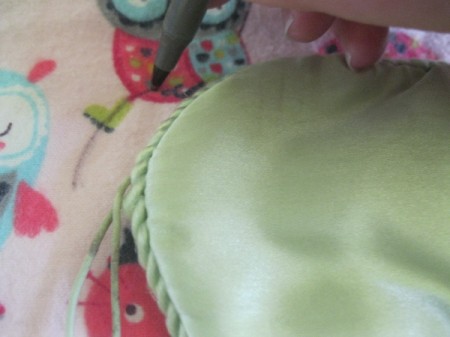
- Place your template down. Trace around it with a pen (don't worry you won't see the marks once it's sewn). Trace your lines about 1/2 inch bigger than you want the mask to be, allowing for the edges that you sew. The tracing does not need to be perfect. We'll fix it in a minute.

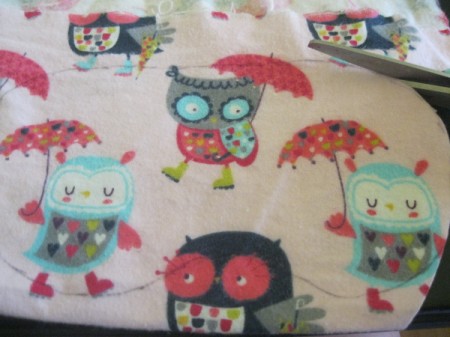
- Cut out your pattern.

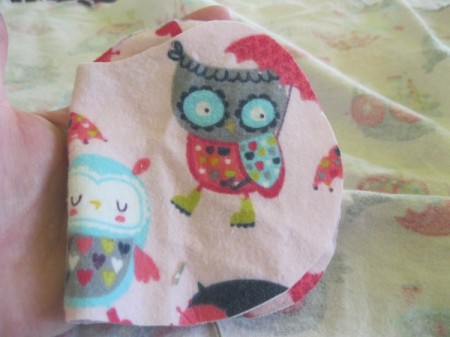
- Fold your mask in half and trim up any edges that are larger than the other side. See how unevenly I cut mine? But, that's okay, we're fixing it!

- Put your mask on the batting (if using). Cut the batting the same size as the mask.
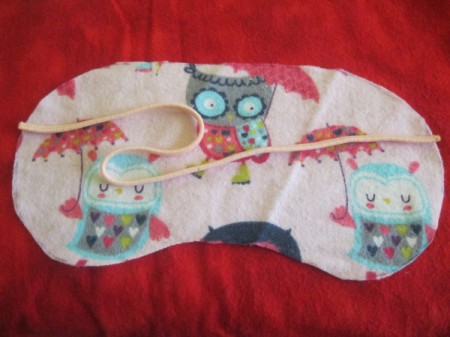
- Take 1 piece of fabric. Have the "good side" facing up. Lay the headband on top, making sure that the strap is not twisted. (It might be uncomfortable to have the straps twisted behind your head while you sleep.) You want the straps to be about an inch from the top. Make sure that the bands are even with the edge of the mask. Take the excess bands and place in the center. You don't want to sew over them.

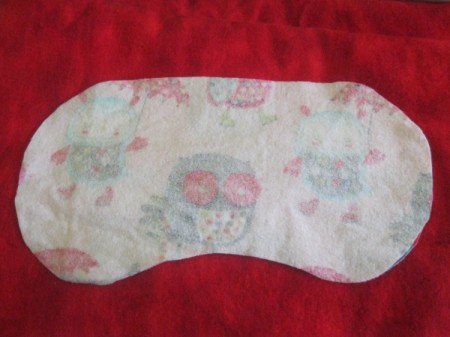
- Place other piece of fabric, "good side" facing down.

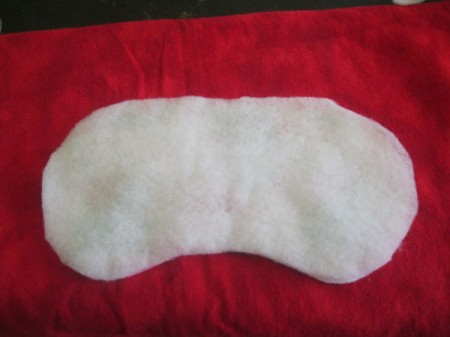
- Place batting on top of fabric.

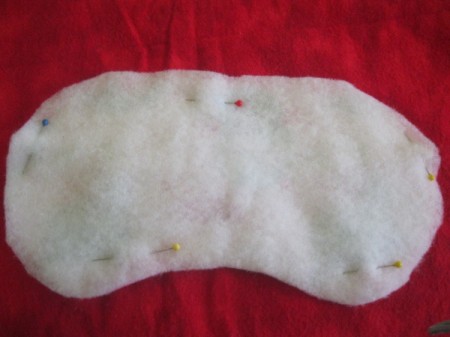
- Pin the straps in place. Again, make sure that they are flush with the edge. If not, you won't have the straps sewn in. Fold your mask in half and make sure that the straps are in the same place. I just figured this out. All my others are so uneven!
- Pin all around.

- Time to sew! The thread color does not matter. You won't see it. Sew around the mask, starting at the top or bottom of the mask. Make sure to not sew over the straps. Leave a 2 inch opening to turn the mask inside out. Reinforce both ends of the opening. Trim the excess fabric and batting.
- Turn inside out. Both pieces of fabric should be on the outside and the batting should be on the inside.
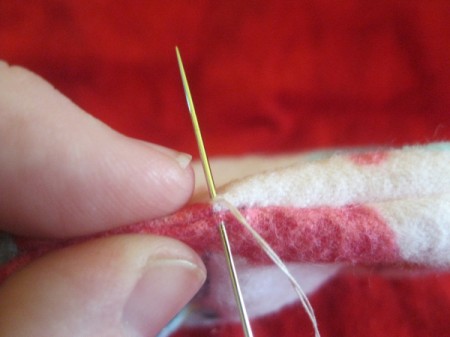
- Sew your opening closed.

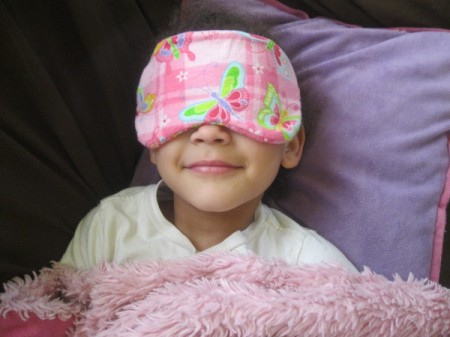
- This kid isn't even sleeping. See that smile?

Add your voice! Click below to comment. ThriftyFun is powered by your wisdom!

melissa
Silver Post Medal for All Time! 293 Posts February 8, 20150 found this helpful
These are really cool! I am going to make some for my kids.

gem
Bronze Post Medal for All Time! 163 Posts February 16, 20170 found this helpful
I made myself one too from a piece of quilted fabric I had laying around. I love it! Don't know how I slept without it. You can find the pattern online.
Add your voice! Click below to comment. ThriftyFun is powered by your wisdom!

 I once purchased a sleep mask in the dollar bin at Joann's. My girls are always fighting for who gets to use it. So, why not make one for everyone? This is a very simple and inexpensive project. It even costs less than the one I got in the dollar bin! You can make several for yourself or others. I can think of no greater gift than a good night's sleep!

