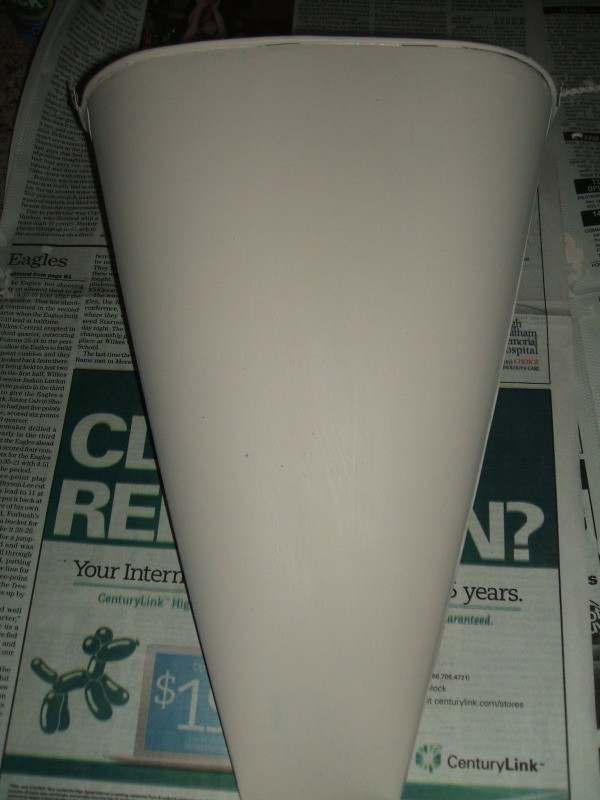
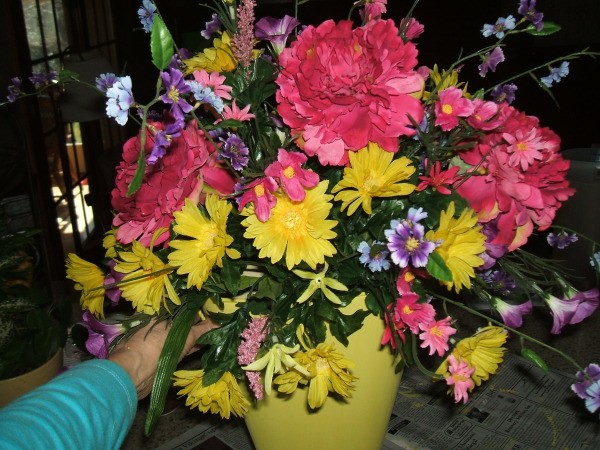
Welcome spring with a floral wall bucket for your wall or door. Flowers can be easily arranged if you begin with the largest flowers and end with the smaller ones. I found the wall bucket at a second-hand store for $3.50 and purchased the flowers at Michael's Arts and Crafts store for 59% off the regular price. I have about $25 invested in this project. I didn't like the initial color of the wall bucket, I so sanded and painted it before adding the flowers. I was quite pleased with the final product.
Approximate Time: about 1.5 hours
Supplies:
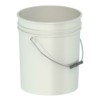
- metal wall bucket
- latex primer
- foam brush or paint brush
- acrylic or spray paint
- wire cutters
- assorted silk flower bunches
- floral Styrofoam
- sandpaper
- paper towel
Instructions:
- Remove handle from wall bucket and use sandpaper to lightly sand the entire piece.
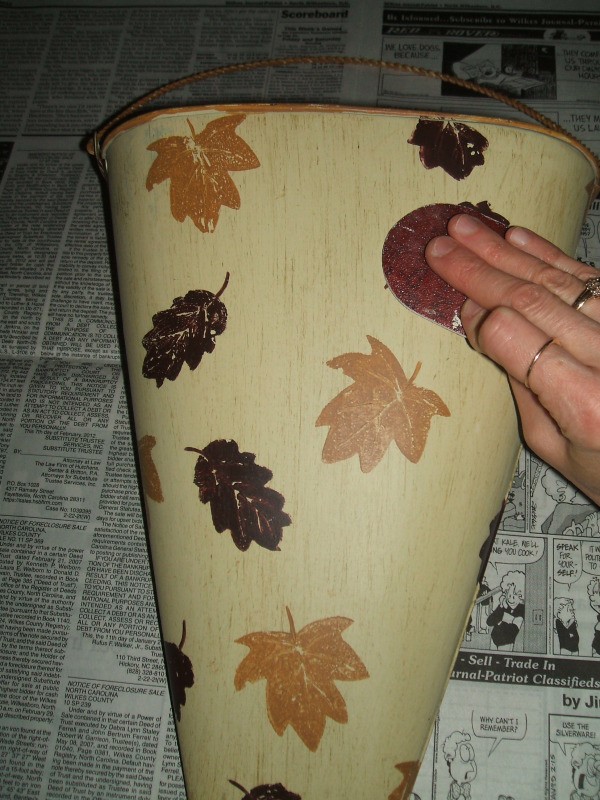
- After sanding, wipe it down with a paper towel to remove any dust.

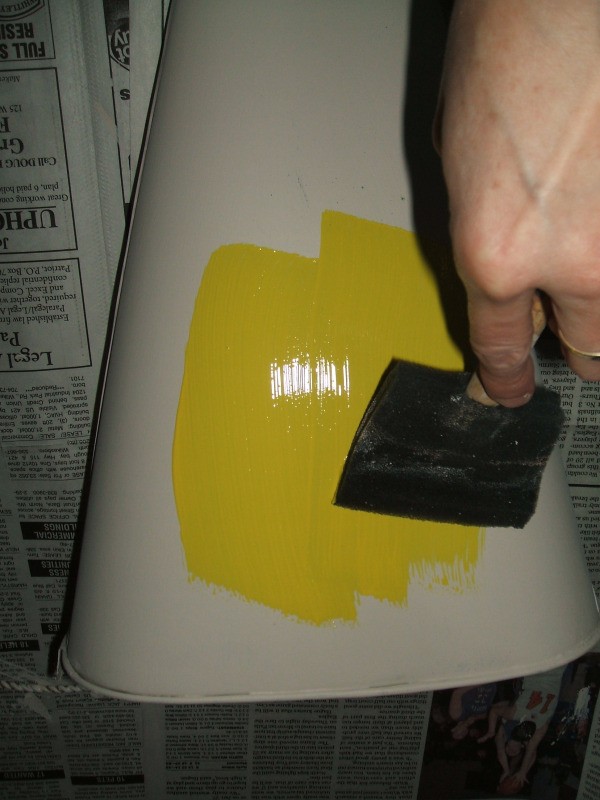
- Paint entire piece and handle with latex primer and allow to dry.

- When dry, paint with acrylic paint or spray paint and set aside to dry. (I used a hair dryer to speed up the drying time for the primer and the paint.)
- Put handle back on bucket and insert a piece of floral foam inside the bucket, trimming it to fit. The bucket I purchased already had some foam inside that was still in good usable shape, so I didn't have to add foam.
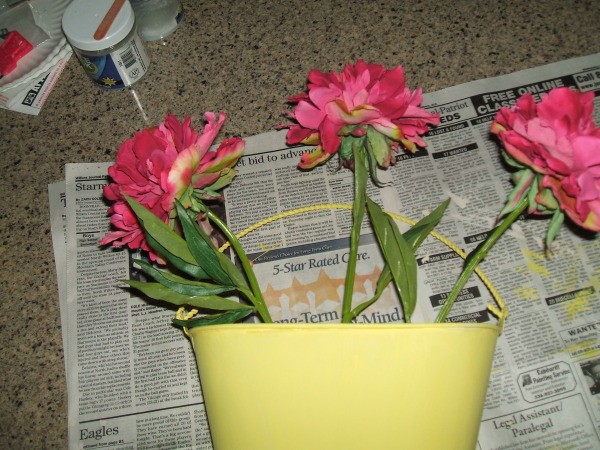
- The three large flowers I used had extremely long stems, so I used wire cutters to cut the stems off to a manageable length.
- Insert the largest flowers into the foam, as shown.
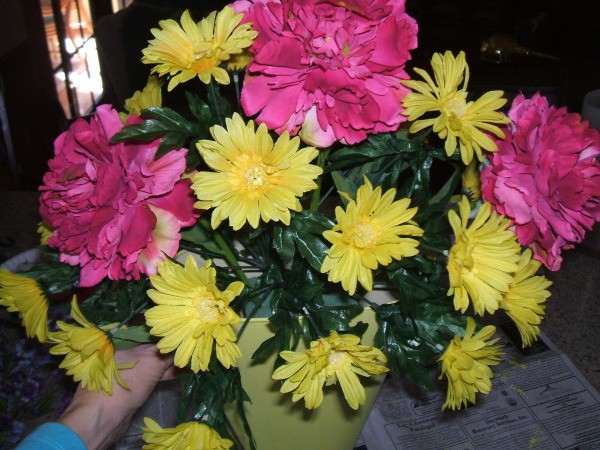
- Next, insert the middle sized flowers to fill in around the large flowers.
- Then, add the smaller flowers to fill in the bare spots. Lastly, add small flowers and pieces of ivy. Now, your wall bucket is ready to hang.
By Rachel's Mom from Wilkesboro, NC