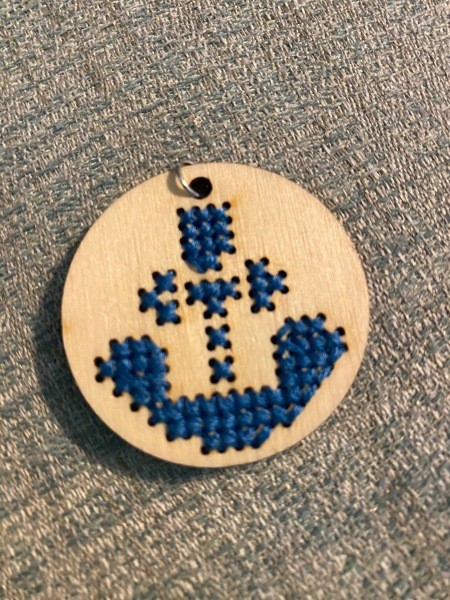
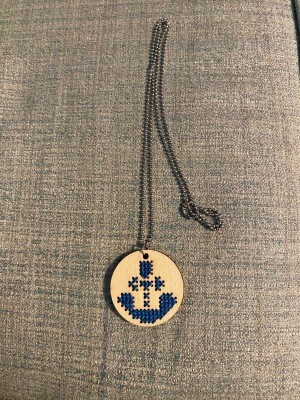
 Counted cross stitch on wood for an easy craft for children.
Total Time: 1 hour
Yield: 1
Link: Design your own cross stitch pattern
Supplies:
- wood disc with drilled hole design
- embroidery floss
- needle
- scissors
Steps:
- Use three strands of embroidery floss. The color of the floss is dependent on the design on the wood that you have selected. This was a kit and the design was an anchor. (Wood discs with holes drilled into the discs using a counted cross stitch pattern could be used to personalize your own design.) Using wood in place of counted cross stitch fabric is an easier "medium" for children. Using larger drilled holes and a larger disc would also be easier for children.
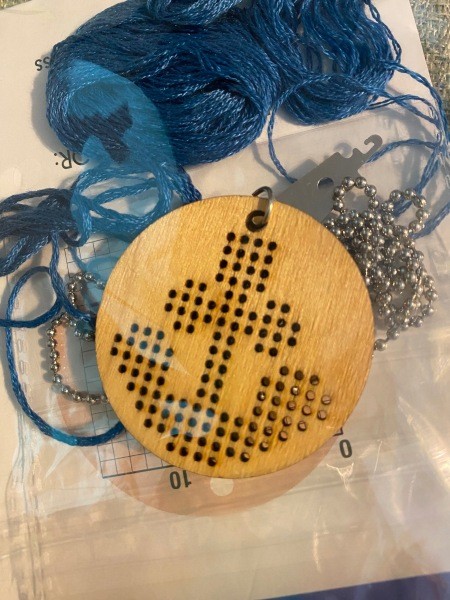
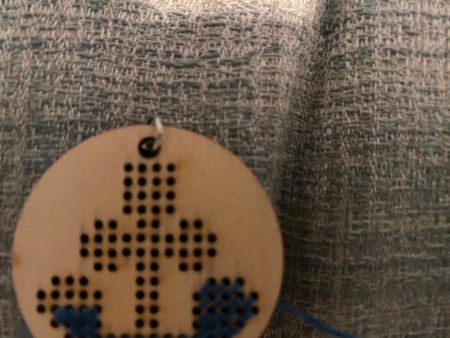
- Thread about 18 inches of the floss through a needle. Beginning on the left side of the bottom row, pull the threaded needle through the underneath side of the wood disc and bring up through front side of the disc, leaving a 1 inch tail of thread on the back. Hold the tail of thread against the back of the piece in the direction you plan to stitch and work the first 4 to 5 stitches over it to secure it into place. Always stitch rows going in the same direction, making sure that the top stitch of your X is always going the same way. Continue until the end of the row is completed and then go backwards pulling the threaded needle through the opposite hole to form "x's" going from right to left. Continue making the cross stitches until the thread has about 6" left. To end the thread, run your threaded needle under the last few stitches on the back of the wood disc to secure stitches. Cut. Continue making cross stitches or x's in this manner until the whole pattern is complete, changing colors if needed, depending on the design.
- When completed, trim the ends of the floss on the underneath side. Add a jewelry clasp and chain if making a necklace or leave as is to use for a decoration or a coaster. Lots of possibilities of things to make.

Add your voice! Click below to comment. ThriftyFun is powered by your wisdom!

 Counted cross stitch on wood for an easy craft for children.

