lalala...
Gold Post Medal for All Time! 899 Posts 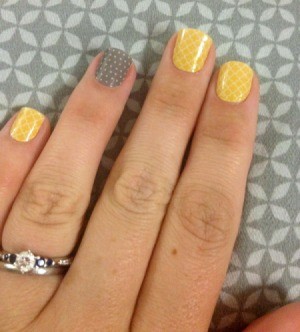 Nail wraps come in many designs and colors. There are so many advantages in using wraps, instead of polish or applying acrylic nails. There is less exposure to chemicals, they last 7-10 days, and they don't need any drying time.
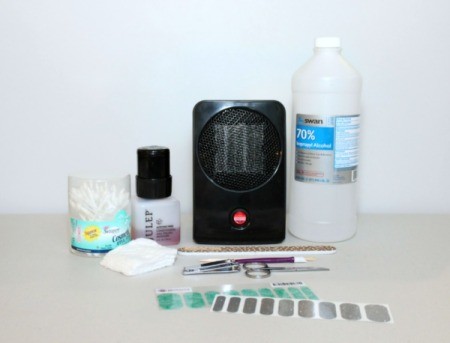
Supplies:
- nail polish remover
- isopropyl alcohol
- cotton swabs
- cotton pads or cotton balls
- orange stick (for cuticles)
- rubber cuticle pusher
- nail file (rough and fine)
- buffing block
- cuticle scissors
- small heater (or blow dryer)
- nail wraps
Steps:
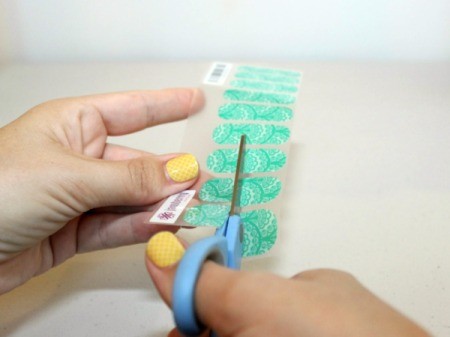
- Cut the nail wraps in half (unless you have long nails). This will allow you use the other half for another application.
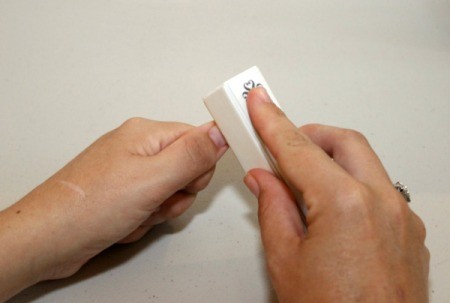
- Smooth the surface of your nails with a buffing block, if necessary.

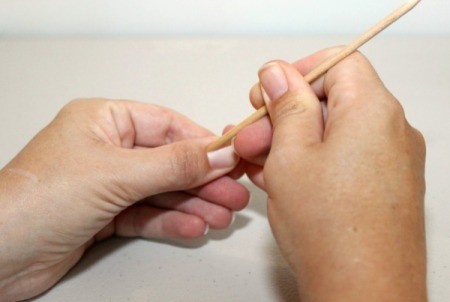
- Soak your fingers in warm water to soften your cuticles. Then using an orange stick, gently push them back.

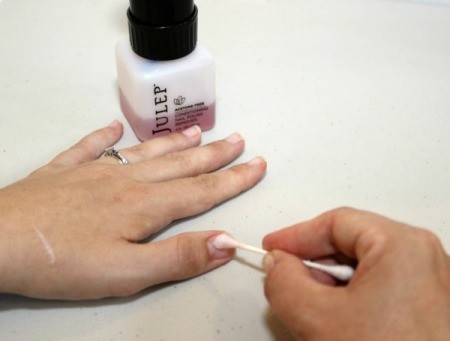
- Clean your nails and finger tips with rubbing alcohol to remove excess skin and nail oils.
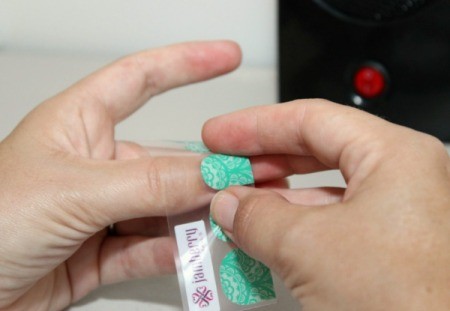
- While the wraps are still on their backing, lay them over your nail to find the one the fits each finger best.

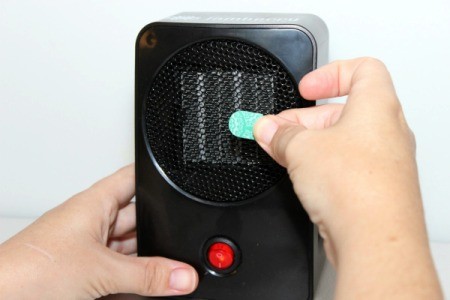
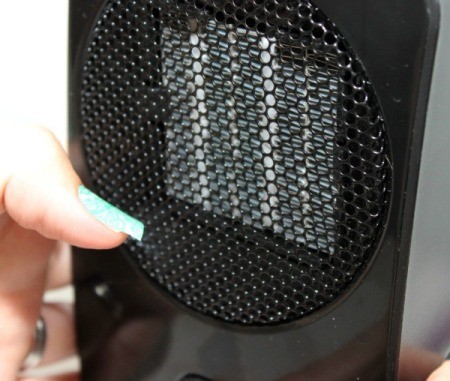
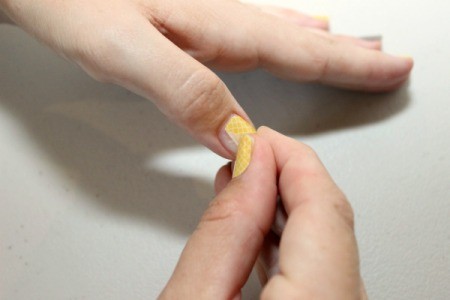
- Remove the wrap from the backing and hold it in front of the heater (or blow dryer). Heat the wrap for about 10 seconds to soften the adhesive. NOTE: It will begin to curl when it is ready.

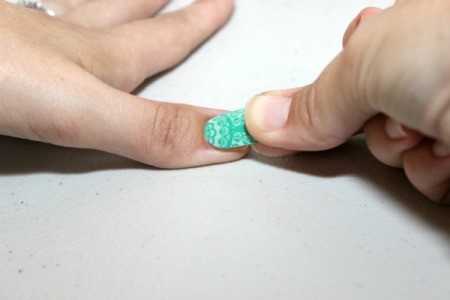
- Apply it to your nail, making sure to straighten it before sticking it down. Avoid having the wrap touch your cuticle. Trim the wrap down with cuticle scissors for a better fit, if needed.

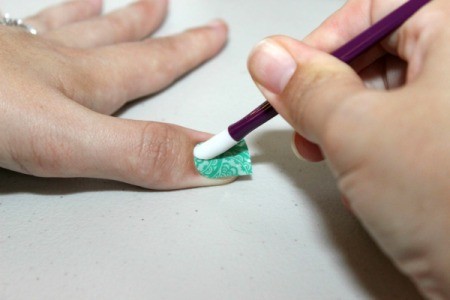
- Use the rubber cuticle pusher to smooth out bubbles and to press the edges down firmly.

- Reheat the wrap while it's on your nail and use the rubber cuticle pusher to continue smoothing out the wrap, making sure that the edges are completely sealed.

- Using the rough side of the nail file, file with a downward motion to remove the excess wrap from the end of your nail.
- Using the fine side of the file, gently smooth out any rough edges along your nail.
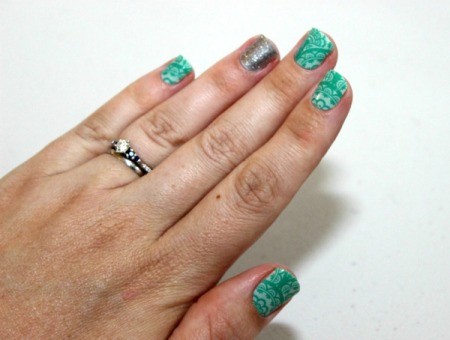
- Assuming that you sealed the edges properly, your wraps should last 7-10 days depending on how rough you are on your nails. :)

- Removing Wraps: Heat the wraps for a few seconds with a heater or blow dryer. Then gently peel off the wraps. If they do not come off easily, soak them in nail polish remover for about 30 seconds. Now you should be able to peel off the wrap.

- Remove any excess adhesive with a cotton swab and nail polish remover. Now you are ready to apply new nail wraps.

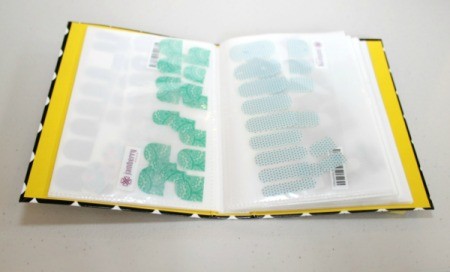
- HELPFUL TIP: The brand of nail wraps that I use fit perfectly into a little photo album.

Add your voice! Click below to comment. ThriftyFun is powered by your wisdom!

September 19, 20130 found this helpful
They are pretty! I might just have to try that and I loved your idea about the photo album! Awesome!
Add your voice! Click below to comment. ThriftyFun is powered by your wisdom!

 Nail wraps come in many designs and colors. There are so many advantages in using wraps, instead of polish or applying acrylic nails. There is less exposure to chemicals, they last 7-10 days, and they don't need any drying time.

