Benetta
Silver Post Medal for All Time! 408 Posts  I have been invited to a friend's stork tea. The couple is expecting a gorgeous little princess, and I want to take a card that will be a reminder of the joy their little bundle will bring.
Total Time: 10 minutes
Yield: one card
Supplies:
- 5.6 x 8.2 in baby pink cardstock
- A6 sized pink glitter foam sheet
- A6 sized pieces of each of the following marbled cardstock: yellow, blue and green
- A6 sized fuchsia pink textured cardstock
- sheet of ordinary printer paper
- four purple floral paper scrapbook photo corners
- 10mm wide purple floral washi tape
- purple floral scrapbook letters to spell the word BABY
- one 10mm self-adhesive diamond bling stickers
- 0.3 in wide pink satin ribbon
- quick-drying craft glue (such as Bostik Clear)
- Giotto décor opaque metal pens: magenta; blue and bronze
- standard scissors
- pencil
- ruler
Steps:
- Score the baby pink cardstock to create a card sized 5.6" x 4.1".
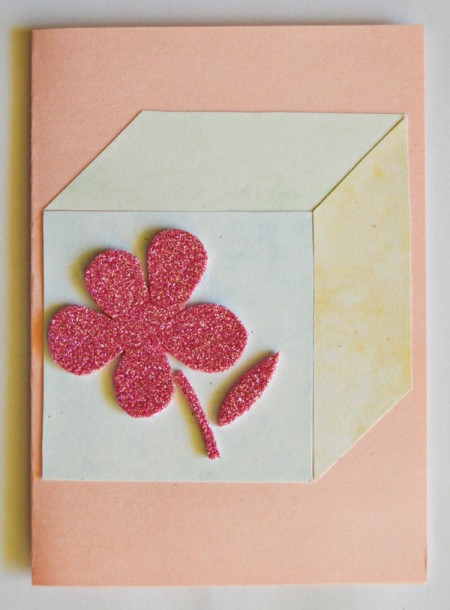
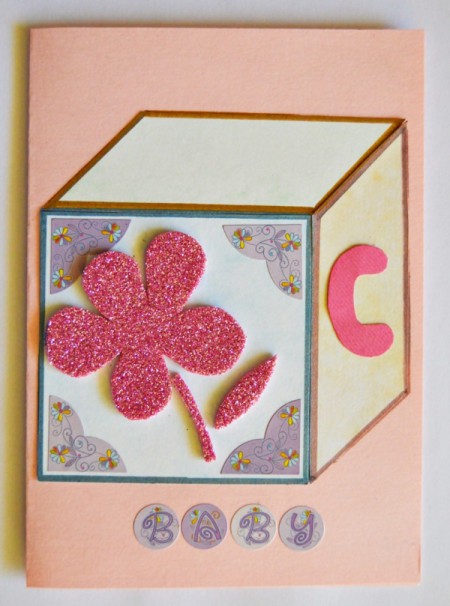
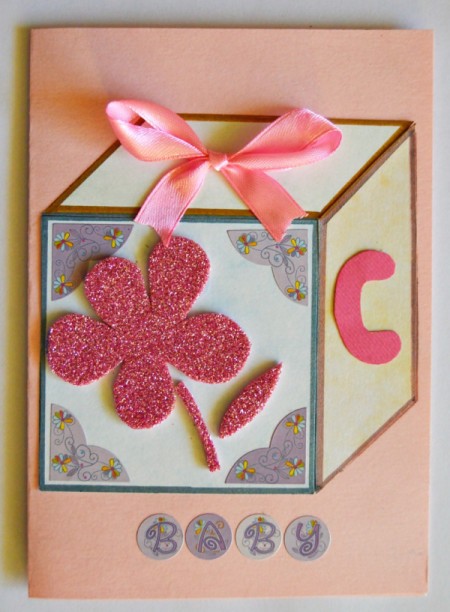
- Use the pencil, ruler, and printer paper. Draw a 3D cube that would be able to fit on the card. Cut out the three panels of the cube and trace each panel on to a different colored marbled cardstock. With the fold at the left, glue the panels to the front of the card.
- Use the pencil to draw a flower on the back of the pink glitter foam sheet, and cut it out. Glue the flower to the cube.

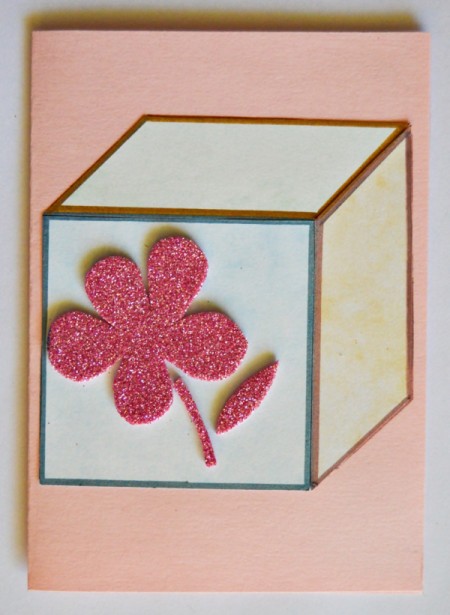
- Use the metal pens and the ruler to add a frame around each panel.

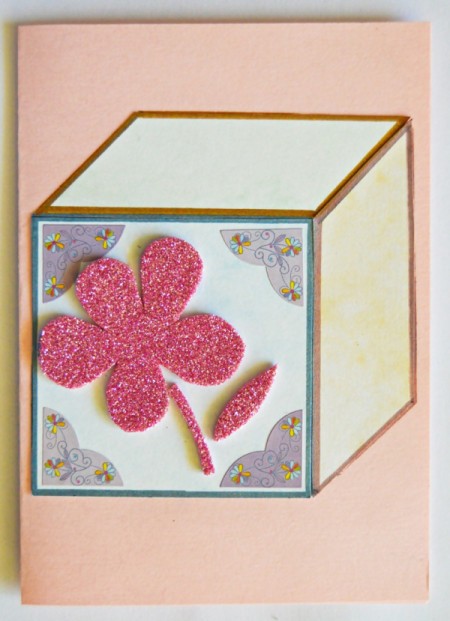
- Glue the photo corners in place.

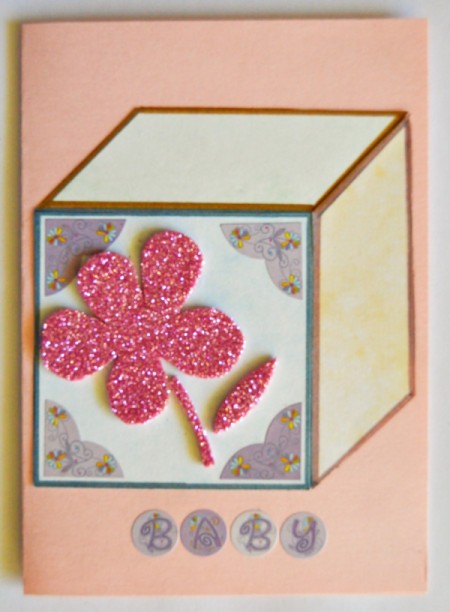
- Glue the letters to the card to spell out the word BABY.

- Draw a capital C on the fuchsia pink textured cardstock. Cut it out and glue it to one of the cube's other panels.

- Make a bow with the ribbon and cut off any remaining ribbon. Glue the bow to the third panel.

- Glue the rhinestone to the centre of the flower. Glue a strip of washi tape across the top of the card and cut off any protruding edges.
Add your voice! Click below to comment. ThriftyFun is powered by your wisdom!

 I have been invited to a friend's stork tea. The couple is expecting a gorgeous little princess, and I want to take a card that will be a reminder of the joy their little bundle will bring.