melissa
Silver Post Medal for All Time! 293 Posts  My husband will probably be less than thrilled if he sees this picture posted, but I snapped this when he was fooling around and couldn't resist!
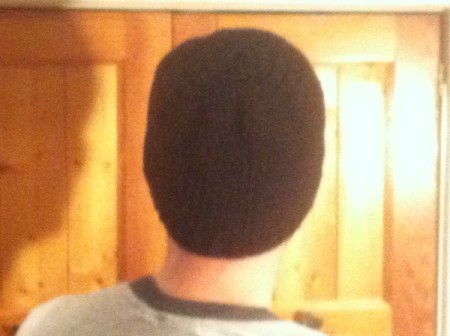
This is a basic, comfortably fitting, warm men's hat. It has a row of post dc at the end for a bit of texture around the brim. What guy couldn't use another hat?
*This is crocheted pretty tightly. Gauge is about 3 dc in 1" across, 2 rows dc in 1" tall.*
Total Time: About 2 hours.
Yield: As many as you like.:)
Supplies:
- "h" crochet hook
- 4 worsted weight yarn
- scissors
- embroidery needle for weaving in ends
Steps:
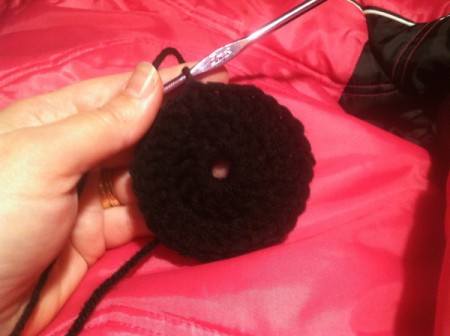
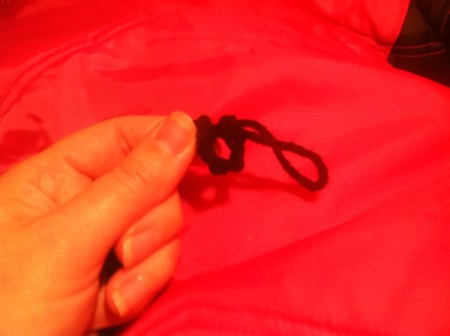
- Ch 5, join in first ch to make a ring.
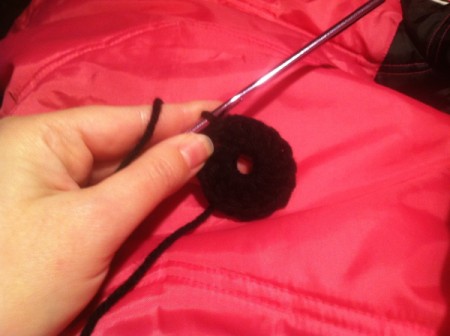
- Ch 3, 13 dc in ring, join to top of first ch 3.
- Ch 3, 1 dc in same space as ch 3, 2 dc in each stitch around. Join to top of ch 3.

- Ch 3, 1 dc in same space as ch 3, *1 dc in next stitch, 2 dc in next stitch*, repeat directions between * * till end, join to ch 3.
- Ch 3, 1 dc in same space as ch 3, *1 dc in each of next 2 stitches, 2 dc in next stitch*, repeat steps between * * till end. Join to ch 3.
- Ch 3, 1 dc in same space as ch 3, *1 dc in each of next 3 stitches, 2 dc in next stitch*, repeat steps between * * till end. Join to ch 3.
- For the next 10 rows, you will ch 3 and do 1 dc in each stitch around, join to ch 3.
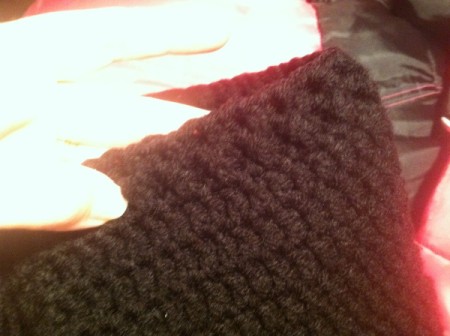
- Now you will ch 3, front and back post dc till end. Join to ch 3.
- Ch 1, sc in same space as ch 1, sc in each of next 3 stitches. Sc decrease in next stitch.* You will only be decreasing 1 time, and this will be using 2 stitches total.* *4 sc, 1 dcrs,*, repeat steps between * * till end. Join to first sc. Fasten off and weave in ends.
- Here's the front.
- Here's the side.
- The back.
- The edging.
- All done!:)
Add your voice! Click below to comment. ThriftyFun is powered by your wisdom!
Becky Miles
Bronze Feedback Medal for All Time! 158 Feedbacks December 18, 20140 found this helpful
Thanks for the tutorial. My husband is always so cold and would love a bunch of hats. Awesome!
December 22, 20140 found this helpful
This is one hat I could make that my husband and son would use.
Add your voice! Click below to comment. ThriftyFun is powered by your wisdom!