social

Bead and Ribbon Bookmarks


Bronze Post Medal for All Time! 239 Posts
September 3, 2017

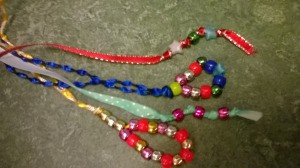
A collection of bead and ribbon bookmarks in different colors.This is one of the easiest and prettiest ways to make bookmarks. Ribbons and cords lie nicely between the pages. The beads not only make the bookmarks look pretty, but they also function as weights to hold the bookmark in place. Here are just two ways which even a child can do and the results are lovely. Make them for gifts for friends and family and for charity sales. Experiment and see what other ideas and combinations you can come up with.

Advertisement

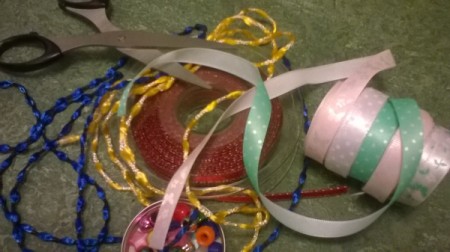
Supplies:

  • ribbon
  • cord
  • large holed beads
  • scissors
Supplies for making bead and ribbon bookmarks.
 

Steps:

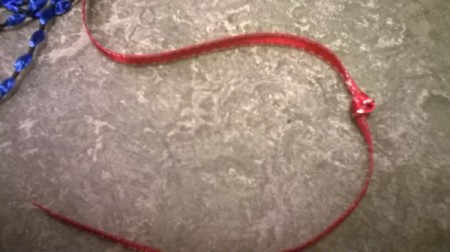
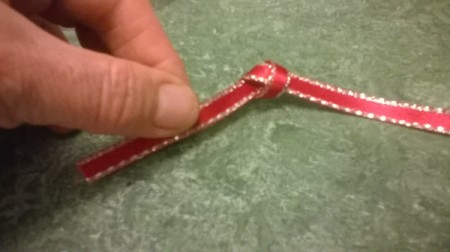
  1. For the first bookmark, tie a knot a few inches from the end of a length of ribbon
  2. A piece of ribbon with a knot a few inches from the end of a piece of ribbon
     
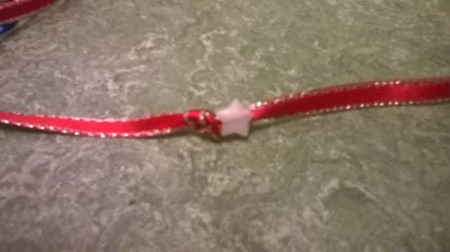
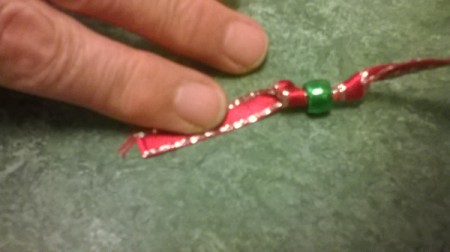
  3. Thread a bead on and slide it up to the knot.
  4. A bead added to a ribbon with a knot near the end.
     
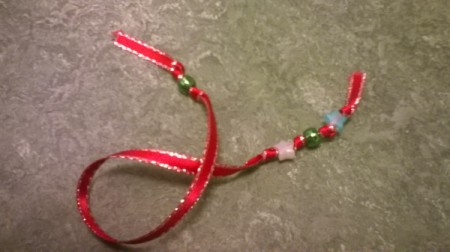
  5. Tie another knot behind it and continue to add more beads and knots.
  6. Another knot is tied after the bead and continue adding beads and knots.
     
  7. Cut the ribbon so that it is an inch or so longer than you want your marker to be.
  8. Cutting the ribbon to the right length.
     
    Advertisement

  9. Tie a knot an inch or so from this other end.
  10. Tying a knot in the end of the ribbon.
     
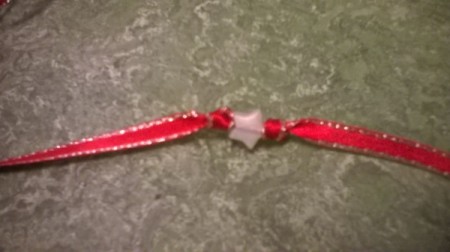
  11. Slide a bead on and make another knot behind it.
  12. A bead added to the end of the ribbon, attached with a knot on either side.
     
  13. And there you have your first bookmark.
  14. Bead and Ribbon Bookmarks - first style finished
     
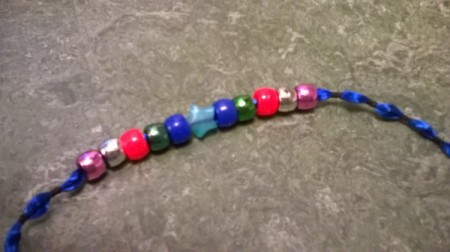
  15. Another way to make a bookmark is to take a length of narrow ribbon or cord twice as long as you want it to be, plus an inch or so. Thread several beads onto it and place them halfway along.
  16. Beads strung onto the center of a length of blue ribbon.
     
    Advertisement

  17. Fold the cord in half.
  18. Fold the cord in half.
     
  19. Thread another bead onto both strands and push it down to the other beads.
  20. String a bead onto both strands of the ribbon and push down to the other beads.
     
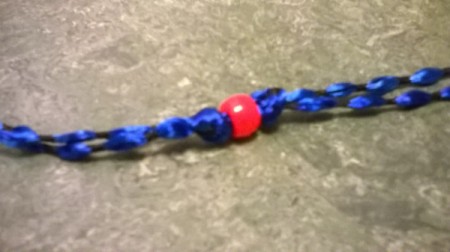
    Closeup of single bead pushed up against the center beads.
     
  21. Tie a knot behind it to keep them all in place.
  22. Tie a knot behind to keep them all together.
     
    Closeup of this step.
     
  23. Add a knot at the other end.
  24. A knot tied in the doubled ribbon at the other end, to make a bookmark.
     
  25. Thread a bead onto both strands and tie a knot behind it.
  26. A red bead is threaded onto both strands and a knot tied behind it.
     
    Advertisement

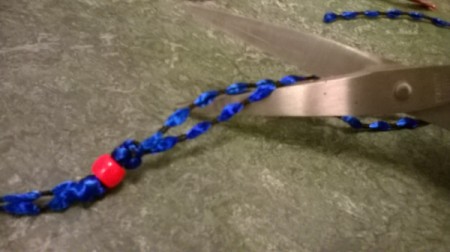
  27. Trim the ends.
  28. Cutting the blue ribbon, with a red bead tied to the end.
     
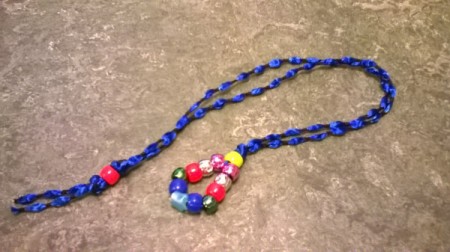
  29. And there you have your second type of beaded bookmark. See how any different designs you can produce, or even come up with your own way of threading and knotting. Have fun!
  30. A completed bead and ribbon bookmark, with a blue ribbon and colored beads.
     
Comment Pin it! Was this helpful? 1
In This Page
Categories
Crafts Beadwork How ToJune 9, 2019
Pages
More
👒
Mother's Day Ideas!
🌻
Gardening
🐰
Easter Ideas!
Facebook
Pinterest
YouTube
Instagram
Contests!
Newsletters
Ask a Question
Share a Post
Categories
Better LivingBudget & FinanceBusiness and LegalComputersConsumer AdviceCoronavirusCraftsEducationEntertainmentFood and RecipesHealth & BeautyHolidays and PartiesHome and GardenMake Your OwnOrganizingParentingPetsPhotosTravel and RecreationWeddings
Published by ThriftyFun.
Desktop Page | View Mobile
Disclaimer | Privacy Policy | Contact Us
Generated 2023-03-28 13:11:49 in 3 secs. ⛅️️
© 1997-2023 by Cumuli, Inc. All Rights Reserved.
https://www.thriftyfun.com/Bead-and-Ribbon-Bookmarks-1.html