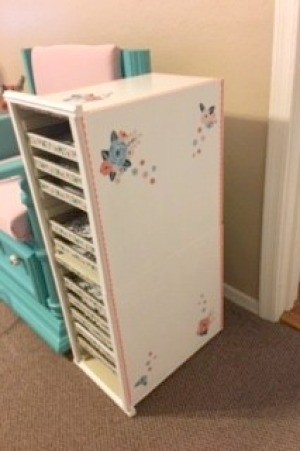
 This was a boxy looking little cabinet with drawers and I wanted to upcycle it to make it look shabby chic. So this is what I did. I found the cabinet set out for trash pick up, but didn't know what it was or what to do with it. After a couple of months, we came up with this idea for storing my daughter's Bath and Body Works collection!
Total Time: 10 to 15 hours
Yield: 1
Supplies:
- 1 cabinet or bookcase
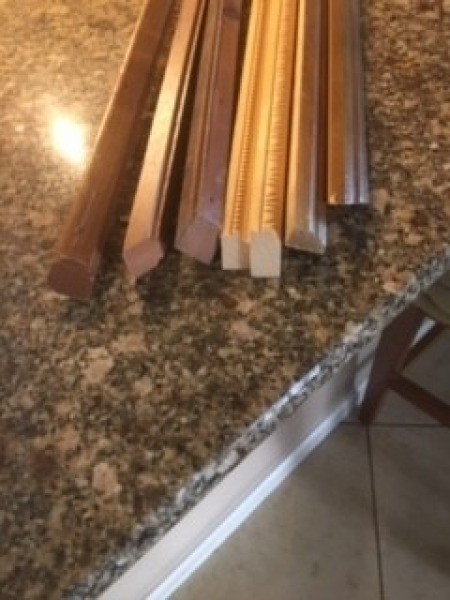
- molding scraps
- hammer
- putty
- flat white paint
- nails
- screws
- semi-gloss paint
- paintbrush
- washi tape
- contact paper
- adhesive vinyl for printers
- adhesive vinyl for decor
- Cricut machine

Steps:
- Since I wanted this cabinet to look less "boxy," and to sit vertically on the ground, the "shelves" were removed from each other. Using only two of the shelves, screw the top to the bottom. (I couldn't use third shelf because there was an open side and it would make it too top heavy.) Putty was added to the side to cover up the previous nail holes and then sanded. Attach one shelf to the other by screwing into place. Then, after placing the cabinet in a vertical position, molding was added to the top, sides, and bottom, and hammered into place.
- Paint the entire surface of furniture piece, front of drawers, and molding with flat paint as a base coat. Let dry. Paint with semi-gloss paint. I had to use three or four coats of paint to cover up the previous color. Let dry completely, three to four days.
- Line the little drawers with contact paper. Add washi tape for decoration on the ends.
- Print design (I found one on the computer). Print out on printable adhesive backed paper. Cut out design as desired. Decide where you want the design placed. Make scallops from adhesive vinyl. I used my Cricut to cut out scallops to decorate along the sides and top if desired.
Add your voice! Click below to comment. ThriftyFun is powered by your wisdom!

 This was a boxy looking little cabinet with drawers and I wanted to upcycle it to make it look shabby chic. So this is what I did. I found the cabinet set out for trash pick up, but didn't know what it was or what to do with it. After a couple of months, we came up with this idea for storing my daughter's Bath and Body Works collection!