attosa
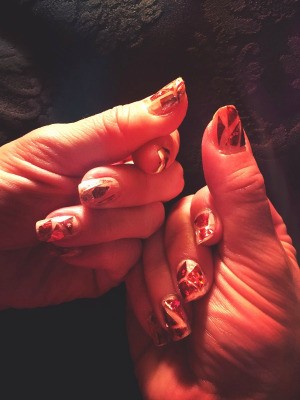
Diamond Post Medal for All Time! 1,246 Posts  Geometric designs have been all the rage for quite some time. I've seen geometric nail art decals and broken glass designs a lot lately. Here's how to make your own at home with the basics. I used leftover holographic Christmas wrapping paper I had bought at the 99 cent store. You can use any thin shiny paper.
Total Time: 30 minutes
Yield: 10 beautiful nails
Supplies:
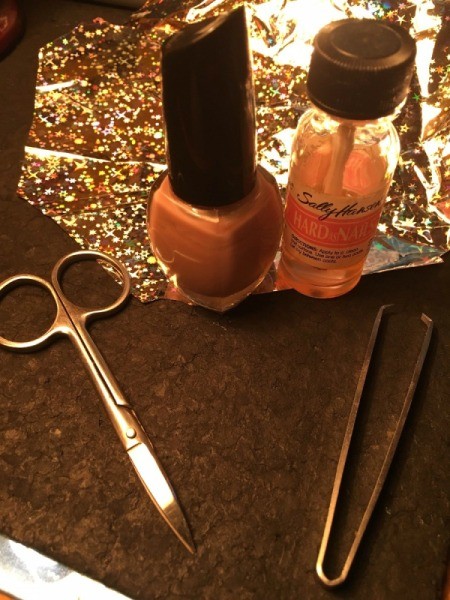
- 1 sheet of shiny/holographic paper, at least 2 x 2 inches
- 1 bottle of clear nail polish
- 1 bottle of any colour nail polish
- scissors
- tweezer

Steps:
- Cut a bunch of tiny triangles and elongated diamonds. Make them small enough so at least three to four sit on each nail with space between them. I used two-sided holographic wrapping paper, one side red, the other silver.
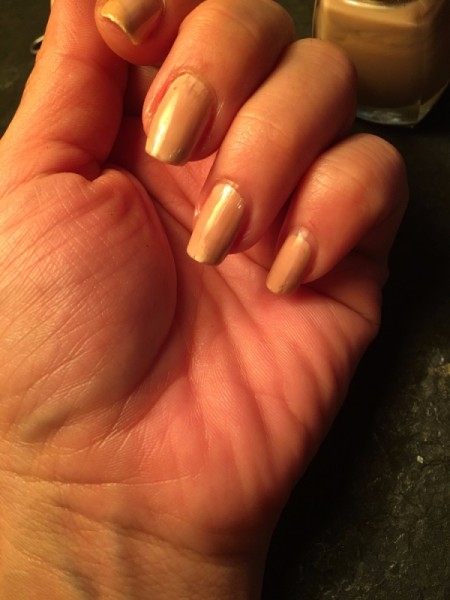
- Paint your nails with whatever base colour you choose. I went with neutral/nude. Let dry.

- Paint a coat of clear nail polish on one nail. Very quickly add on your cut shapes of paper. Gently press them into the clear polish. Repeat on all fingers.
- Add a clear coat once you've done all your nails to lock in the shapes. Because I used double sided two-colour paper, some of the shapes got a reflective red tone from certain angles.
Add your voice! Click below to comment. ThriftyFun is powered by your wisdom!

 Geometric designs have been all the rage for quite some time. I've seen geometric nail art decals and broken glass designs a lot lately. Here's how to make your own at home with the basics. I used leftover holographic Christmas wrapping paper I had bought at the 99 cent store. You can use any thin shiny paper.
