 This is an easy way to grow potatoes above ground, making them easy to harvest.
Supplies:
- certified potatoes (certified against diseases)
- metal snips
- pliers
- wire
- wire mesh (hardware cloth)
- potting soil
- peat moss
- vermiculite
- mulch (dried shredded leaves, straw, etc.)
- gloves
- tent stakes
- * cage clamps, optional
- * cage clamp pliers, optional
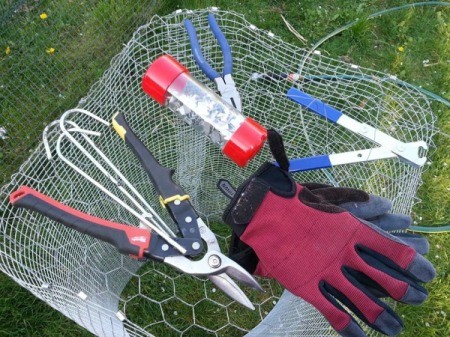
* Available at feed stores near chicken and small animal supplies.
Steps:
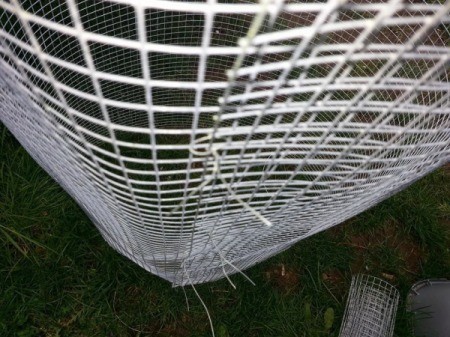
- Wear gloves when unraveling and securing cage into place, it's very pokey! It may also be helpful to have someone help you work with the wire. Unravel wire mesh to chosen size and cut down in a straight line (follow the line of wire mesh squares). I recommend bending the outer edge under so that all sharp ends are tucked inward to that nobody gets poked. NOTE: The potato cage pictured is small (3 ft. around) because it is for purple amethyst fingerling potatoes. For regular sized potatoes, you will want one that is 5-6 ft. around.
- Use cage clips to secure the top and bottom. These take some practice to get them clamped in the right spot. I recommend practicing on some scraps of mesh if you have some.
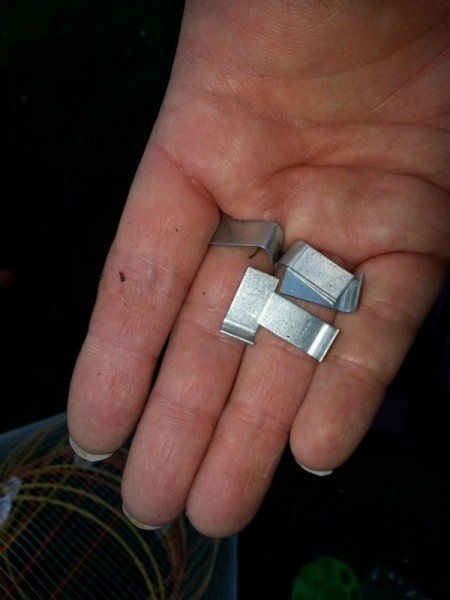
- Then hand wire the side with small pieces of wire twisted tight with pliers. (TIP: The rolls tend to come wrapped in wire so I used that wire rather than buy more.) Once the side is well wired, make sure that the wire ends are finished off in a way that they can't poke people or animals walking by.

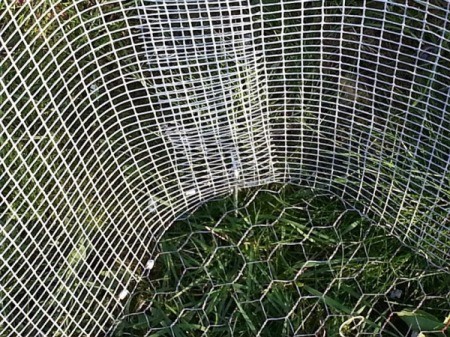
- There is one side of the mesh that tends to be pokey and one smooth side (top and bottom of your tube). Flip it pokey side up and use a some scrap chicken wire to create a bottom. Having a wire bottom helps you harvest your potatoes and keeps moles and pests from digging up into your taters! Using the pliers again, bend the chicken wire around the edges of the mesh cage; use both cage clips and wire to secure the bottom.
- Once you have secured the bottom and gotten rid of all pokey edges and wire ends, turn the cage over and secure it to the ground with tent stakes.

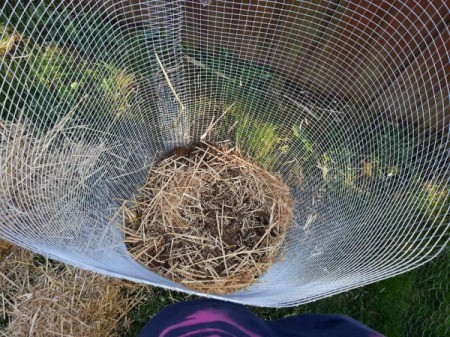
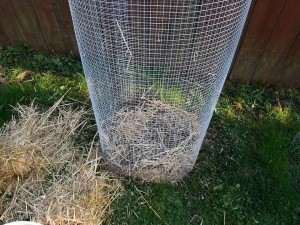
- Put in about two inches of mulch, pushing it around the bottom and up the sides of the cage (approx. 3 inches up sides). This is to help hold in the dirt.
- Then in a large bucket or wheelbarrow, combine one part vermiculite, one part peat moss, and two parts potting soil. Mix together using a garden spade.
- Pour some of the soil mixture into the center of the cage. Keeping the mulch packed tightly against the sides, spread the soil out towards the edges. Then water, packing down the soil especially along the edges. NOTE: This can be easier to do with a helper.

- To prep the seed potatoes, cut around the eyes of the potato leaving about an inch square around each "eye". Some will be over and some will be under an inch, that's OK. Once cut, let the seed potatoes sit for around 12-24 hours. You want the new cuts to "scab" or "seal", creating a thin skin where you cut. Don't plant them wet or they will rot. If you come across rotten parts cut them out and discard them.
- Once the seed potatoes are dry put the pieces into the dirt in a circle with a couple pieces in the center. Push them down into the dirt with a stick, then add another two inches of soil mix over the top and cover with mulch. Water well.
- Once the potato plants grow to about 3-4 inches above the dirt add more soil mix and mulch right up to the leaves. Water as needed. Repeat this process until the fall.
- In the fall when the leaves die off, tip the cage or just carefully dig out and harvest your spuds! If kept in a cool dry area with no light, they can be stored for months. You can also use some for seed potatoes next year!
 This is an easy way to grow potatoes above ground, making them easy to harvest.

