Becky Miles
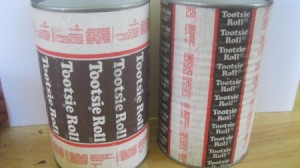
Bronze Feedback Medal for All Time! 158 Feedbacks  Many years ago, I saw a project similar to this, done by Martha Stewart. She used Mary Jane candy wrappers, decoupaged onto a box, I think. For this project, I used Tootsie Roll wrappers. But you could use Tootsie Pop wrappers or Now and Later wrappers, or whatever you like! This project was very simple and quick. I will show you 2 different ways to make them. Now I am debating whether to use them as pencil holders or put a plant in there, with some drainage holes added.
Total Time: About 30 minutes
Source: Martha Stewart
Supplies:
- clean food can, any type you have. You could also use a paper mache box or something else.
- candy wrappers
- Modge Podge. I make my own by mixing equal amounts of white glue and water.
- paint brush
- scissors
- cardstock, for second style can
- double stick tape, for second style can
- spray sealant, optional
Steps:
- For the 1st can: apply some glue along the length of the can. Make sure that it is wide enough to adhere the wrappers. Put your first wrapper on, trying to make it level with the bottom or top of the can. I used Tootsie Roll midgees for this can.
- Use your finger to push it all down and get the air bubbles out. It can be a little tricky since the can is slick and the wrappers will move around. Be patient.
- Apply a little more glue to the top of the 1st wrapper. Put your 2nd wrapper down, making sure there is glue under all parts of it. Work with it and get it flush with the can and the grooves.

- I like to put the white ends over each other. I just apply glue on the end and start my next row, covering the end. Go all around the can, covering it with wrappers. When you get to the end, you can trim the wrappers to make it all fit.
- For the 2nd can: This one was much easier. I'm not sure which design I like best. It's up to you. I used the long, skinny Tootsie Rolls for this design.
- Take a piece of thick cardstock paper. Mark off the paper, so that it will cover the can. It's best to cut it right below the "lip" of the can. Wrap the paper around the can, trimming any extra off the ends.
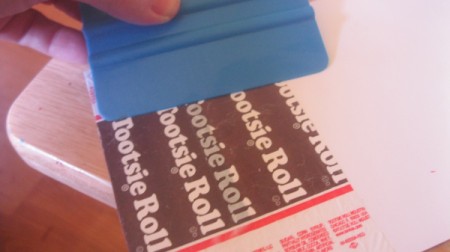
- Apply some glue on the paper, enough for the 1st wrapper. Put your wrapper down. You can use your fingers to get out all of the air bubbles. I have this handy tool that pushes it all out a lot easier. If using, have a wipe or napkin nearby to wipe off the excess glue that comes out.

- Apply your wrappers, overlapping a little at the top, til finished.
- I wrapped the paper around the can and used double stick tape to keep it on there. It's not as permanent as the 1st can, but it works!
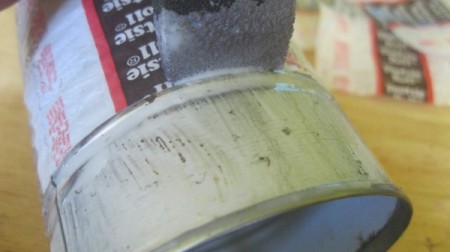
- I tried to use my modge podge solution to seal the wrappers. But, the wrapper was a little too waxy and it pooled on the top. You could try clear, spray sealant, if you would like.
Add your voice! Click below to comment. ThriftyFun is powered by your wisdom!

melissa
Silver Post Medal for All Time! 293 Posts April 25, 20150 found this helpful
Very cute, these would make great personalized gifts... inexpensive too!:)
Add your voice! Click below to comment. ThriftyFun is powered by your wisdom!

 Many years ago, I saw a project similar to this, done by Martha Stewart. She used Mary Jane candy wrappers, decoupaged onto a box, I think. For this project, I used Tootsie Roll wrappers. But you could use Tootsie Pop wrappers or Now and Later wrappers, or whatever you like! This project was very simple and quick. I will show you 2 different ways to make them. Now I am debating whether to use them as pencil holders or put a plant in there, with some drainage holes added.
