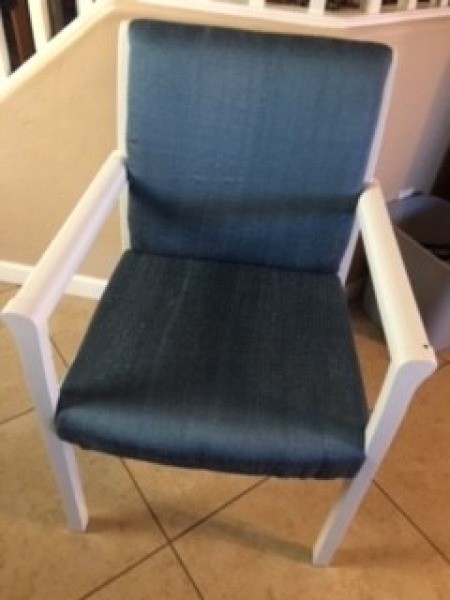
 Another inexpensive upholstery project and easier than my last one.
Total Time: 3 hours
Yield: 1
Supplies:
- chair
- fabric
- staple gun and staples
- screwdriver
- fabric
- paint and paintbrush
Steps:
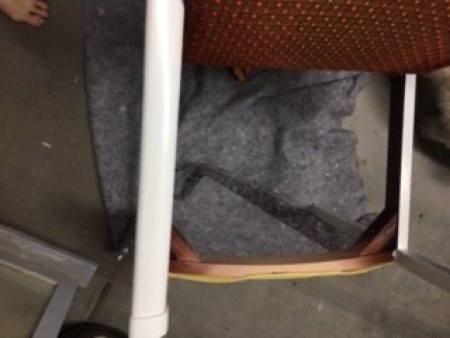
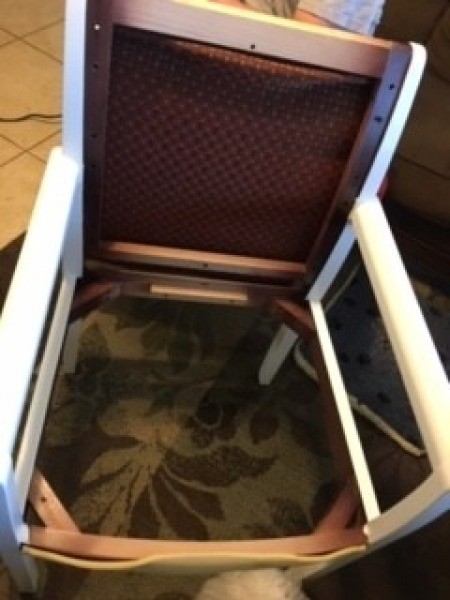
- Using a screwdriver, remove screws from bottom of chair to remove seat. For the back of the chair,held together by plastic retainer clip, the front side and the back side had to be pulled apart.

- Once taken apart, paint the arms and legs with primer. You may have to do two or three coats if the wood is dark. Let dry. Add semi-gloss top coat.

- To reupholster the chair, lay seat onto fabric and cut around the seat allowing 6 to 8 inch border for tucking onto chair and stapling purposes. Repeat these steps for the back, both sides, of the chair. Turn fabric under and staple all the way around, leaving the bottom front of chair seat loose and the bottom of both sides of the back loose.
- Put the seat in place. Put the back in place pushing the retainer clips into both sides of the back of the chair. Once the chair is assembled, staple the remaining loose fabric to the chair frame underneath.

Add your voice! Click below to comment. ThriftyFun is powered by your wisdom!

 Another inexpensive upholstery project and easier than my last one.

