 Use a combination of scrapbook papers and embossing techniques to create a stylish card for Christmas.
Total Time: 20 minutes
Yield: one card
Supplies:
- 12 x 12 in glitter paper Christmas Stripes (product code #MC005) from www.upikit.com
- 12 x 12 in Jillian apple green scrapbook paper (product code GX-1470-28) from www.coredinations.com
- 5.6 x 2.2 in green sugar paper
- ten 3D self-adhesive foam squares
- Father Christmas rubber stamp
- VersaColor black stamp pad
- clear embossing powder
- red-and-white square grid fabric bow
- self-adhesive Christmas stickers ~ for this project, the word Christmastime and two holly leaves were used
- overhead transparency sheet
- sheet of ordinary white printer paper
- quick drying glue
- heat gun
- pencil
- ruler
- pair of pattern edged scissors
- pair of standard scissors
Steps:
- Cut a piece sized 8.2 x 5.6 inches from the Christmas glitter paper and score in half to create a card sized 4.1 x 5.6 inches.
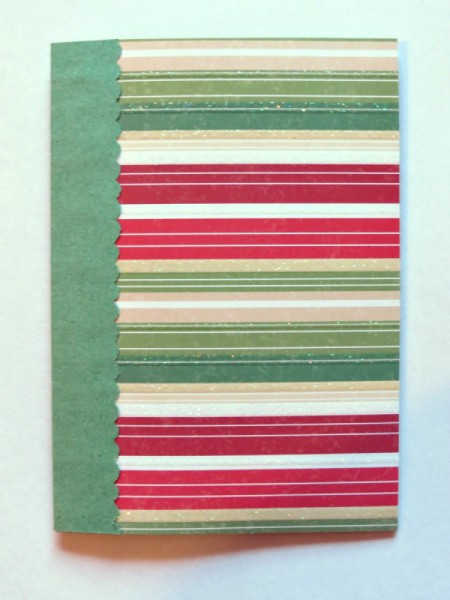
- Take the green sugar paper and cut it slightly smaller with the pattern edged scissors. Then, fold it in half and glue it over the fold of the card.

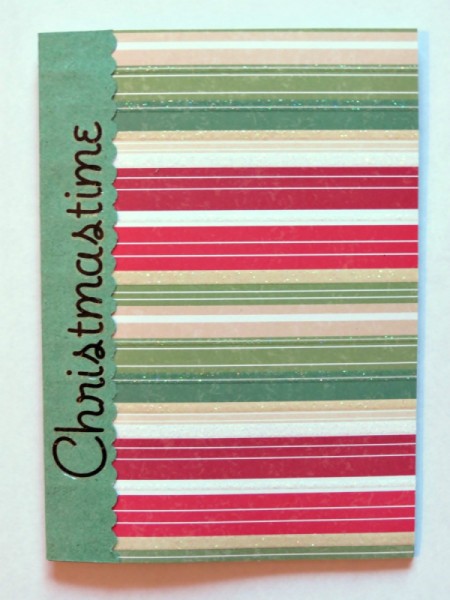
- With the fold at the left, centre and apply the Christmastime sticker onto the green sugar paper.

- Apply ink to the rubber stamp, and then press the stamp onto the white printer paper.
- While the ink is still wet, sprinkle a liberal amount of embossing powder over the stamped image.
- Shake off any excess powder and use the heat gun to emboss the powder. The powder will turn shiny once enough heat has been applied.
- Cut the stamped image to a size of 2.4 x 3.6 inches and apply the holly leaf stickers below the stamped image.
- Cut two pieces sized 2.6 x 4 inches from the Jillian apple green scrapbook paper.
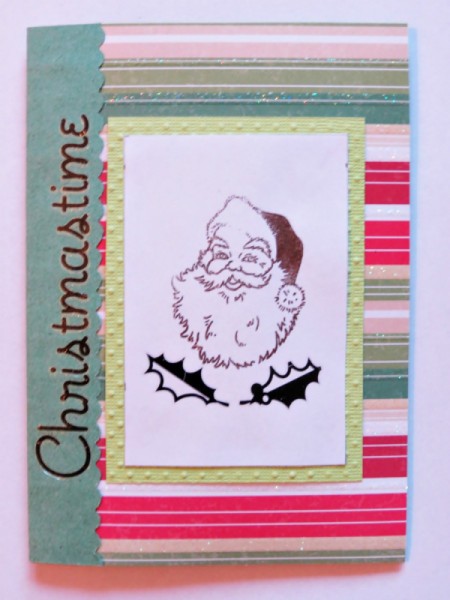
- Glue the stamped image onto one of the pieces cut from the Jillian apple green scrapbook paper, and then glue this to the front of the card.

- Take the second piece cut from the Jillian apple green scrapbook paper. Cut out the inside, leaving a space of 0.4 inches from the outer edges of this piece to make a frame.
- Cut a piece sized 2.6 x 4 inches from the transparency sheet and glue this to the back of the frame.
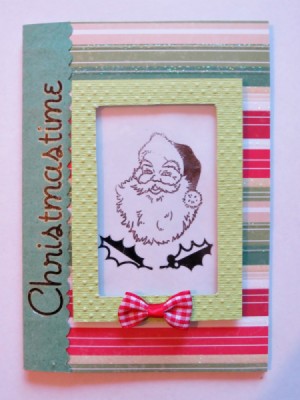
- Use 3D stickers to adhere the frame to the front of the card.
- Finish it off by gluing the bow in place.
Photos included:
Photo 1: Fold the sugar paper in half and glue it over the fold of the card.
Photo 2: Centre and apply the Christmastime sticker onto the green sugar paper.
Photo 3: Glue the stamped image onto one of the pieces cut from the Jillian Apple Green scrapbook paper, and then glue this to the front of the card.
Photo 4: The completed card.
 Use a combination of scrapbook papers and embossing techniques to create a stylish card for Christmas.

