Becky Miles
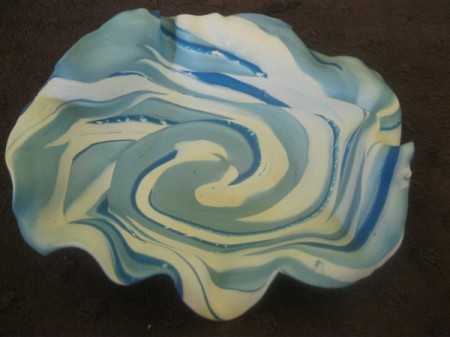
Bronze Feedback Medal for All Time! 158 Feedbacks 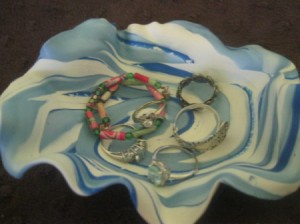 These little bowls are a quick and easy project. When you can find the polymer clay on sale, it's pretty inexpensive, too. I love the organic shapes. They all come out different. You could use any combination of colors you like, or just one color. They are perfect for holding jewelry or little trinkets.
Total Time: About an hour
Yield: as many as you'd like!
Supplies:
- polymer clay (I used Sculpey for this bowl)
- rolling pin (I used a Play-Doh rolling pin)
- oven-safe bowl to mold the clay around
Steps:
- Work with the clay to soften it. Choose the colors you want to blend together. I roll out logs of the different colors and place them all together. It reminds me of making candy canes!
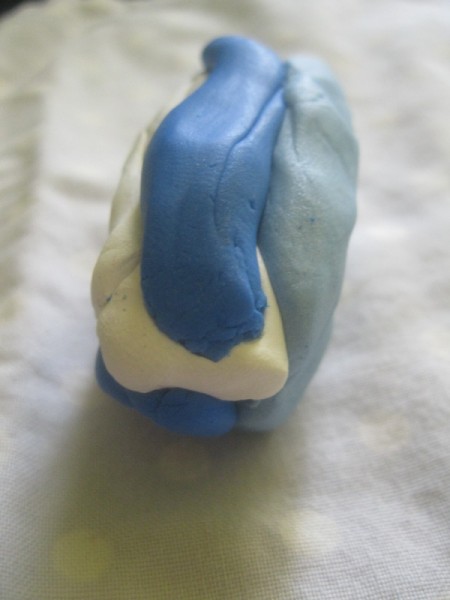
- Roll the log out into a "snake".
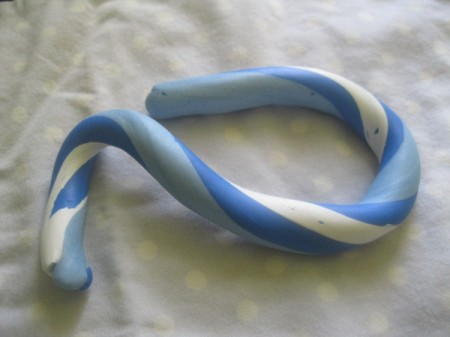
- Twist and roll in any direction you like.
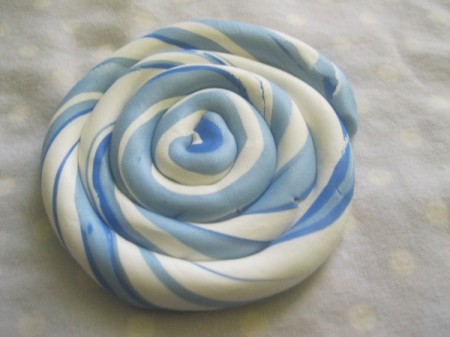
- Once you get the clay in a marbled design, roll into a coil. Make sure the end is smooth with the clay coil.

- Use your rolling pin to flatten. You can use a bowl as a guide to cut your shape in a perfect circle. I kinda like when it's not perfect.
- Place your clay on top of the bottom of your glass bowl. Don't press too hard on the bottom. I did that at first and a few of my bowls say "Pyrex" on them! Oh well, it adds character!
Let the clay fall around the bowl. Create ruffles, if you would like. I like to take some of the ends and curl them downward. - Once you are satisfied with your shape, bake according to the clay package directions.
- Once baked, take out of the oven and let it cool a few minutes.

- Fill with whatever you would like. Here are some pink ones I made earlier.
Add your voice! Click below to comment. ThriftyFun is powered by your wisdom!

March 3, 20150 found this helpful
This sounds like a great idea! I'm always looking for easy crafts to do with the grandkids, and this one is perfect!

melissa
Silver Post Medal for All Time! 293 Posts March 9, 20150 found this helpful
This is so pretty!
Add your voice! Click below to comment. ThriftyFun is powered by your wisdom!

 These little bowls are a quick and easy project. When you can find the polymer clay on sale, it's pretty inexpensive, too. I love the organic shapes. They all come out different. You could use any combination of colors you like, or just one color. They are perfect for holding jewelry or little trinkets.

