15mhhm15
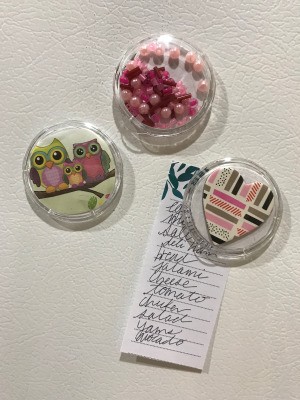
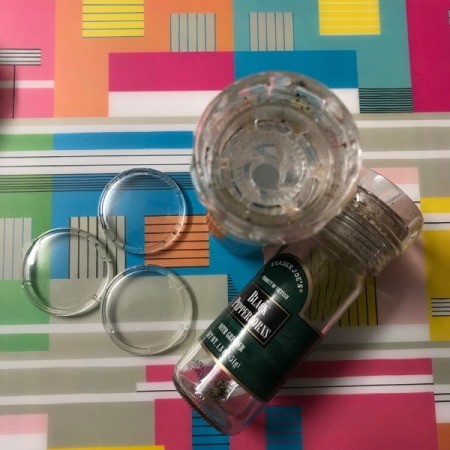
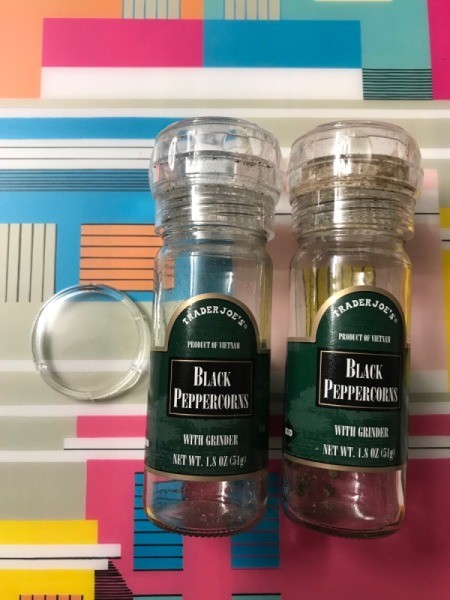
Diamond Post Medal for All Time! 1,298 Posts  I have upcycled these salt/pepper containers into vases. I have the caps left and now finally figured out what I could do with them. I turned these caps into magnets!
I will be showing you three different types of magnets I was able to create with items I already had at home.
Total Time: 15-30 minutes
Supplies:
- clear caps
- scissors
- cardboard
- pen
- hot glue gun
- magnetic strips
- your choice of filling for the magnets

Steps:
- You will need clear caps.

- For magnet #1, I really like the owl picture. This was from a notepad that I jot down some notes and no longer need. Trace the image you want in your magnet. Cut out and keep cutting until it fits in the cap.
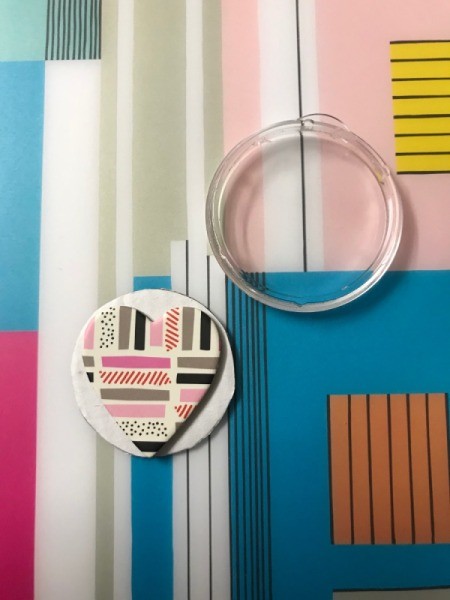
- You will need to cut cardboard circles for the backing of your magnets. You will need one piece of cardboard per magnet. Ensure the cardboard fits seamlessly.
- For magnet #2, I poured out a thin layer of beads.
- For both magnet #1 and #2, once you have your layer in (the owl photo and beads) you need to seal the magnet with the cardboard. Apply hot glue all around the cardboard circle and close.
- Then for the beads, I went around the circle again with hot glue to ensure it's completely sealed. Afterwards, I used the magnet strips. I have this magnet strip from Shutterfly when I ordered magnets and it came with this blank sample copy.
- For magnet #3, I kept it simple. I stuck on a heart cardboard sticker to the circle of cardboard. Use the same process, hot glue around the circle and close against cap.

Add your voice! Click below to comment. ThriftyFun is powered by your wisdom!

April 15, 20180 found this helpful
Very cute and clever!!!!!!!!!!!!!

15mhhm15
Diamond Post Medal for All Time! 1,298 Posts April 15, 20180 found this helpful
Thank you! I love magnets on the fridge :)
Add your voice! Click below to comment. ThriftyFun is powered by your wisdom!

 I have upcycled these salt/pepper containers into vases. I have the caps left and now finally figured out what I could do with them. I turned these caps into magnets!

