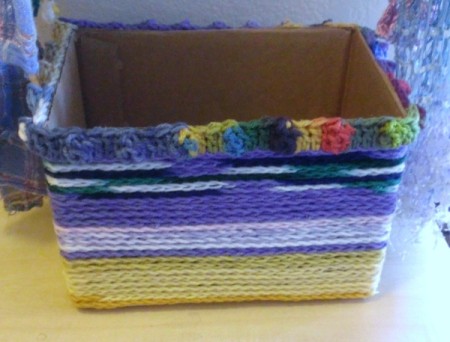
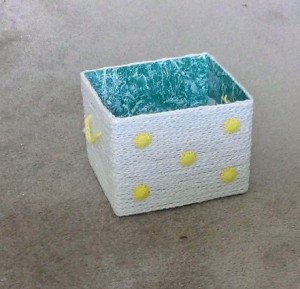
 I saw a video once about a gal who covered a box with a cord or rope. It looked pretty, but my budget is pretty tight. So I came up with something I often do to decorate things when I want to revamp my home.
Yarn bombing is cute, but I took it up a notch. I crocheted a chain and made the box covering with that.
Total Time: 2-4 Hours
Yield: 1
Source: I think I have seen this on Pinterest.
Supplies:
- 8 oz cream colored yarn ($0.00)
- 1 Each size H hook ($0.00)
- scissors
- darning needle
- tape
- 1 Each glue gun and 4-5 sticks ($0.00)
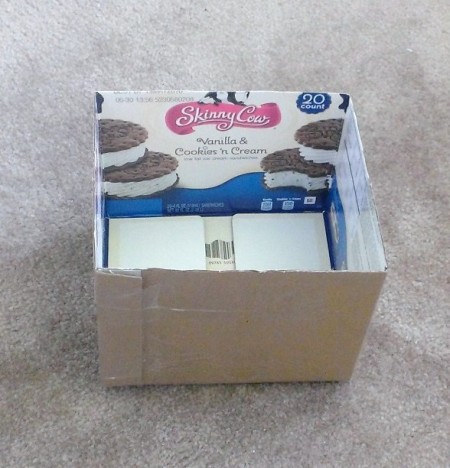
- 1 Each box - I like skinny cow or small dog treats. Must be sturdy. ($0.00)
- 1 ft scrap booking paper ($0.00)
- 5 Each buttons of your choice
Steps:
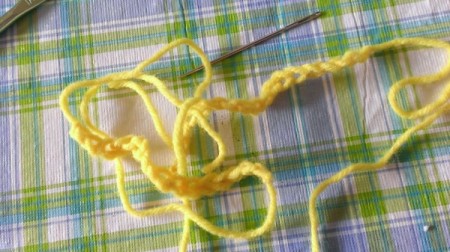
- Make a chain. Now this sounds simple, but if you make one long one, it will twist on you when you are trying to keep each row straight up and drive you crazy.
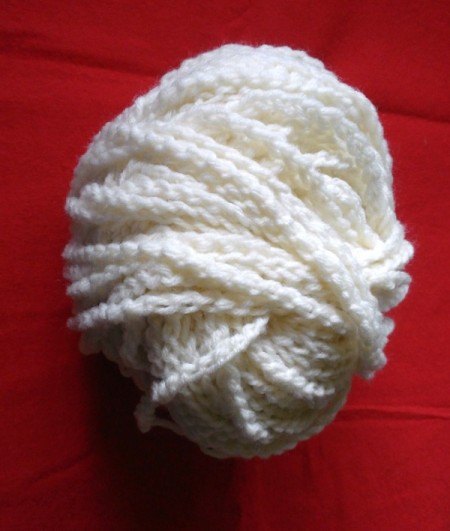
- I did this and it did. So, I would make a chain big enough to wrap around your box 5-6 times and bind off. When you are planning the step where you glue on your chains, you can plan to join the next chain in the back. I ended up cutting the chain so it could "untwirl". Epic fail but fixable.
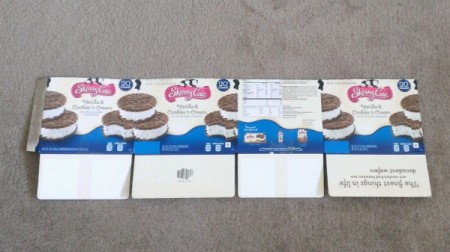
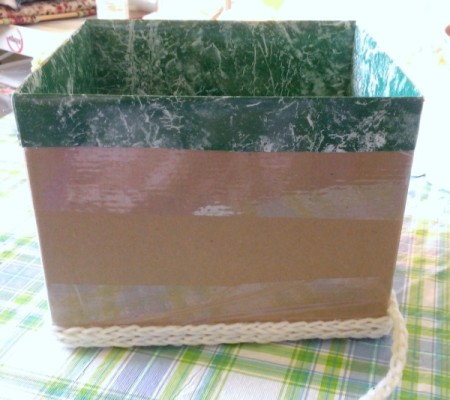
- Now choose a good box. I had done a box already today and found that not turning the box inside out was a mistake. You could see some of the print. Also, just gluing up to the top of a cut box meant I had to make an "edging" for it. I will show you a photo so you can see my mistakes and not make them yourself.

- With some scrap booking paper, I made some folds and cut them perfectly to the lengths of the sides, place and taped them to the box. This kept the box top pretty to anyone looking inside.

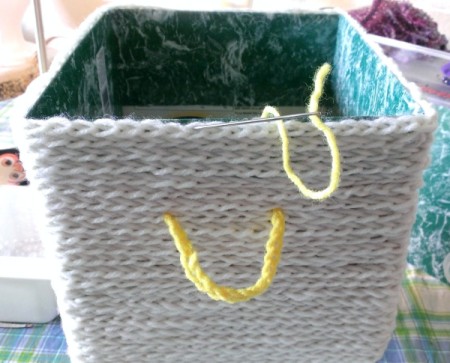
- So, keep your rows as straight as you can begin to glue. The lines need to be pretty close to the former one so you don't get the little gaps I did. Even if there is no print to see, you don't want to show the box color either.

- When you get the chains glued on, embellish with whatever buttons you want. I also added two "faux" handles by chaining 16 and leaving on a beginning and ending tail long enough for a darning needle to insert into the box and tie/glue to the inside.

- Here's the one I did earlier today. It's cute but I learned how "not" to do again!!

Add your voice! Click below to comment. ThriftyFun is powered by your wisdom!

June 5, 20160 found this helpful
When I make these again, I will make the chain then go back along the chain with a slip stitch. It makes a bulkier "cord" and the box doesn't show through as much. Live and learn!!
Add your voice! Click below to comment. ThriftyFun is powered by your wisdom!

 I saw a video once about a gal who covered a box with a cord or rope. It looked pretty, but my budget is pretty tight. So I came up with something I often do to decorate things when I want to revamp my home.

