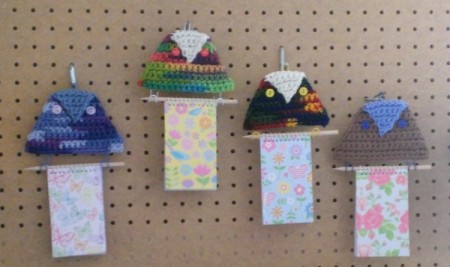
 This cute owl will keep your grocery lists, phone messages, and more handy when you are busy.
Total Time: 30-45 min.
Yield: 1
Source: I created this myself but the original idea was from an old Craft World where the owl was macrame.
Supplies:
- 1 crochet hook size I ($0)
- 3 yards yarn for the beak ($.25)
- 12 yards yarn for the body ($.50)
- 5 sq in scrap felt ($0)
- hot glue gun ($.02)
- 2 buttons ($.02)
- 1 darning needle for eyes ($0)
- crochet thread or sewing thread ($0)
- 2 large colored or silver tone paperclips ($.01)
- 1 jeweler's pliers ($0)
- 1 dowel or pencil/pen
- 1 cheap notebook
Steps:
- With your cast on loop, chain 2. Make a single crochet in 2nd chain from hook. Chain 1 and turn, making a single in the first one, and two across. This pattern increases by 1 each row, till you have 8. Leave your loop on your hook and cut the tail about 2".
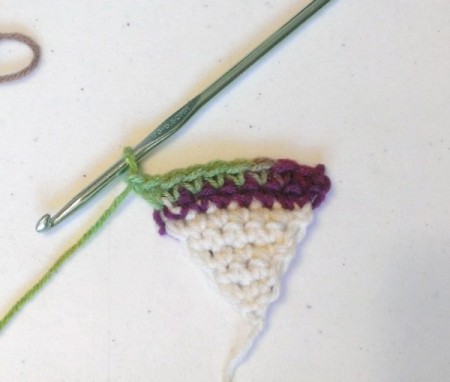
- Tie on the body color and continue the pattern till you have 18. Do a slip stitch binding row and then leave a 2" tail and cut off, weaving into the back (odd number of rows indicate the back). Make a pattern for the body with the beak folded over.
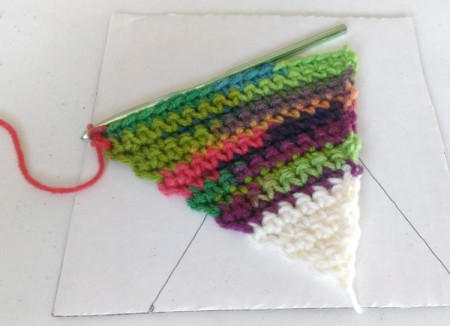
- Turn your "beak" toward the front and with your hook, draw the beginning tail toward the back and then up through the front of the beak again, and then into the back. You will glue a felt cover over this so you don't have to tie it or worry about the back.

- With the owl's beak in place, sew on two buttons. I like the ones with just two holes, so they look more like an owl's eye.
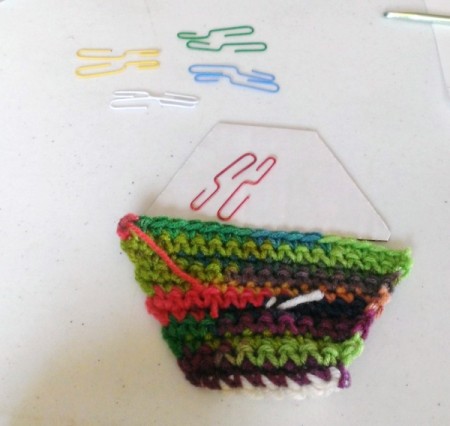
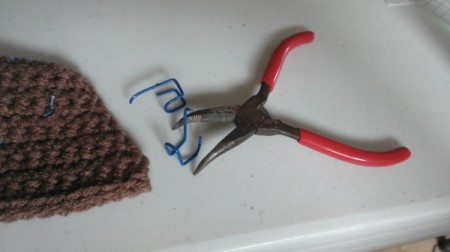
- With your pliers, take the large paper clips and bend them open till the smaller part snaps off. Save this for your hanger.

- About 1/3 of the way up from the end, bend the bigger loop of the clip 90 degrees up, then another 1/3 of the way up toward the curve, do this again. These are your feet/talons.
- At this point, it's important to make sure that when you glue them, you face them with the open end of the clips in the back. This looks like their feet are facing in the correct direction.
- Glue them to the bottom row about 1/4" from each edge.
- I got the note pads for 4/1.00, but the rings are pretty tight so if you want to use an actual pencil or pen, you may want to invest in something a bit more agreeable.
- I used these wooden dowels that are shaped like pencils, but didn't bother to paint them. Glue the other piece of paperclip to the top and glue the felt shape over all the "ugly work" in the back.
- N-JOY!

Add your voice! Click below to comment. ThriftyFun is powered by your wisdom!

 This cute owl will keep your grocery lists, phone messages, and more handy when you are busy.

