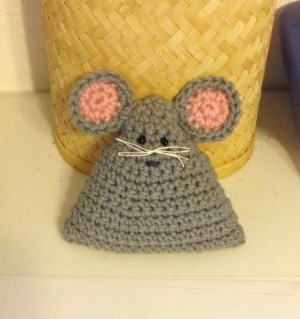
 This is a nice little addition to anyone who loves mice. And the nice thing is you could make it for just about any season or holiday just by using different yarn.
Total Time: 1-2 hours
Yield: 1
Source: I found this pattern free several years ago, but it had no copyright or names to link to.
Supplies:
- 1 size I crochet hook ($0)
- 2 black or red beads or buttons ($0)
- 4 in scrap crochet thread ($0)
- 4 oz gray yarn ($0)
- 2 yards pink yarn ($0)
- 1 darning needle ($0)
- 1 scissors ($0)
- 2 oz. stuffing material ($0)
Steps:
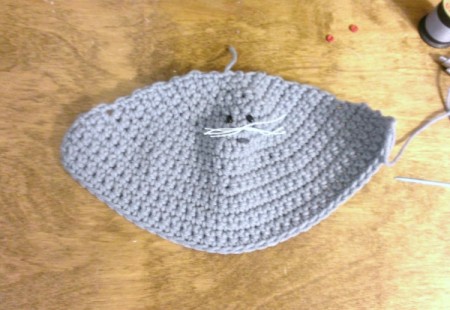
- With the gray yarn, chain 2 and make 4 SC in the first chain. This works up flat so do not join and there is a chain 1/turn at the end of each row.
- Row 2: Make 2 SCs in each for 8.
- Row 3: Make 2 SCs in next stitch then 1 in next stitch across for 12.
- Row 4: Make 2 SCs in next stitch then 2 in next stitch across for 16.
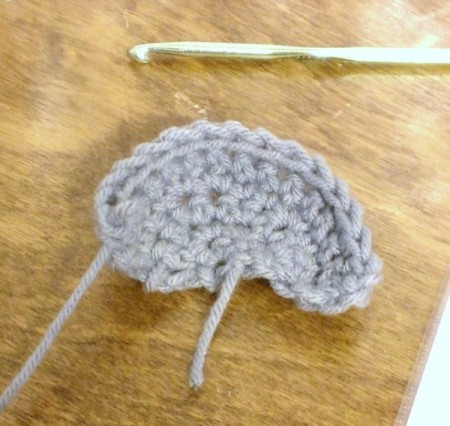
- Row 5-6 make a SC in each.
- Over the next 3 rows (7-9), increase by 4 per row. Make 2 SCs in first stitch, then 1 SC in next 3 (4) and (5) stitches for 20, 24, and 28.
- For rows 10-12, make a SC in each for 28.
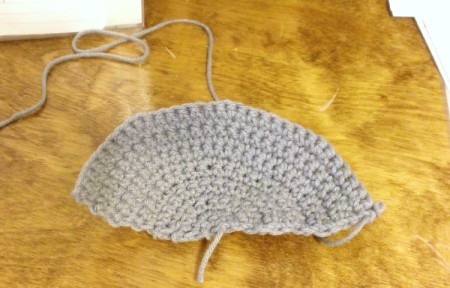
- Row 13: 2 SCs in the first stitch, then 1 SC in next 6 stitches and repeat to 32.
- Rows 14-18: 1 SC in each stitch. Break off and leave a tail for sewing up the back.
- I used two black oval beads for the eyes, but you can use red ones, or black or red buttons. Sew them between rows 7 and 8, set on either side of the center of the body.
- For the whiskers I used some crochet thread, cutting 4 strands about 2" long. Then I tied them in the center and used those tails to weave them to the front, tying them in the back.
- The mouth was just some darker yarn woven in just below the whiskers and tied in the back.

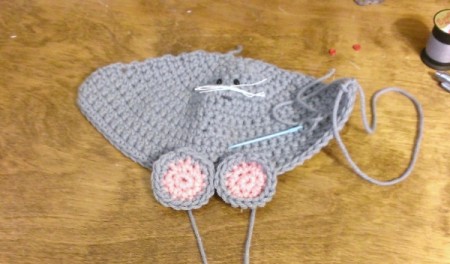
- Sew up the back and stuff. It's easier to attach the ears when it's closed and firm.
- Ears: With your pink yarn, chain 2 and make 5 SCs in first chain and join. Chain 1 and make 2 in each and break off. Make 2.

- Attach the gray and make 1 SC in each around, making it curl just a touch. Break off and leave about 6" to 8" for the tail. Sew each ear close to the side of the head.
- Stuff with batting, plastic bags, yarn, or old pantyhose.
- Sew bottom straight across and you are done. N-JOY!!
- Footnote: Many times, I submit that things cost nothing. This is simply because I have them already and can't assign a value to them. Your costs will always be different unless you too have all you need on hand.
Add your voice! Click below to comment. ThriftyFun is powered by your wisdom!

June 1, 20150 found this helpful
Love it and great instructions!
Add your voice! Click below to comment. ThriftyFun is powered by your wisdom!

 This is a nice little addition to anyone who loves mice. And the nice thing is you could make it for just about any season or holiday just by using different yarn.

