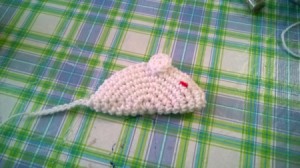
 With some scrap yarn and a little time, you can make this catnip mouse and bunny for your kitty.
Total Time: 1.5 Hours
Yield: 2
Source: Seen on Pinterest but I altered their idea.
Supplies:
- 2 oz yarn: I used white, brown, red and black ($.50)
- size I hook
- darning needle
- 1 Tbsp catnip ($.25)
- scissors
Steps:
- For the mouse, chain 2 and make a single in the 1st chain. Make another 12 in that same chain. Join and chain 1. Make 2 singles in each of the 13. Join and chain 1. Rows 3-7 make a single in the first stitch and 2 in the next stitch. Increase your count by 13 each row. When you join the last row, chain 10 and cut, pulling the tail tight and trimming. This is the tail.
- For the ears, make a first row twice. Leave a longer tail to tie it into the circle before you fold and sew. You can also glue them.
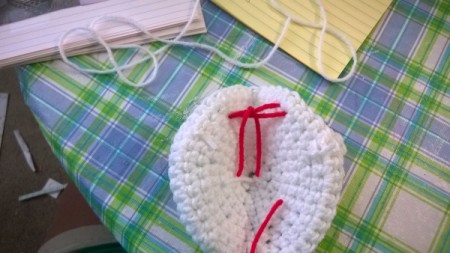
- The eyes are just a single strip between two stitches on the edge of the "head area". I showed you how to make them at the same time, but I wouldn't do it again like that. Just thread them through and tie them loosely. You are ready to sew it up.

- Begin at the tail, and whip stitch to just below the ears. Fill with your catnip and sew to the nose. Work in the tail. N-JOY!
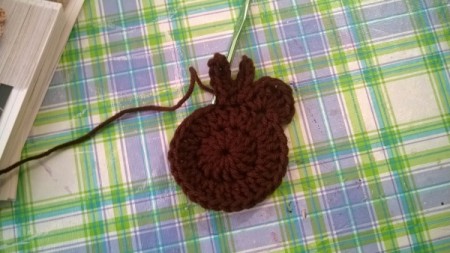
- For the bunny, chain 3 and make a double in the first chain. Make 12 more and join. For the next row, make 2 doubles in each stitch for 26. When you join, make a chain 2 and 6 doubles and a chain 2 in the same stitch.
- Make a slip stitch in the next stitch up and chain 4, making a single in each of the chains. Do this again and break of your yarn and work in.

- For the tail, make a pom pom. Or you could use a pretty button, an actual cotton ball, etc. I just made one and tied it to the bunny's bottom. With a bit of black in the head for an eye, you are done. N-JOY!
Add your voice! Click below to comment. ThriftyFun is powered by your wisdom!

 With some scrap yarn and a little time, you can make this catnip mouse and bunny for your kitty.
