melissa
Silver Post Medal for All Time! 293 Posts 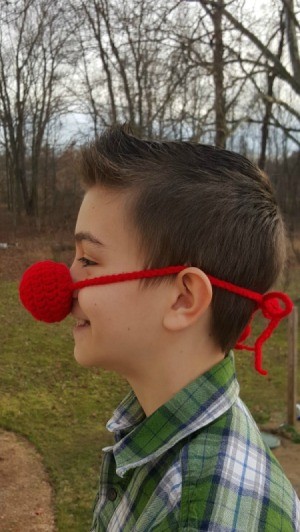 This would make a great party favor! It is quick, easy and fun. Absolutely everyone looks cute in it.:)
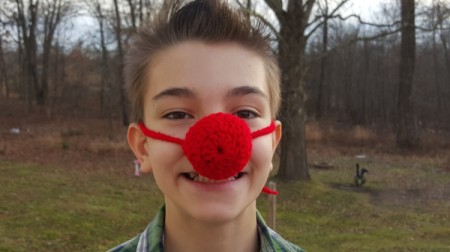
Total Time: Under 30 minutes
Supplies:
- "G" crochet hook
- tiny amount #4 worsted weight yarn
- scissors
- embroidery needle for weaving in ends
Steps:
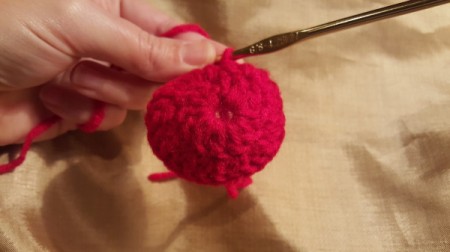
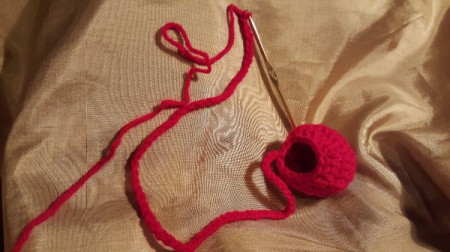
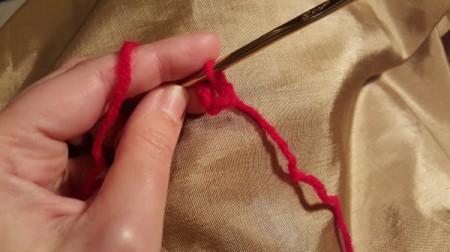
- **The key to a nice, stiff clown nose is to crochet very tightly.**:) Ch 4, join.
- Ch 3, work 11 dc into your ring, join with a slip stitch to your ch.

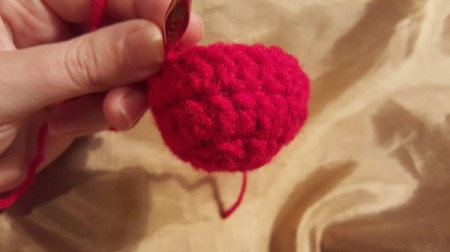
- Ch 3, 1 dc in same space as your ch, 2 dc in each stitch around, join with a slip stitch to your ch.

- Ch 3, 1 dc in next stitch and each around, join with a slip stitch to your ch.
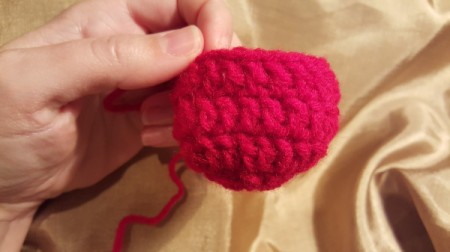
- Repeat last step once.**You will want to weave in your yarn tail at this point while it is still accessible.**
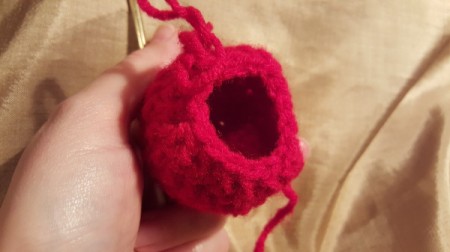
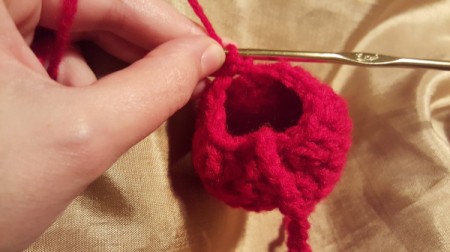
- Ch3, *dc decrease in the next 2 stitches, dc in the next stitch,* Repeat steps between ** Until the end of your round...you will end with a dc decrease. Join with a slip stitch to your ch.
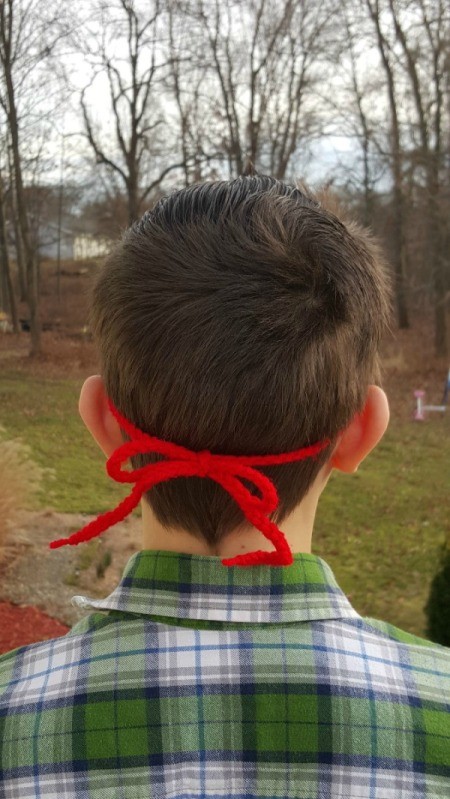
- Do not fasten off, ch 75. Fasten off. *One tie made.*
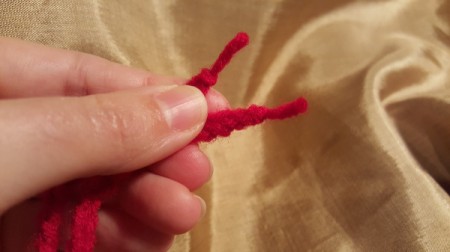
- Attach yarn with a slip stitch on the opposite side of the nose edge and ch 75. *Second tie made.*
- Make a simple overhand knot, trim the ends of your ties.
- All set to party! Great photo opportunity.:)
Add your voice! Click below to comment. ThriftyFun is powered by your wisdom!