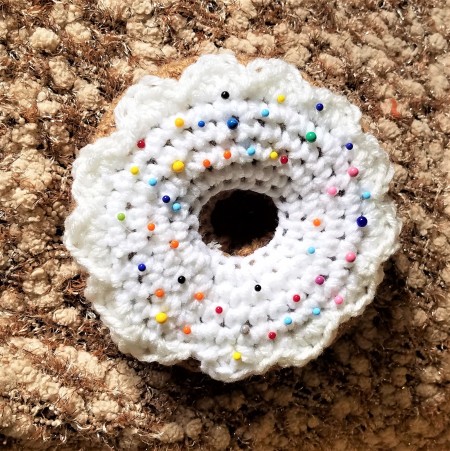
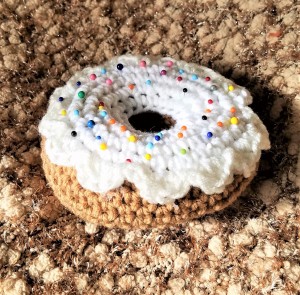
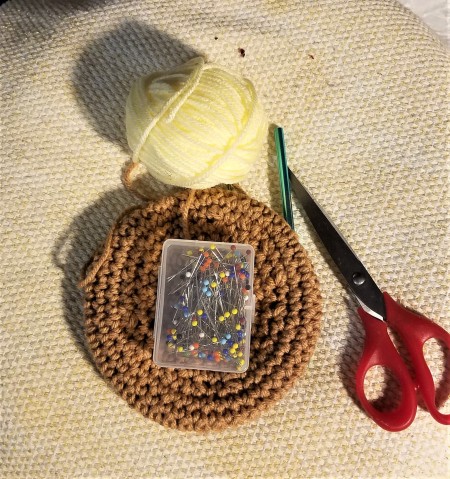
 I made this last night, so I apologize for the lighting. There are better shots to share. This is a cute project and you don't need much yarn. I used a light brown with a white frosting. You could also use dark brown frosting, or pink, etc. I hope you like this. For the seamstress on your list, this is perfect!
Total Time: 2.5 hours
Yield: 1
Source: Ravelry: Nevadamama
Link: Crocheted Pin Cushions
Supplies:
- .5 oz brown yarn
- .2 oz white yarn
- crochet hook size I
- 1 square foot of batting
- scissors
- darning needle
- hot glue gun
- 40+ colored head pins, number is your choice
Steps:
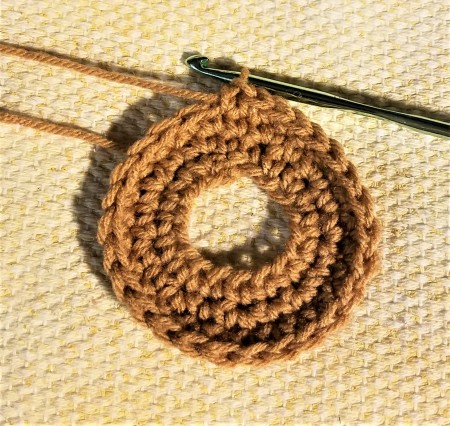
- With your hook, chain 18 and join. Chain 1 in each around, do not join from here, but mark the end of each row with a scrap of yarn.
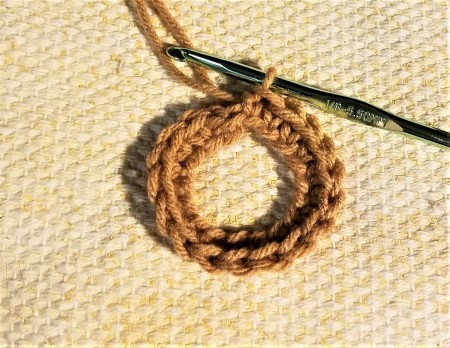
- 1 sc, 2 sc in next sc and repeat to end of row. Make a single crochet around again.

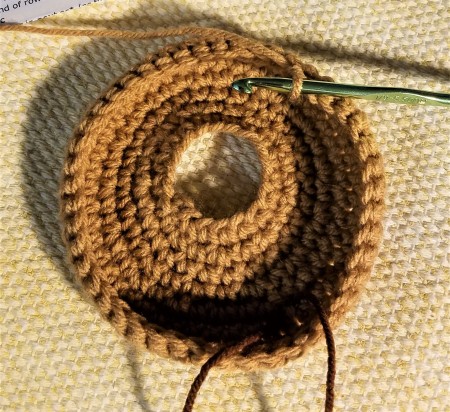
- Do the single crochet in one and two in the next again. You are now at Row 5. For the next 6 rows (rows 5-10), make a single crochet in each around and around. You may have to make a new marker, but unless you count well while life goes on around you, I wouldn't move the old one. This is not only your starting point from the beginning of each row, but where the rows began.

- Now you are going to begin decreasing. In the next row (11), make 1 single crochet in the next stitch and decrease in next single crochet. To decrease, insert your hook in the stitch, yarn over and pull through, then repeat on the next one and pull yarn through both. In the next row (12), make a single crochet in each. In the next row (13), repeat row 11. When you are done, begin to sew the opening shut, stuffing the batting in as you go.
This will be the hardest part, as the batting will make it so the opening is a challenge to sew closed. - Now it's time to do the icing. If you want, you can glue it down or pin it, it's up to you. Chain 18 and join, then repeat the first four rows of the brown. For the scalloped edges, make a single and half double in the first stitch, then a half double and single in the next. Make a slip stitch in the next, and repeat around. Cut tails and work in. Glue the center down, then around the scallops. Insert your pins and you are set.

- NOTE: I would use larger pins in yours, if you have them. I prefer them as they show up better. But I had only smaller to mix in with the larger ones I had. N-JOY!!
Add your voice! Click below to comment. ThriftyFun is powered by your wisdom!

 I made this last night, so I apologize for the lighting. There are better shots to share. This is a cute project and you don't need much yarn. I used a light brown with a white frosting. You could also use dark brown frosting, or pink, etc. I hope you like this. For the seamstress on your list, this is perfect!

