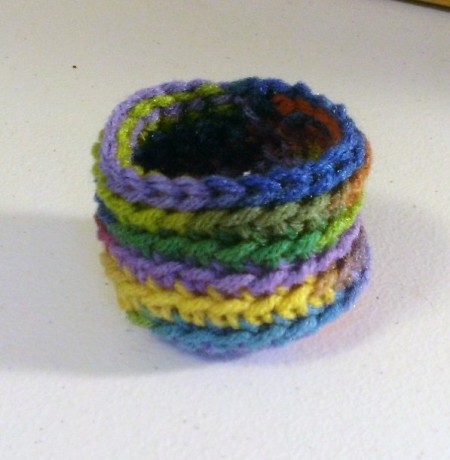
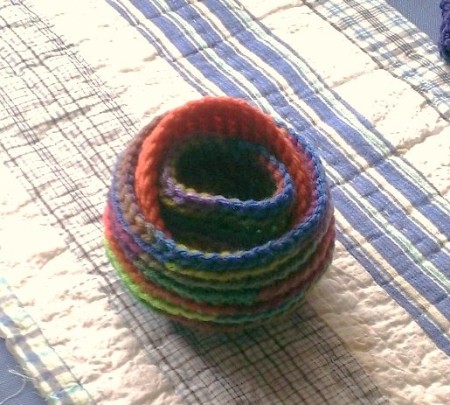
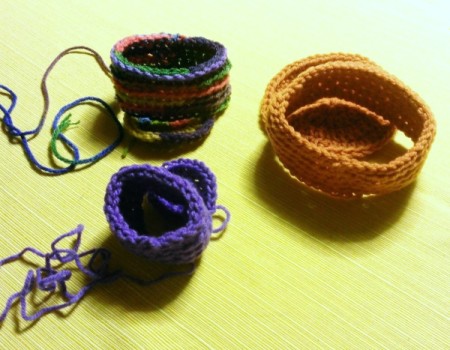
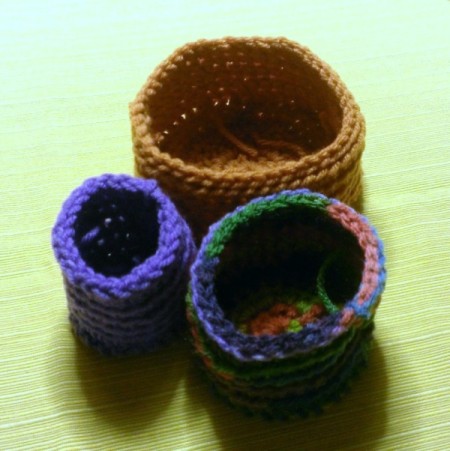
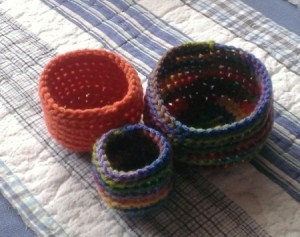
 Here is a great way to make some pretty nesting baskets in two ways, each unique and functional.
Total Time: 2.0 hours
Yield: 6
Supplies:
- 6 oz scrap yarn ($.50)
- 1 size G or H hook
- 1 darning needle
Steps:
- With your size and choice of yarn color and hook, chain 2 and make 11 half doubles in the first chain for 12. Join and chain 2.
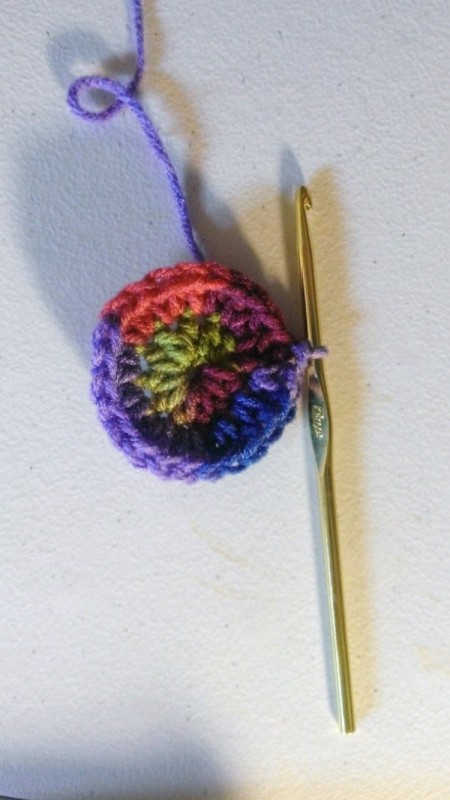
- Row 2 is two half doubles in each around for 24. Join and chain 2.
- For the center basket, this is the base. Make 5 rows of singles in the back loop of each stitch for 24 each row and join, chaining 1. I made a slip stitch binding row on the top to keep it from stretching so much. Your first basket is done.
NOTE: When making a circle, you always start with a 12 double, half double or single crochet. The next row is the only one where you do two in each, for 24. Each row, as the second one, adds 12 onto the pattern. So the 3rd row is 1 in 1, then 2 in 1 around, adding 12 (36). The 4th is 1 in 2 and 2 in 2, adding 12 (48). 
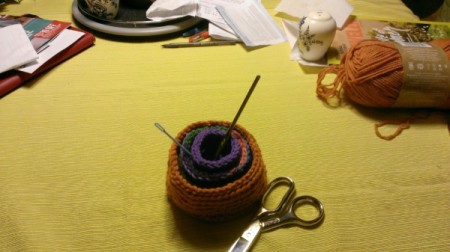
- For the next two baskets, do the same, but the base needs to be 3 rows and 4 rows, making the bases bigger. The pattern is the same. I chose a variegated and solid in alternating colors, then reversed them in the second set.

- This is by far the easiest way to make them. You begin, you work it all in one and you are done.
- However, there are some who like their baskets to sit a bit more flat. This takes a little more work and time but not much.

- For the other style, you make the bases and then cut the yarn and work them in. Then, you chain the same amount as the ending row on the base, making sure the chain doesn't twist and joining with a chain 1.
In other words it's going to be 24, or 36, or 48, leaving a 16" or so tail for sewing to the base. - Make the same bases and rows in the same way (BTW you don't have to crochet in the back loop if you don't want to). When you are done, simply sew the sides to the base and you have the same style with a bit different effect.

- I use mine for coins, mini flowers, paperclips, buttons, beads, and just about anything and you can, too!
N-JOY!!
Add your voice! Click below to comment. ThriftyFun is powered by your wisdom!

May 24, 20160 found this helpful
I made the second set at someone else's house. Sorry I didn't edit out all the junk!!
Add your voice! Click below to comment. ThriftyFun is powered by your wisdom!

 Here is a great way to make some pretty nesting baskets in two ways, each unique and functional.

