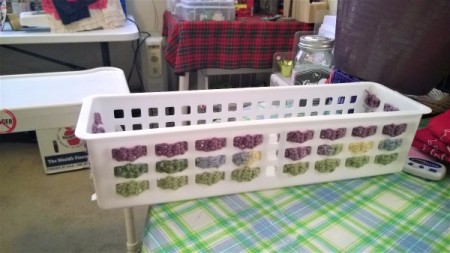
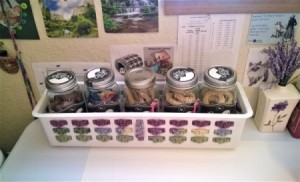
 I have had this basket for about a year now. I wanted it to be more than just a place to throw my junk mail for recycling. So I "prettified" it!
Total Time: 2 hours
Yield: 1
Supplies:
- 1 oz 3 colors of yarn
- 1 size I hook
- 1 scissors
- 1 hot glue gun
- 1 basket of your choice
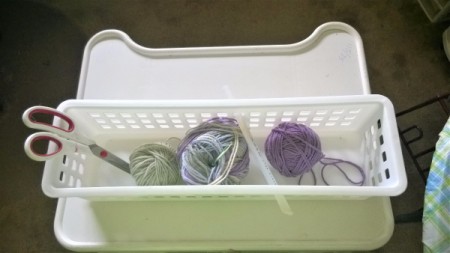
Steps:
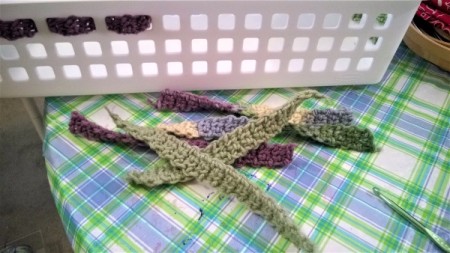
- The first thing I realized is if I crocheted a continuous strip, I would be outside of one end and inside of another. This made for a bit more work.
- So I had to make 3 short end pieces for each end. This filled the even numbered holes. My weave was a chain 3, making a single crochet in the next two stitches. Turn and continue on for whatever length you need for your basket.
- The next thing that went wrong is that the long side had an odd number of holes. This meant it had a center and weaving didn't work like the even numbered sides. I had to get creative.

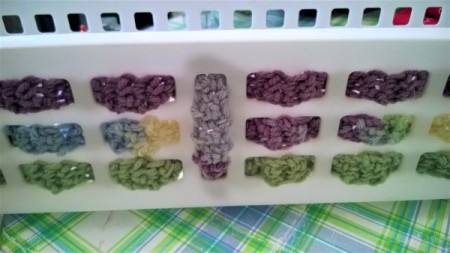
- I measured what was needed for the left and right number of holes from the center. Then I crocheted that length times two for each of the three colors. Woven in, it left a center hole to deal with. But I was not to be swayed!

- I crocheted a small strip and wrapped it inside the center holes and glued them all down inside.

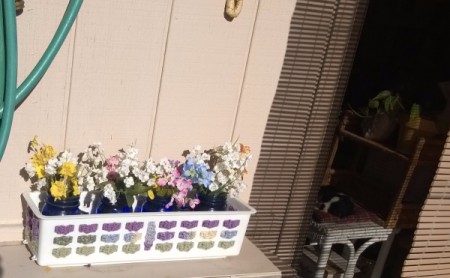
- It was done. I showed you a couple ways to use it, but the possibilities are many. First is for craft jars. Then for 4 Delft Blue mugs filled with faux flowers.

- You can also use it for your office for manila envelopes, tablets, or mail/bills.
- It would also be nice for a wall hanging for flowers, etc. You could use it as a charging station for your tablet, phone, or iPad.
- One of the reasons I left the back undone that I want to hang it on the wall for some souvenirs, but you can fill it in if you want. You can also use ribbon, bakers string, lace, etc. N-JOY!!
Add your voice! Click below to comment. ThriftyFun is powered by your wisdom!

 I have had this basket for about a year now. I wanted it to be more than just a place to throw my junk mail for recycling. So I "prettified" it!
