social

DIY Pictures in a Jar


Silver Post Medal for All Time! 433 Posts
June 18, 2012

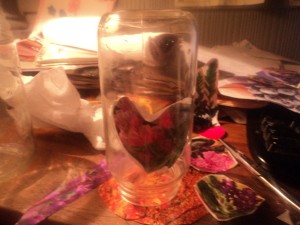
This was pretty, easy, and a cute way to display pictures.

Approximate Time: 1/2 hour

Supplies:

Instructions:

  1. Clean your jars and tear the paper off, dry well.

  2. Cut out pictures from magazines or use your own photos.
  3. Glue construction paper onto the backs of magazine pictures so they don't show through.
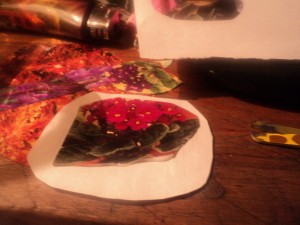
  4. Magazine photo attached to construction paper.
     
    Cut out picture in upside down jar.
     

  5. Then place them in your jars whatever way you like. You can change them whenever you want.
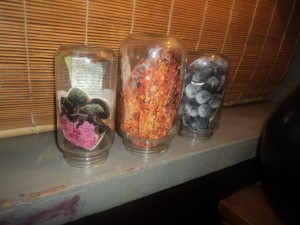
  6. Jars on shelf.
     

    By coville123 from Brockville, Ontario

    Comment Pin it! Was this helpful? 1
In This Page
Categories
Crafts Recycled Crafts DecorJanuary 31, 2020
Pages
More
🍂
Thanksgiving Ideas!
🎃
Halloween Ideas!
Facebook
Pinterest
YouTube
Instagram
Contests!
Newsletters
Ask a Question
Share a Post
Categories
Better LivingBudget & FinanceBusiness and LegalComputersConsumer AdviceCoronavirusCraftsEducationEntertainmentFood and RecipesHealth & BeautyHolidays and PartiesHome and GardenMake Your OwnOrganizingParentingPetsPhotosTravel and RecreationWeddings
Published by ThriftyFun.
Desktop Page | View Mobile
Disclaimer | Privacy Policy | Contact Us
Generated 2022-10-25 14:03:46 in 4 secs. ⛅️️
© 1997-2022 by Cumuli, Inc. All Rights Reserved.
https://www.thriftyfun.com/DIY-Pictures-in-a-Jar.html