social

DIY Spring Basket Liner


Bronze Post Medal for All Time! 104 Posts
February 27, 2009

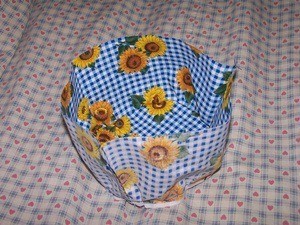
Gingham basket liner.Sewing a liner for an old basket to give it new life and purpose:
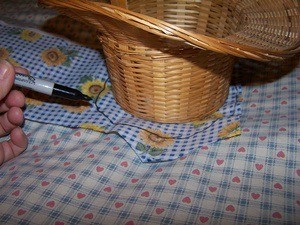
  1. Gather spring-like fabrics and old baskets to pick from.

  2. Draw around the bottom of the basket and add 1 inch to allow for seams. Cut out.Cutting fabric.
     

    Advertisement

  3. Measure around the outside top of the basket and write that down. Do not measure towards the bottom. Most baskets get larger as you go up towards the top so you need to make the fabric the size of the biggest part. Now measure how deep the basket is and write that down.

  4. Cut a piece of material as wide as the depth of the basket plus 1 inch and as long as the top measurement around the basket plus 1 inch. This is for the sides of the inside of basket.Fabric insert.
     

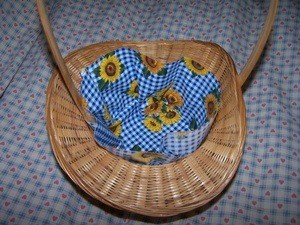
  5. Right sides together, sew the end using a 1/4 inch seam allowance. Divide this piece into fourths by marking with pins or a pencil. Also, divide and mark the circle into fourths and mark with pins. Now match the 4 marks on the circle piece to the 4 marks on the rectangle piece and pin. Sew around slowly and carefully to ease the extra fabric and make the gathers even all around the circle piece for the bottom. Fit to see if it's correct size.Placing fabric into basket.
     

    Advertisement

  6. Measure the width of the rim part of the basket and also all around it. Cut your fabric for this piece 3 times the width. Mine was 2" so I used a piece 6 inch wide. Cut it as long as you need, add 2 inches just to be sure. Cut this piece into 2 pieces and put a small turned hem on all 4 ends. Pin it to the top of the piece that is the inside. Sew again easing evenly and making gathers all around. There will be an opening where the handles are attached to the basket. That's why we cut the long piece we are now sewing into 2 pieces. The ends of this piece, where you put in a small hem, will lay slightly over each other when they are being sewn all around the top of the basket. They will be across from each other on the liner and this is where the handles of the basket will be.Inserting elastic.
     

    Advertisement

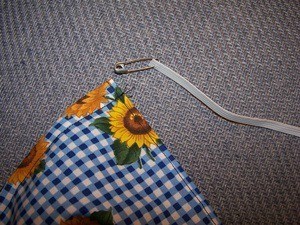
  7. On the top of this piece sew a small pocket all around to insert 1/8 inch elastic into using a safety pin. Cut the elastic the size around the outside of basket approximately where the fabric will lay. In my case it was right under the rim of my basket. Cut the elastic in half and insert into the casing using a safety pin to guide it through. Sew the elastic at the end careful not to let it slip back into the casing.Adding ties.
     

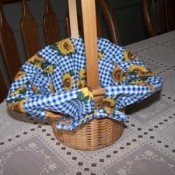
  8. Make 4 ties and sew to the ends at the point where the elastic was stitched. These will be tied by the handles.

  9. Place the liner into the basket and add your own toy or treats and use for Easter or whatever. I have one I use to put my many spools of thread in.
Advertisement

Hope it wasn't hard to understand. Enjoy!

By Donna

Comments

By k w (Guest Post)
March 1, 20090 found this helpful

Very good idea, I covered the inside of a small picnic basket with white plastic so I can take meals to my cousin that is almost house bound, it has lasted 5 years so far, I cover the meals with a nice napkin I made from cloth I had left from a sewing project. I put the food in plastic containers from Dollar store, good luck.

 
In This Page
Categories
Crafts Sewing PatternsFebruary 15, 2017
Pages
More
👔
Father's Day Ideas!
🌻
Gardening
👒
Mother's Day Ideas!
Facebook
Pinterest
YouTube
Instagram
Categories
Better LivingBudget & FinanceBusiness and LegalComputersConsumer AdviceCoronavirusCraftsEducationEntertainmentFood and RecipesHealth & BeautyHolidays and PartiesHome and GardenMake Your OwnOrganizingParentingPetsPhotosTravel and RecreationWeddings
Published by ThriftyFun.
Desktop Page | View Mobile
Disclaimer | Privacy Policy | Contact Us
Generated 2024-05-03 00:14:29 in 5 secs. ⛅️️
© 1997-2024 by Cumuli, Inc. All Rights Reserved.
https://www.thriftyfun.com/DIY-Spring-Basket-Liner.html