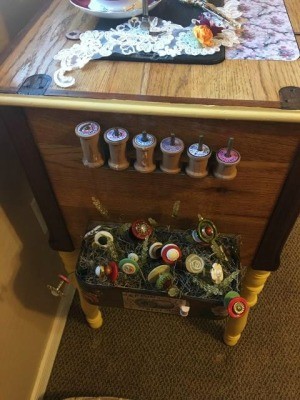
 After restoring a 1938 vintage Singer sewing machine and cabinet, I decorated the button box and spool holder that came with it.
Total Time: 3 hours
Yield: 1
Supplies:
- craft paint
- wire
- buttons
- foam
- moss
- leaves
- mod podge
- decals or computer printouts
- wooden spools
- trim
- small flowers
Steps:
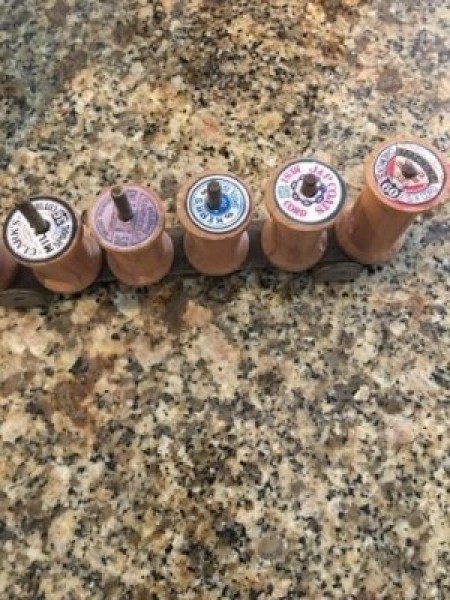
- To make the spool display, use old wooden spools and add a decal on the ends. (I googled spool stickers and printed and cut them out, punched a hole, and glued them onto the end of the spool.) If you don't have old spools, you could cut them out of wood with a lathe like my husband did.

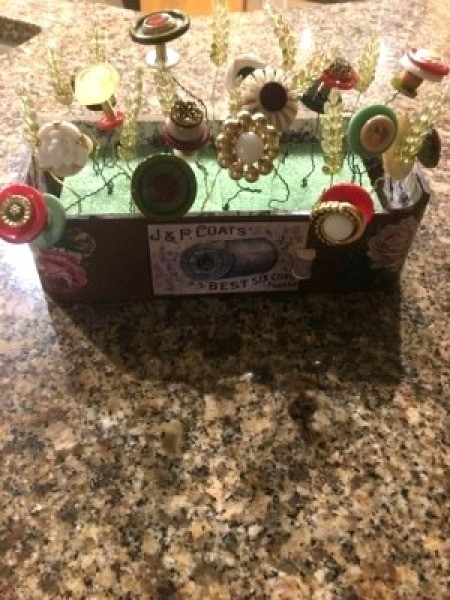
- For the button box, I decorated it with buttons and printed out "decals" from the computer. I mod podged the decals onto the front and sides of the box. I even found a small "thread" button in my collection and glued it to the thread label on the front.
- Next it was time to make the button garden in the inside of the button box. First, I sorted through my collection of buttons and put some designs together. Then, using wire, I threaded the wire through the buttons, added a spacer and a smaller button to hold everything in place. Then, I twisted the wire together and pressed it into the foam. I found beaded "leaves" at a little sewing outlet store and added them to the arrangement. Last I covered the foam with moss.
- Using one of the larger wooden spools, I painted it, added a printed thread label on one end, and decorated it with flowers and trim. This one I placed on the top of a vintage sewing machine we restored.
- Here is my button garden! The button box and the spools were attached to the side of an antique vintage sewing machine we recently restored.

Add your voice! Click below to comment. ThriftyFun is powered by your wisdom!

 After restoring a 1938 vintage Singer sewing machine and cabinet, I decorated the button box and spool holder that came with it.
