lalala...
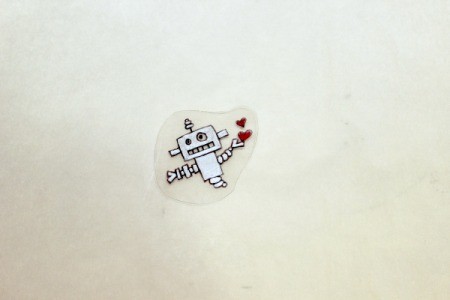
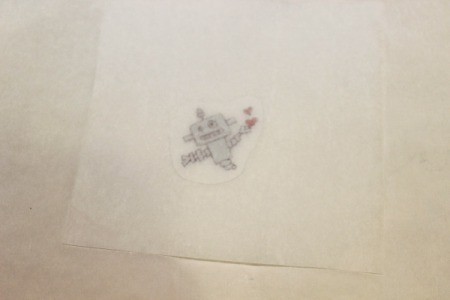
Gold Post Medal for All Time! 899 Posts 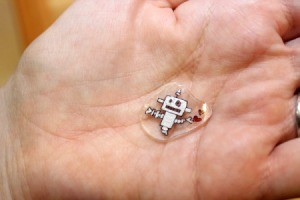 I have such fond memories of making Shrinky Dinks as a kid! I was so excited when I found packages of the plastic to make them at the craft store awhile back. The best part is that you can draw whatever you want, which is even better than the originals. :)
Supplies:
- shrink film (Joann's sells it)
- Sharpie markers
- parchment paper
- cookie sheet
- scissors
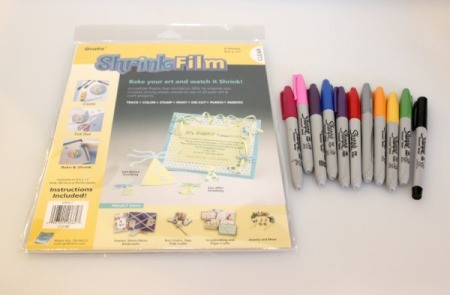
NOTE: If you want to use colored pencils you will need 300-400 grit sand paper too. Sand the film in a crisscross pattern prior to drawing.
Steps:
- Preheat oven to 300-350 degrees F. For large designs it is best to bake them at a lower temperature to slow the shrinking process and prevent excessive curling.
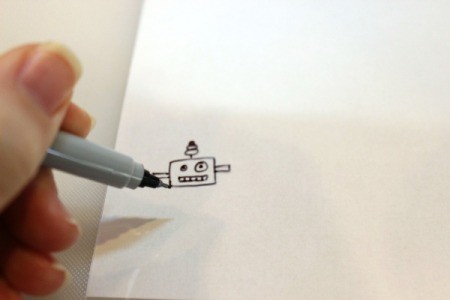
- Trace or freehand a design onto the film. I recommend putting the film onto a piece of white paper so that it is easier to see what you are drawing. NOTE: Keep in mind that the film shrinks by about 50%, so draw your image bigger than the desired finished size.
- Cut out your design with scissors or a craft knife. If you want a hole in it for hanging, use a hole punch PRIOR to baking.

- Line a cookie sheet with a piece of parchment paper. Lay your design on the parchment paper. Cover your design with another piece of parchment paper to prevent the film sticking to itself when it curls.

- Bake for 2-3 minutes. Do not remove from the oven until film has flattened back out. If there is a slight curl, use a spatula to flatten it out. Allow to cool before removing it from the pan.
Add your voice! Click below to comment. ThriftyFun is powered by your wisdom!

March 16, 20140 found this helpful
I have to try this!
Add your voice! Click below to comment. ThriftyFun is powered by your wisdom!

 I have such fond memories of making Shrinky Dinks as a kid! I was so excited when I found packages of the plastic to make them at the craft store awhile back. The best part is that you can draw whatever you want, which is even better than the originals. :)

