lalala...
Gold Post Medal for All Time! 899 Posts  If you are looking for a fun craft for the kids to do this summer, give these a try. These beautiful roses make great gifts and are perfect to help prevent pen thievery at businesses!
Total Time: 45 min.
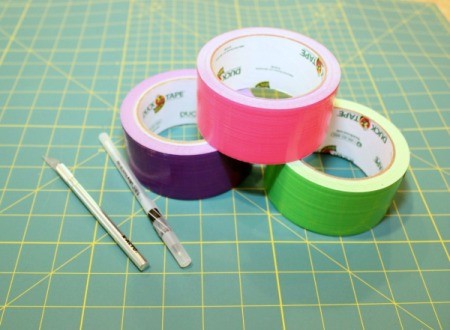
Supplies:
- colored duct tape (flower)
- green duct tape (leaves and stem)
- pen
- Xacto knife
- cutting mat
Steps:
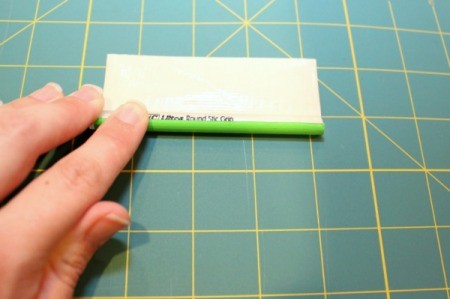
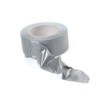
- Cut a length of green duct tape, long enough to cover about 3/4 of the pen.
- Stick down the edge of the tape along the pen, then gently roll the pen to wrap it in the duct tape. Now your pen has become the stem of the flower.
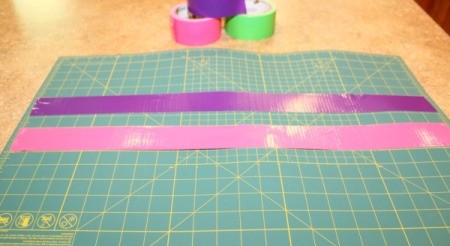
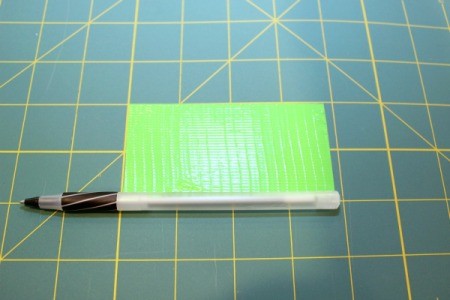
- Stick down a length of each color onto the cutting mat.

- Cut each color into 2 inch pieces.
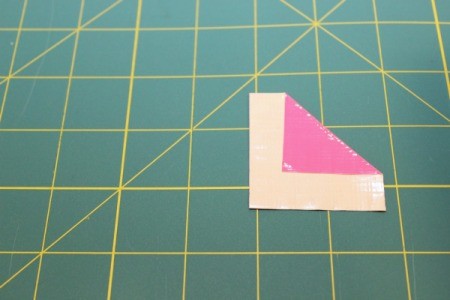
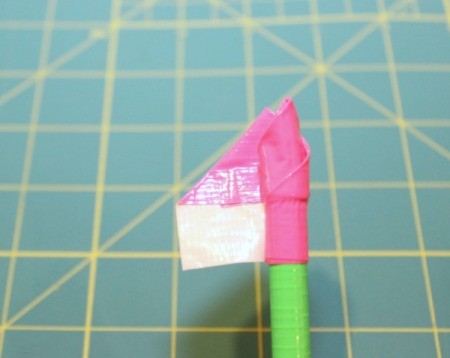
- Take one piece and fold top right corner over. Leaving about 1/2 inch of adhesive still exposed on the bottom.
- Now fold down the top left corner. This forms a petal.
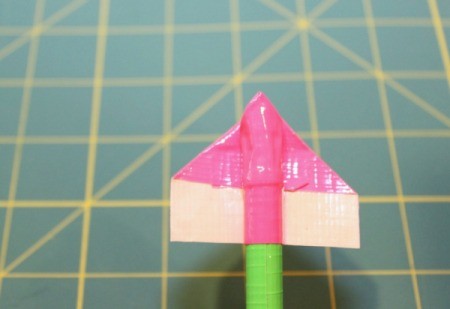
- Stick down one end, then wrap it around the pen to attach the petal.
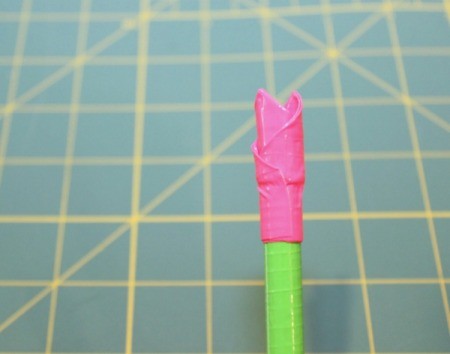
- Attach the next petal, on the opposite side of the pen. Stick down the center of the petal, then wrap the sides around the pen.
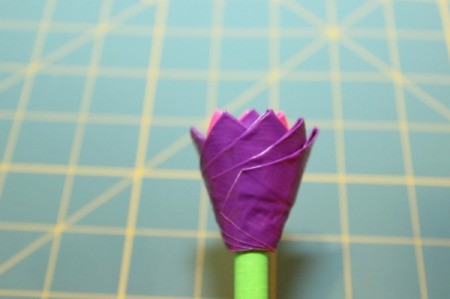
- Now attach another petal, with the point of the petal placed in the gap between the first two petals.
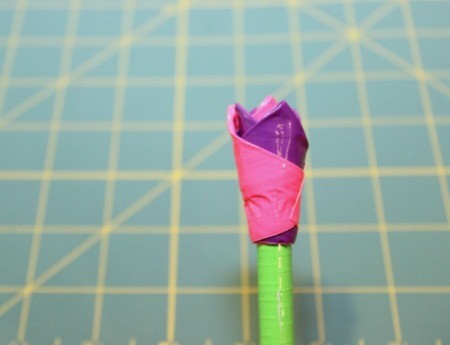
- Continue placing petals onto the pen in this way, placing the points of the petals over gaps between previous petals.
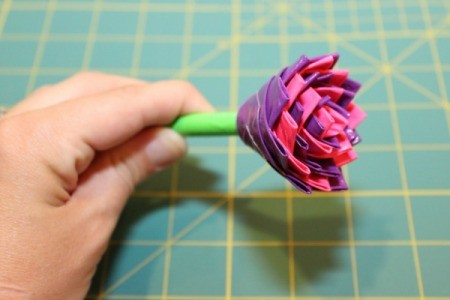
- As you continue, make sure you place the bottom edge of each petal at the same height on the pen. As you add more petals, the center should be adhered first and the edges will wrap at more of an angle.
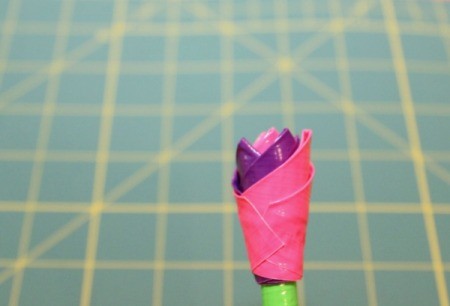
- Once the flower is at the fullness you like, you need to make the leaves.
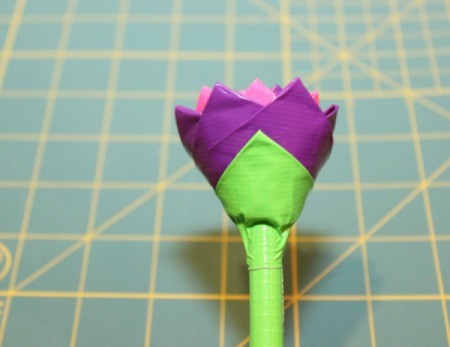
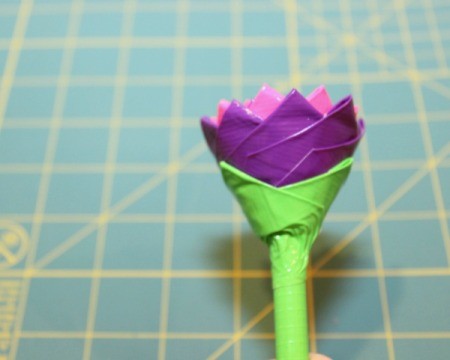
- The leaves are created the same way as the petals. Make your first leaf and attach it just below the bottom edge of the flower. Then attach the second leaf, followed by a third leaf.
- Enjoy this pen for yourself or share it with someone special!
Add your voice! Click below to comment. ThriftyFun is powered by your wisdom!