
Becky Miles
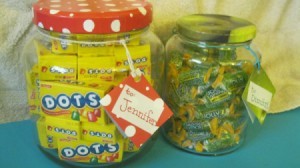
Bronze Feedback Medal for All Time! 158 Feedbacks  This is a very easy and very inexpensive gift. My mom used to make jars like this for friends, making a padded fabric lid. The idea for these came to me when my sister-in-law was talking about her love of Dots candy. Her husband told us how much he loved green apple candies. Since their anniversary is next week, I thought this would make a cute gift. Once the candy is gone, they can use it for something else. You could also fill these jars with some other appropriate gift for your loved ones. Just choose a paper that matches the theme of the gift.
Total Time: 30 minutes
Source: my mom
Supplies:
- A clean jar. The smaller jar is an old pickle jar. The larger one is a cherry jar.
- decorative paper
- scissors
- modge podge and paint brush
- clear sealant (I used Liquitex gloss varnish)
- candy or something else to fill your jar with
- ribbon to tie a tag around the jar (optional)
Steps:
- To make the lid: Find something round that is a bit larger than your jar lid, maybe 1/2 an inch all around. (I used a Cool Whip lid). Trace around your paper. Cut out your paper circle.
- Apply some modge podge to the top of the lid. Let it sit for a minute or two. Put your paper on the lid, making sure that the lid is centered. Push down on the paper, trying to get out all the air bubbles. Because the lid is slick, the paper may move around a bit. Just keep working with it and make sure that it stays centered.
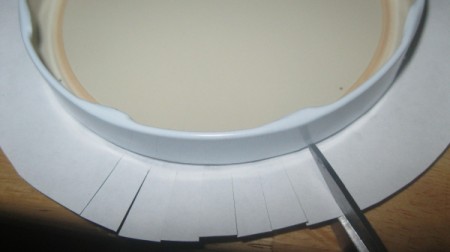
- Make cuts in the overlapping paper, every 1/4 inch or so. If you don't, it's nearly impossible to get the paper to lay flush with the side of the lid.

- Once you have your cuts all around the lid, time to apply some modge podge. I do about a quarter of the flaps at a time. If not, the modge podge may dry on you. Take a flap and lay it against the side of the lid. Press it down and try to smooth it out. Continue with each flap. They will overlap slightly. Go all the way around, til finished.
- This last step is the trickiest! Trim the leftover paper, so that there is enough to cover the very bottom but not too much that it will go into the lid. Once you have that done, apply more modge podge to the flaps and press down. Make sure that it's all adhered or it could come up really easily later on. Just be patient and keep pressing down on them.
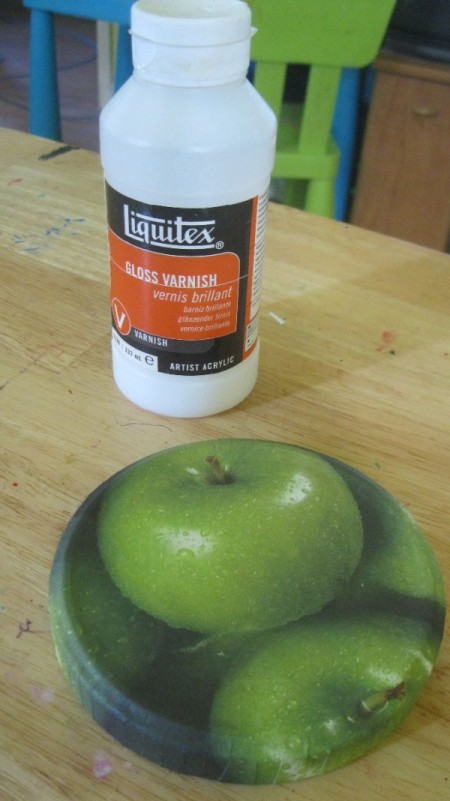
- Let the lid dry. Once dry, apply a clear sealant. I used Liquitex gloss varnish. I use this for everything. It's not tacky and it really seals my projects. It has a nice sheen to it when dry, too. Whatever you use, follow the directions on your container. Let it dry completely.

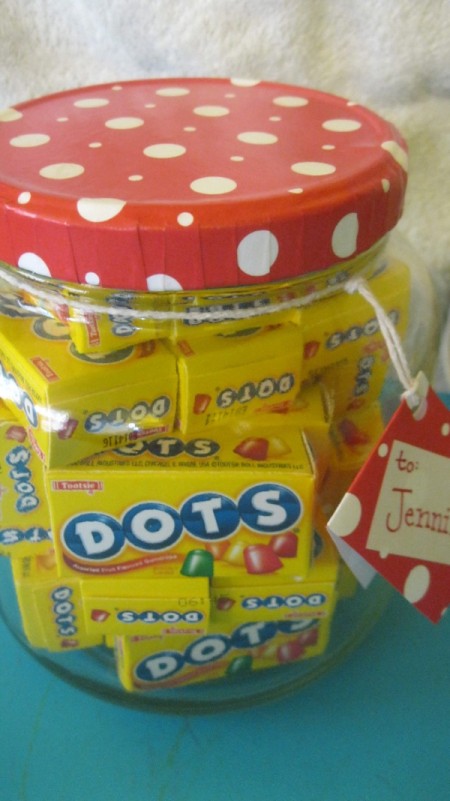
- Fill your jar with your gift.
- I made a little tag to go around the jar. I just punched a hole in the corner and tied ribbon through the hole. I put a knot in the ribbon about an inch from the tag. That way, the tag isn't smooshed against the jar.

Add your voice! Click below to comment. ThriftyFun is powered by your wisdom!

January 7, 20180 found this helpful
I am making those for sure. not the lids though I will decoupage them.
Add your voice! Click below to comment. ThriftyFun is powered by your wisdom!
 This is a very easy and very inexpensive gift. My mom used to make jars like this for friends, making a padded fabric lid. The idea for these came to me when my sister-in-law was talking about her love of Dots candy. Her husband told us how much he loved green apple candies. Since their anniversary is next week, I thought this would make a cute gift. Once the candy is gone, they can use it for something else. You could also fill these jars with some other appropriate gift for your loved ones. Just choose a paper that matches the theme of the gift.

