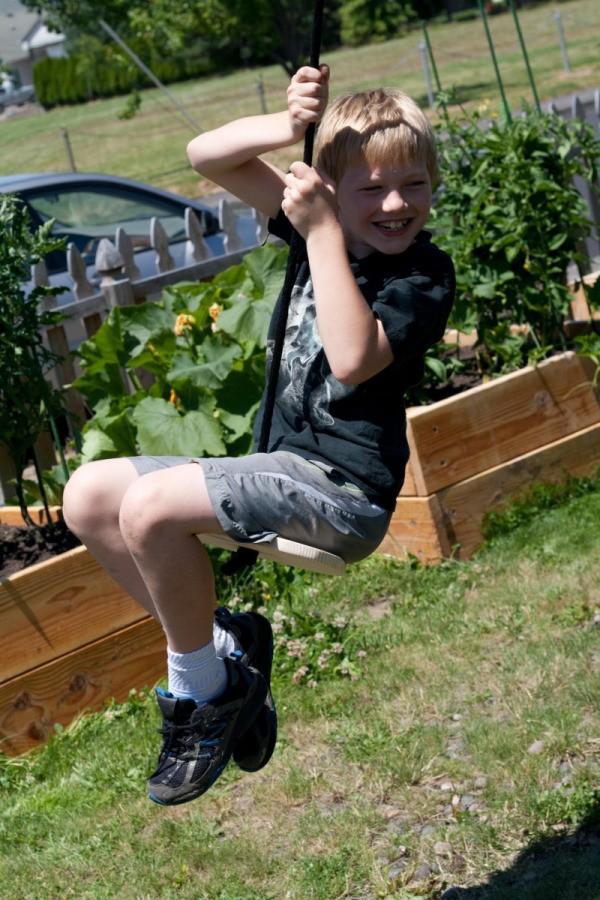
The large tree in our front yard has finally gotten sturdy enough the we felt comfortable putting up a rope swing. Our boys had fun making it and and I have already gotten my money's worth out of it (less than $20!) watching them play!
Approximate Time: 1-2 hours
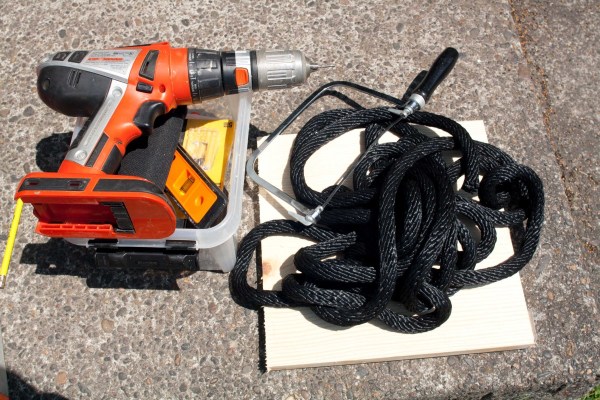
Measure the height of the spot you have picked out, to the ground. Be sure to add a little extra for tying the knot at the top.
The rope you use should be very sturdy as well. I did not have enough rope on hand for this project, so I went to the home improvement store to purchase some. I got a nice soft 3/4 inch braided black rope for $.61 a linear foot (total $12.21 for 20 feet). I thought the softer rope would be more comfortable and prevent any chance of rope burns. Once you have rope measured and cut, tie it securely to the spot you picked out. Use a lighter to melt the raw end, this will avoid unravelling.
For the seat, I bought a 1x4 foot pine board. It was $7.25. Since I only needed 1 12x12 section, I figured I could use the other 3 feet for a shelf somewhere in the house. I used pine, rather than plywood or particle board so I could drill a hole in it without compromising the strength of the wood which would be serving as the seat.
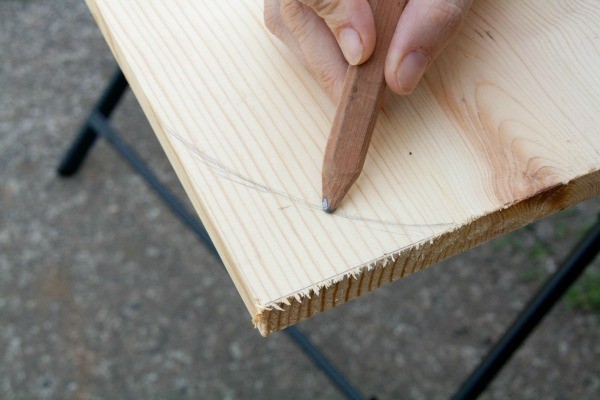
After cutting off the 12x12 section, I used the pencil to sketch out the rounded corners. Then with the straight edge and pencil, I marked the center of the board from the corners.
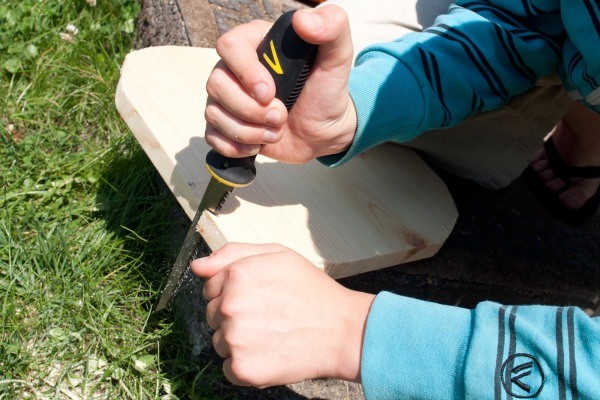
Since I don't own a band saw, this was a good opportunity to let my boys try different saws and test how they cut. We tried several, but we all agreed the electric reciprocating saw was the most efficient. I knew I would be sanding down the corners and it didn't matter if the curves weren't perfect so I let them cut away. When my son cut a little too deep on one side, and was worried he had ruined the project, it was fun to show him we could change the curve a little and it worked fine.
Drill out a hole in the middle of the board large enough to fit the rope through. My rope was 3/4 inch so that is the size bit I used. That way, I know a single knot at the bottom will be plenty large enough to prevent the wood from slipping off.
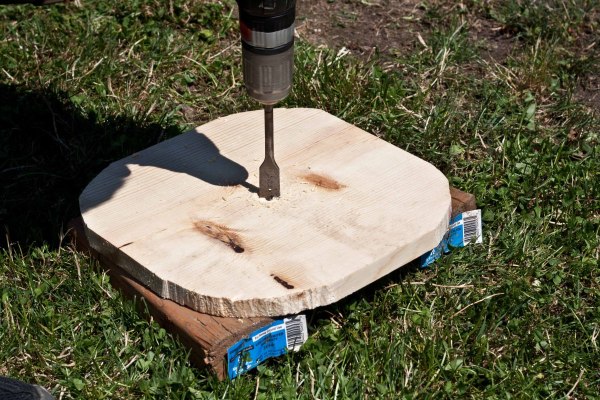
Now it's time to sand the board down. We used an electric sander to make the job go faster, but this could be sanded by hand as well. We sanded down the outer edge first to smooth out any bumps left by the saw. Then we rounded out the edges top and bottom before giving the faces a good once over. Lastly, I wrapped some sandpaper around my finger to smooth out the hole for the rope. Not sanding the hole would result in the rope slowly getting cut over time.

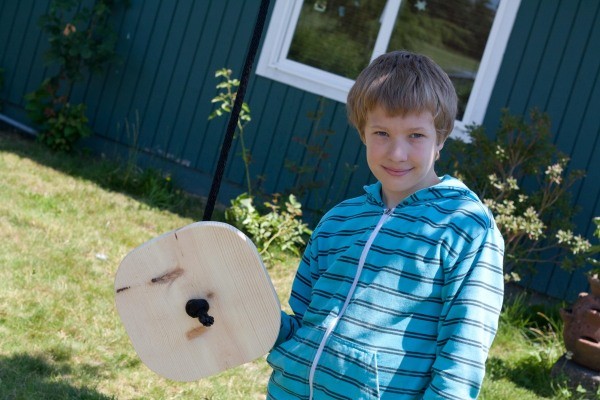
Finally, slide the rope through the hole in the wood and tie a secure knot at the very bottom. I would recommend staining the wood of the seat so it will last longer out in the elements, but that isn't technically necessary. Hop on and enjoy!
By Jess from Hillsboro, OR
Add your voice! Click below to comment. ThriftyFun is powered by your wisdom!
Add your voice! Click below to comment. ThriftyFun is powered by your wisdom!