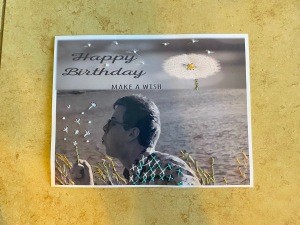
 This three dimensional craft was quick and easy and fun to do.
Total Time: 1 hour
Yield: 1
Supplies:
- embroidery needle
- scissors
- embroidery floss
- sharp pointed instrument
- photograph printed on photo paper
Steps:
- Select a photograph and size to print on photo paper. The photograph I chose was in color but I wanted to use a sepia filter so the stitching would "pop" out more. I also did another filter that made it look like more of a painting.
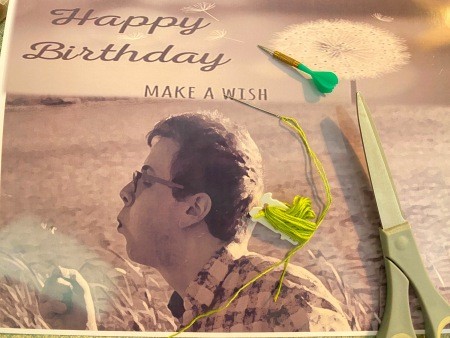
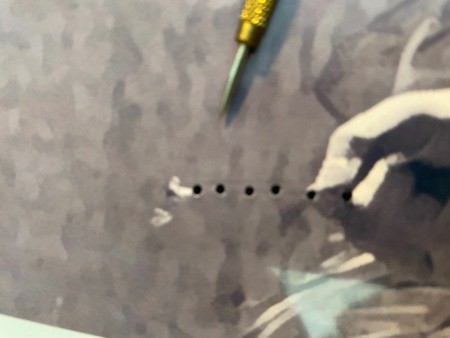
- Then, using a sharp tool (a dart from our dartboard game), I punched holes onto the picture where I planned to do the embroidery work. I just "winged" it as I went along.
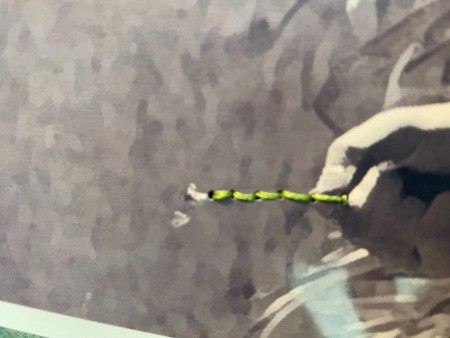
- Next, I chose the color of embroidery floss to use and used three strands of floss, threaded it through a needle and knotted it at the end. Starting on the underneath side, I pulled up the needle through the holes and made different stitches. If you know how to embroider, you could use any stitches you want. I used a straight stitch, cross stitch, and French knots for the one I did. If you don't know how to embroider, you could just pull the thread up and down through the holes, making a straight stitch. This is similar to the children's crafts from long ago where you would do card lacing. I added embroidery to different parts of the picture to add color and emphasis. When I ran out of thread, I knotted my thread on the underneath side to keep the stitches secure.

- This would be fun to do with a picture of a bouquet or flower arrangement using vibrant colors but also letting some of the original photograph show through too!
Add your voice! Click below to comment. ThriftyFun is powered by your wisdom!

 This three dimensional craft was quick and easy and fun to do.

