R Barbara
Bronze Post Medal for All Time! 190 Posts 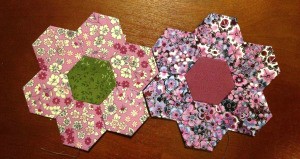 I recently took a class to learn this fun, new to me, method of paper piecing. The project quickly became addictive. I have done foundation style paper piecing in the past and love the ability to work with smaller pieces to create the block, but you are still saddled to your sewing machine. This style of piecing is all hand done so it is the perfect project for TV time or to take on the go. I absolutely love it.
Supplies:
- fabric - I used fat quarters, 1/4 yards from my stash, and bits and pieces that I had from earlier projects
- 1 inch paper hexagon templates, I purchased the first 100 for the class but then chose to buy the punch and make them myself using cardstock
- fabric glue stick or a regular glue stick - the one I used was a bit pricey, but you can get the Fons and Porter version at JoAnn Fabrics for less and use a coupon for even bigger savings
- scissors
- needle (the finer the gauge the easier to work with)
- thread, close in color to your fabric, it should not show so one or two colors should work - I am using grey for everything
- paper template punch - I began with the precut package of 100 templates, but moved on to making my own using cardstock
- hole punch - optional
- crochet hook - also optional, but is used to remove the template if you punch holes and makes removing the paper easier
- bees wax - optional, it helps to prevent tangles and knots in your thread
Steps:
- Whether you are using either purchased or hand punched templates, you will want to punch a hole in the center to make it easier to remove the template later. The purchased package of templates already had the holes punched in them.
- Lay the template on the fabric and cut around leaving about 1/4" to turn under and glue.
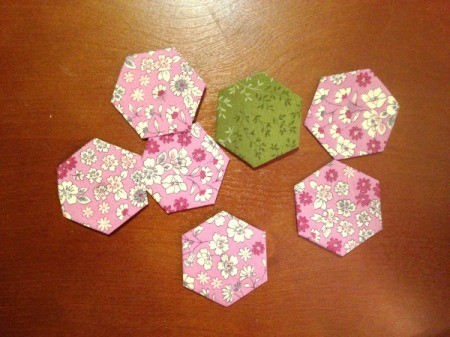
- Continue cutting your fabric until you have seven hexagons. I made the center using a different fabric, as this pattern is the same as the one typically used to make the Grandmother's Flower Garden quilt.
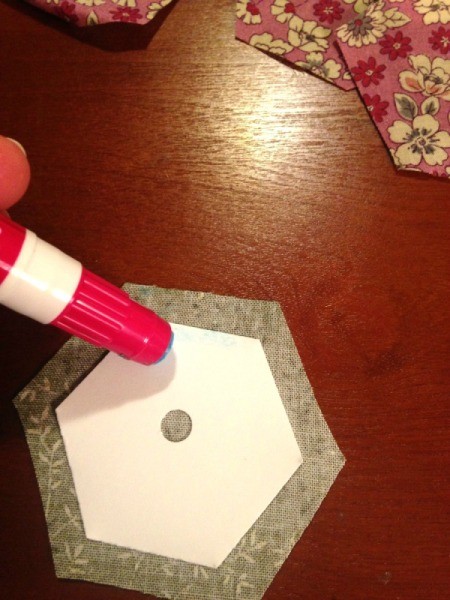
- Apply a line of glue to one side of the template near the edge and fold the fabric over to stick it down.

- Continue working your way around clockwise. Repeat with all seven pieces.
- You now have the pieces for your first block.

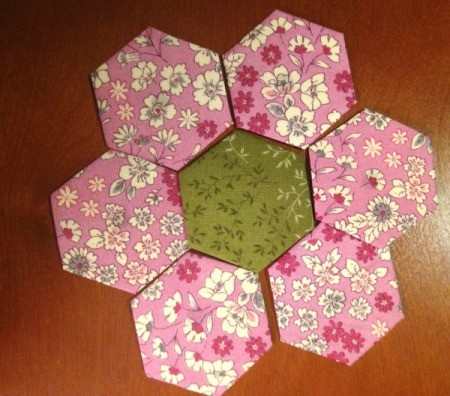
- Arrange them in the way that you would like them to fit together.

- Take two of the petals and placing them right sides together stitch them together using very small stitches that catch the fabric and hopefully not the template.
- Stitch this piece to the center hexagon along one side. You now have three hexagons attached to each other.
- Add your next hexagon by stitching as before, either along the petals first and then to the center or vise versa. When you reach the end of a side double knot your thread and cut off the excess. I left the tails for now.
- Continue in this manner until all of the pieces are sewn together. You will have to lightly bend the templates as more pieces are added to be able to more easily stitch the pieces together.
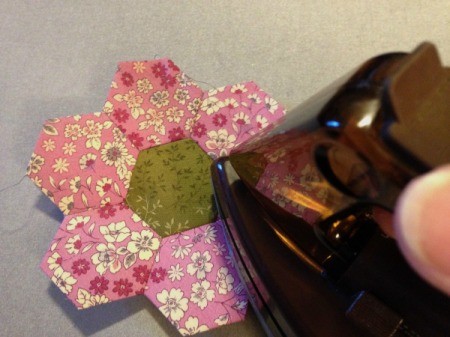
- Press with an iron.

- Now you can play around with how you want to arrange the hexagon flowers. I am not yet sure exactly how large I want to make the final quilt, so I am playing with how to arrange one central block and then surround it with other ones.
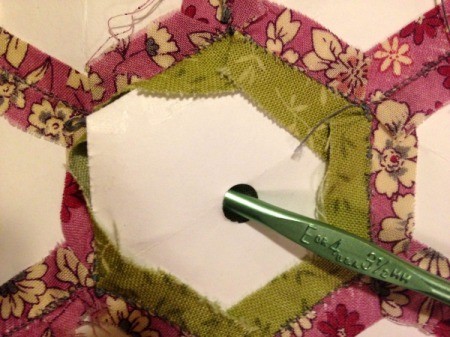
- Once you have all sides of a hexagon block attached to the adjoining ones you may remove the paper templates. The holes punched into the center of the paper templates will allow you to use a crochet hook or a chopstick/dowel to help remove them from the fabric. The templates can be reused a few times. (This photo is an example of how to remove the templates when it is the appropriate time.)

Add your voice! Click below to comment. ThriftyFun is powered by your wisdom!

Athena
Bronze Feedback Medal for All Time! 215 Feedbacks March 9, 20180 found this helpful
love it

attosa
Diamond Post Medal for All Time! 1,246 Posts March 10, 20180 found this helpful
Beautiful work!!!

March 23, 20180 found this helpful
I recently took a class of the same. I fell in love with it and has proven to help pass the time when I am waiting for someone at the hospital. Don't need a sewing machine just needle, thread and fabric scarps.
Add your voice! Click below to comment. ThriftyFun is powered by your wisdom!

 I recently took a class to learn this fun, new to me, method of paper piecing. The project quickly became addictive. I have done foundation style paper piecing in the past and love the ability to work with smaller pieces to create the block, but you are still saddled to your sewing machine. This style of piecing is all hand done so it is the perfect project for TV time or to take on the go. I absolutely love it.