melissa
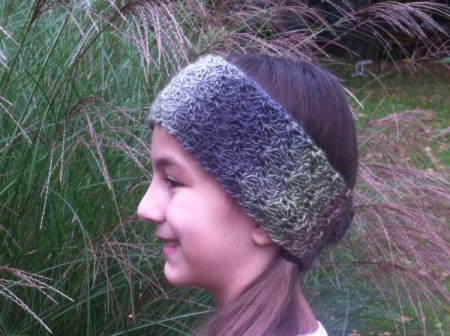
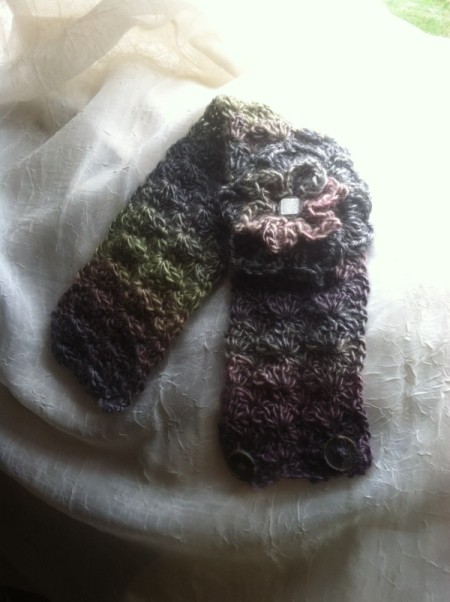
Silver Post Medal for All Time! 293 Posts 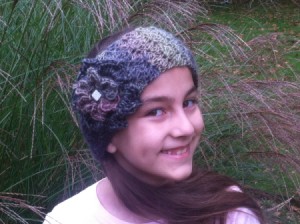 Headbands are so popular in winter lately! They are a cute addition to keep your ears warm when you don't want to completely ruin your hair with a hat. I created this pattern with a pretty fan stitch design. It gives it a unique look, yet remains quick and super easy.
These also make great gifts, as you do not have to know your recipient's exact head size. These adjust to fit child through adult, simply button it accordingly. I have to warn you though, they're a bit addictive. You can't make just one, have fun! :)
Total Time: About 1 1/2 hours
Yield: As many as you like:)
Supplies:
- "I" crochet hook
- scissors
- embroidery needle for weaving in ends
- small amount of #4 worsted weight yarn. I used Red Heart Boutique Unforgettable, Color; Echo.
- 2 buttons, about 3/4" across
Steps:
- Chain 19, work 2 double crochet in 4th chain from hook, skip 2 chains, 1 single crochet in next chain,*skip 2 chains, 4 double crochet in next chain, skip 2 chains,1 single crochet in next chain*, repeat to end, chain 3, turn.
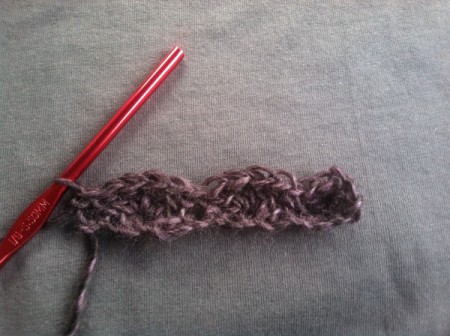
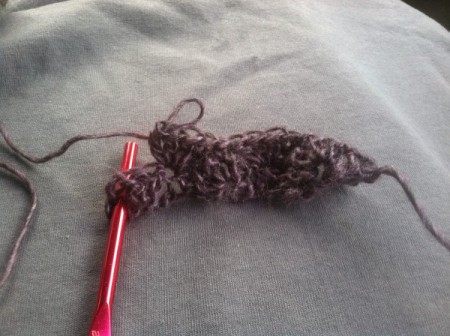
- 2 double crochet in first single crochet, 1 single crochet BETWEEN 2nd and 3rd double crochet of next group. You will not be crocheting in a stitch, but the space between the stitches, see?
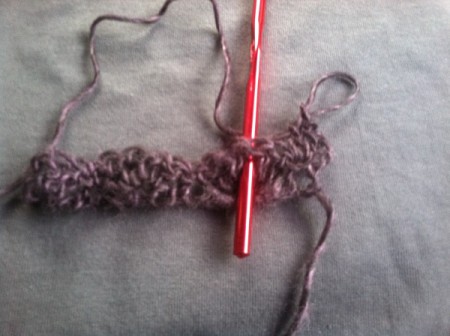
- Skip 2 double crochet, 4 double crochet in next single crochet, skip 2 double crochet, 1 single crochet between 2nd and 3rd double crochet. Continue with pattern, ending with a single crochet in the space between the last double crochet and the turning chain, see?

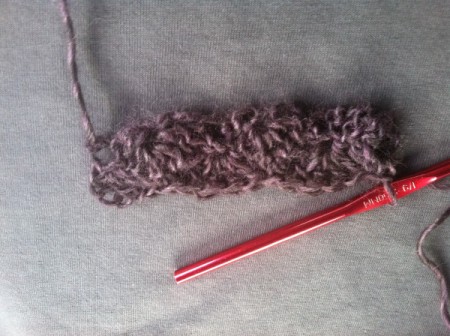
- Here are 2 rows done.

- Ch 3, 2dc in first sc, *1 sc between 2nd and 3rd dc of group, skip 2 dc, 4 dc in next sc, skip 2 dc, repeat from*, ending with 1 sc in sp between last dc and turning ch.
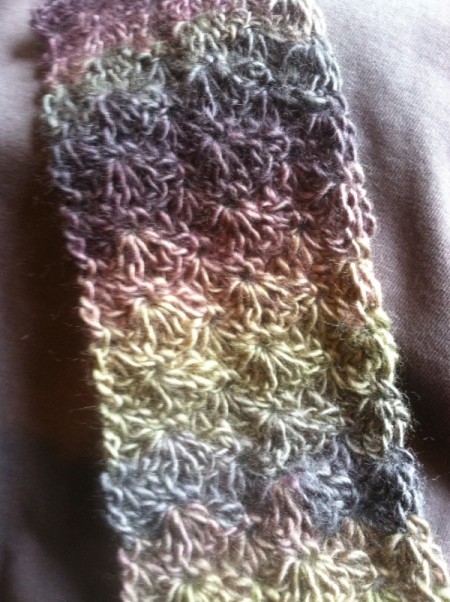
- Repeat last step about 42 times. My headband ended up being about 19 1/2" long when finished and laying flat. The yarn I used is #4 worsted, but it is thinner than typical #4 Red Heart. If you choose a more standard #4, your headband will be a bit larger and longer than mine. You may not need to work as many rows. Simply measure and stitch until it is about 19 1/2" long.
- You will of course need to weave in your ends, you may as well do it now. Notice the natural shading and progression of colors this particular type of yarn will give you, I just love it!

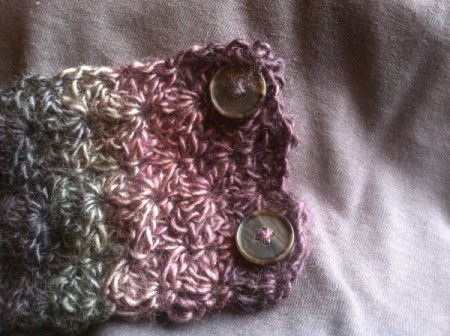
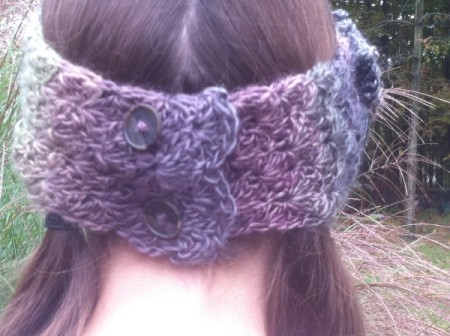
- On the "right" side of your headband, go to the first rows. Choose 2 coordinating buttons about 3/4 inch across, and sew them to the end like this. I chose to simply use my yarn to attach them. May as well put those scraps to good use!

- You will simply overlap the other end and push the buttons through your work to fasten. No specific place. This is what makes it one size fits all.:)

- You may leave it plain...

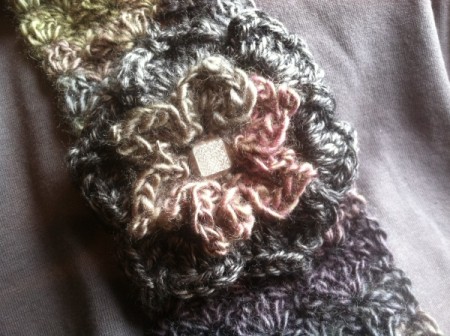
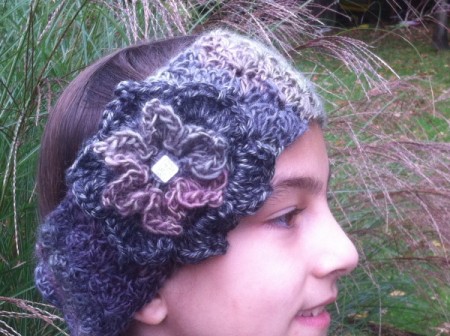
- Or you may sew a flower on, any would look great, If you like the one I used, I have posted instructions here:

- I always sew a button to the center of my flowers. Gives it a little something extra. Just make sure your button is machine washable.


One ball of this yarn will make 3, possibly even 4 headbands. Each ball is just under $5 at Walmart, making your headbands approximately $1.25 each. Sounds good to me. Have fun!
Add your voice! Click below to comment. ThriftyFun is powered by your wisdom!

October 17, 20140 found this helpful
This looks nice, like the colors

Becky Miles
Bronze Feedback Medal for All Time! 158 Feedbacks October 18, 20140 found this helpful
Very cute! Looks easy to make. Thanks for the tutorial.

October 20, 20140 found this helpful
That is just beautiful. I know they work great to keep warm on these cold winter days. It seems that as long as the ears and neck are covered, the head stays warm too!

October 20, 20140 found this helpful
I love that you can adjust to fit. I can never find them loose enough. Love the colors.

October 21, 20140 found this helpful
That is a beautiful headband! Perfect for winter!

October 21, 20140 found this helpful
Love it! And it seems easy to make.

October 24, 20140 found this helpful
This will be a nice, chic way to keep ears at my home warm this winter.

November 3, 20140 found this helpful
That is adorable and cannot believe the time to do it.
Add your voice! Click below to comment. ThriftyFun is powered by your wisdom!

 Headbands are so popular in winter lately! They are a cute addition to keep your ears warm when you don't want to completely ruin your hair with a hat. I created this pattern with a pretty fan stitch design. It gives it a unique look, yet remains quick and super easy.

