ShirleyE
Bronze Post Medal for All Time! 239 Posts  You know how those wires get tangled with each other and with other things and get lost in the bottom of your handbag. Make this handy earbud pouch and you will always have them to hand.
Supplies:
- felt in 3 colours
- pen
- something round to draw around
- scissors
- crewel needle
- embroidery thread
- a few inches of narrow ribbon
- keyring

Steps:
- Draw 3 circles, one on each colour of felt, about 3 inches in diameter.
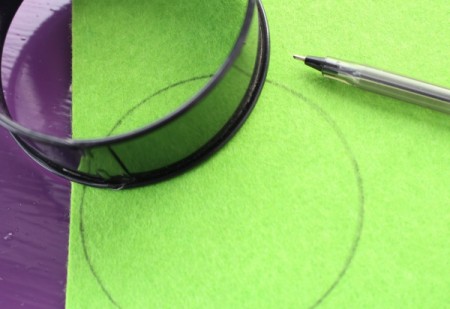
- Cut out the circles.

- Put two of the circles together.

- Cut them into two pieces just off centre.

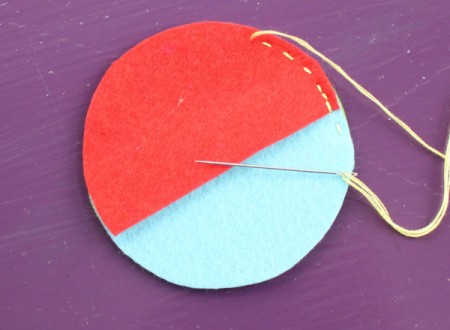
- Discard the smaller pieces and place the larger pieces on the third circle so that they overlap. (Red piece overlaps the light blue one; both are sitting on the green circle in this step.)

- Sew them together using the embroidery thread using a running stitch. Reinforce the place where they overlap with a few back stitches. Sew half way around the red partial circle.

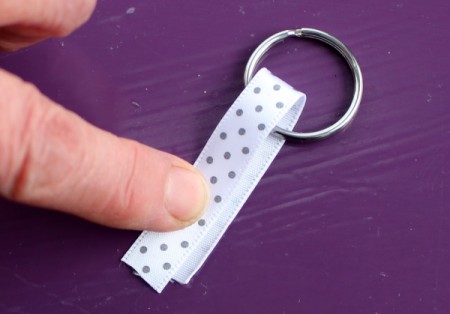
- Pass the ribbon through the key ring and fold it in half.

- Place the ends of the ribbon between the circles and catch it in with a few backstitches, then continue to stitch all around.

- Attach it to your handbag or belt.

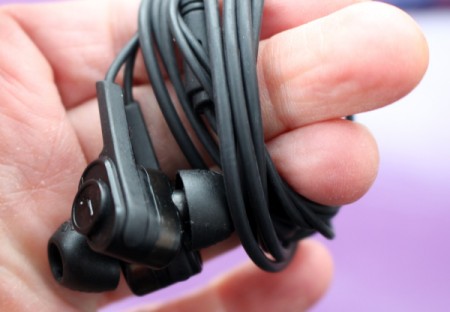
- To use the pod, wind your earbud wires neatly around your fingers.

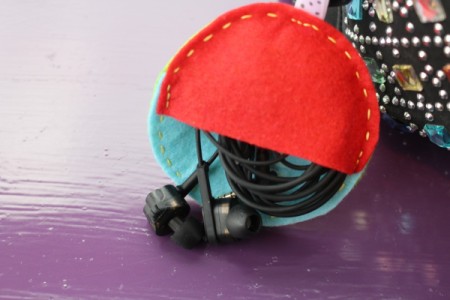
- Push them up into the top flap.

- Then into the the other half.

- Pull the top flap back down again to hide them.

Add your voice! Click below to comment. ThriftyFun is powered by your wisdom!

April 3, 20180 found this helpful
I have always wrapped the cords around fingers and then securing with an elastic band (which does nothing to hide them or keep them from being damaged). This Ear Bud Pod sounds like a really good idea.

April 8, 20180 found this helpful
Wonderful idea!
Add your voice! Click below to comment. ThriftyFun is powered by your wisdom!

 You know how those wires get tangled with each other and with other things and get lost in the bottom of your handbag. Make this handy earbud pouch and you will always have them to hand.

