lalala...
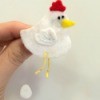
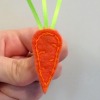
Gold Post Medal for All Time! 899 Posts  This adorable hen pin is so silly with her little hanging egg. I find that making these pins is a great way to use up the felt scraps that I have from other projects.
Supplies:
- white felt
- red felt
- yellow felt
- yellow embroidery floss
- black embroidery floss
- white embroidery floss
- hot glue gun
- pin back
- thin fishing line
- scissors
- sewing needle
- template
Download the Template!
Steps:
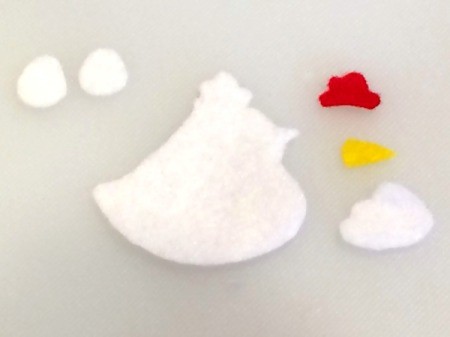
- Cut out template pieces. Stick template pieces to felt using rolled pieces of tape. Cut out felt pieces.
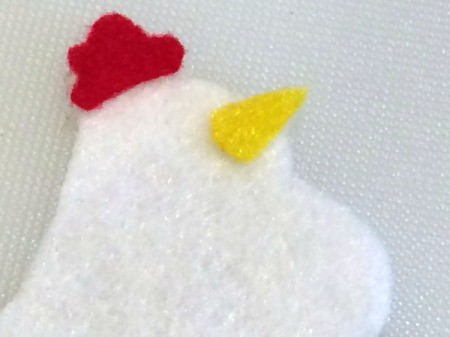
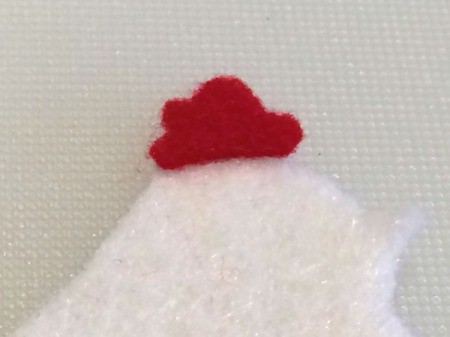
- Glue the waddle to the top of the hen.
- Now glue the beak to the hen.

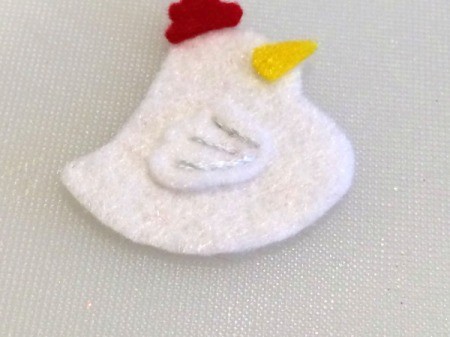
- Use white embroidery floss to attach the wing by stitching the details on.
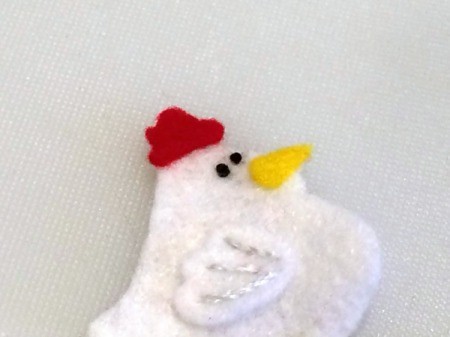
- Create the eyes using black embroidery floss, by making French knots.
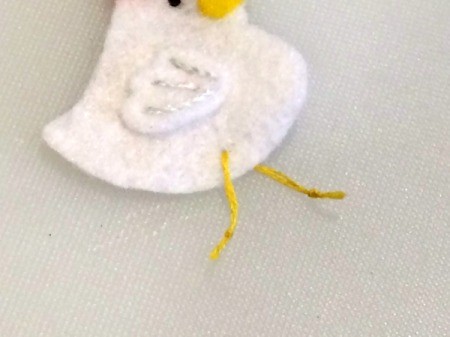
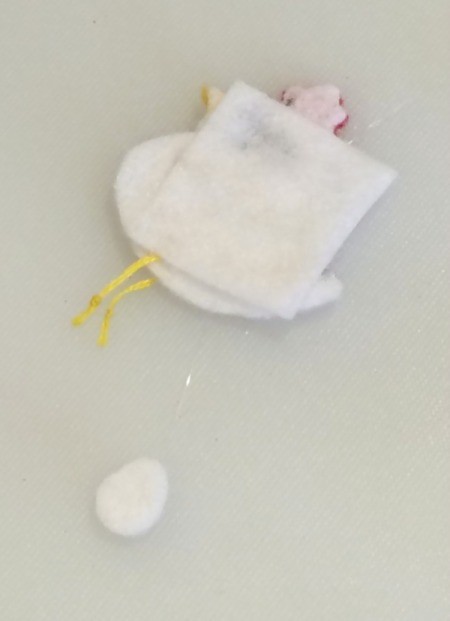
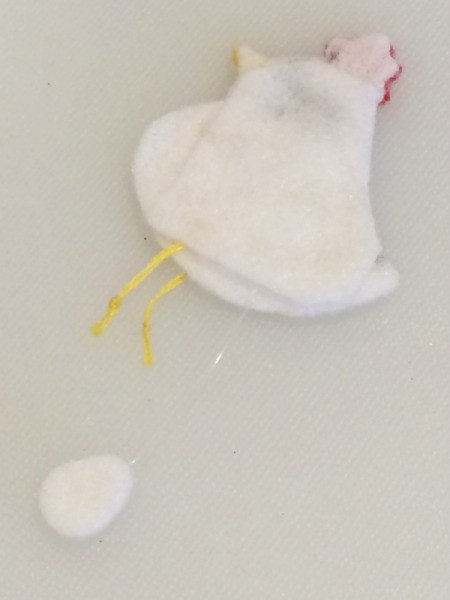
- Tie the end of a piece of yellow embroidery floss, use a needle to bring it through he felt, cut it at desired length, and knot the other end. This will create the legs and feet.
- Cut a short piece of fishing line, sandwich the end between the two egg pieces, and adhere the other end to the back of the hen. Cut a small square of white felt and adhere it to the back of the hen, trimming off any excess around the edges.
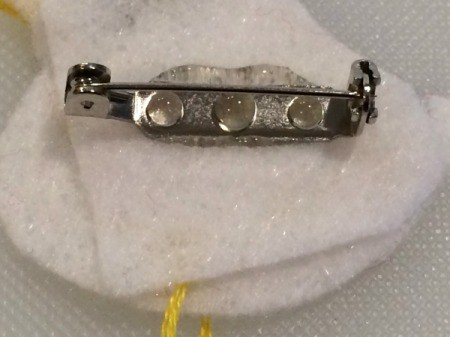
- Now glue the pin back to the hen. Allow to dry. Enjoy your new pin!
Add your voice! Click below to comment. ThriftyFun is powered by your wisdom!