lalala...
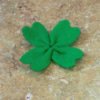
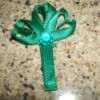
Gold Post Medal for All Time! 899 Posts This cute little shamrock only takes a few minutes to make. You can use a safety pin to wear it as a pin or it could be glued to a barrette and worn in your hair. Either way it will ensure that you don't get pinched!
Supplies:
- small piece of cardboard
- Sharpie, fine tip
- green felt
- scissors
- thread
- needle
- safety pin or barrette (optional)
Directions:
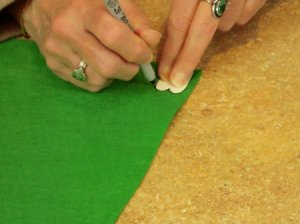
- Fold the piece of cardboard in half and draw your template along the folded edge.
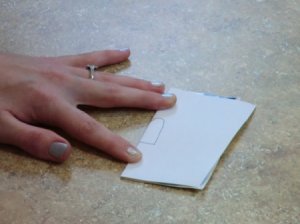
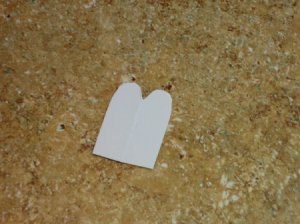
- Cut it out and open it up. Using a Sharpie, trace the shape onto the felt 4 times.

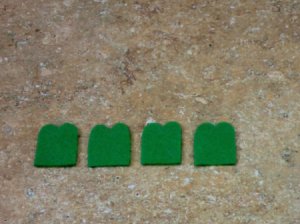
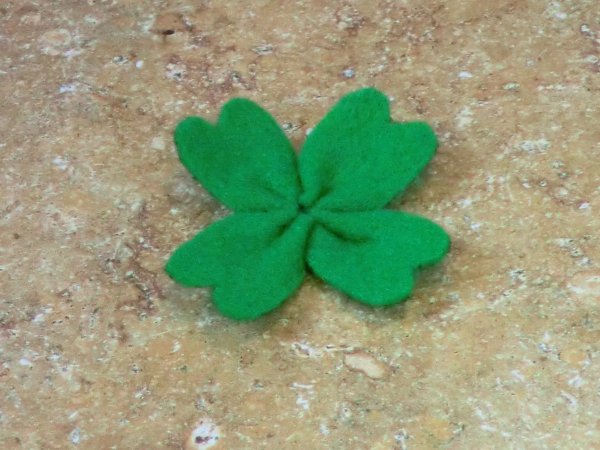
- Cut out all the felt pieces.
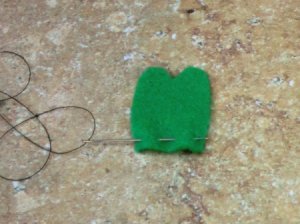
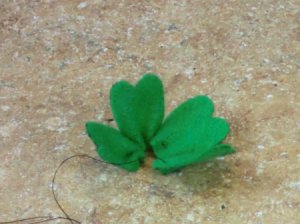
- Thread the needle and knot the end of the thread. Run the thread through all for of the pieces as follows: put the needle in from the top and come back through just a little bit over, then go down and up again. (It will go through each piece twice.)
- Continue until all four pieces have been threaded.
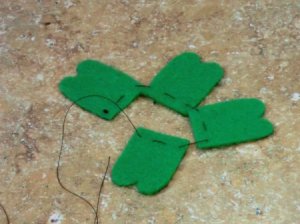
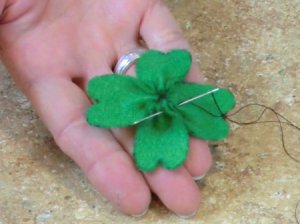
- Carefully bunch the pieces up, pulling the thread so that there is no excess thread in between the pieces. Curve the pieces to form a 4-leaf clover.
- Using your needle, sew your first and last clover leaf together. Knot your thread and cut off excess.
- Attach your clover to a safety pin or barrette and wear it!
Add your voice! Click below to comment. ThriftyFun is powered by your wisdom!
Pixiedust7
Gold Feedback Medal for All Time! 679 Feedbacks March 19, 20120 found this helpful
This is a Four-Leafed Clover. If you want a Shamrock, use only 3 leaves and add a thin stem.
Add your voice! Click below to comment. ThriftyFun is powered by your wisdom!