lalala...
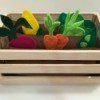
Gold Post Medal for All Time! 899 Posts 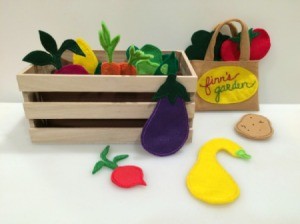 My mom and I recently made this fun toy for my son. It turned out cuter than I ever imagined. :)
Supplies:
- felt
- embroidery floss
- polyfil
- needle
- scissors
- wooden crate
- veggie templates (or create your own)
- sewing machine
Click here to download the veggie templates.
Steps:
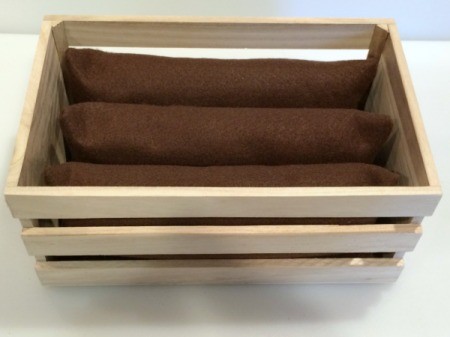
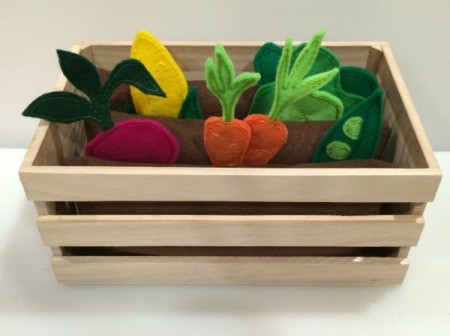
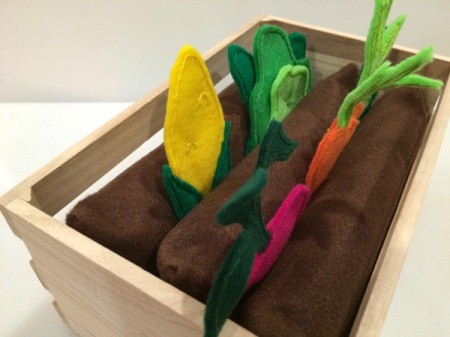
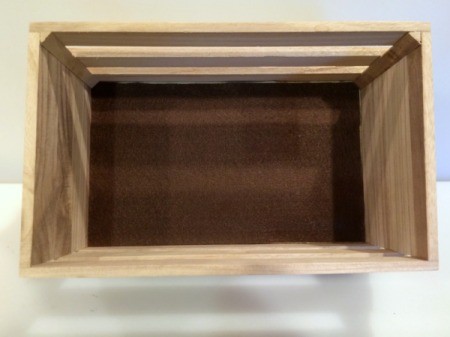
- For the garden, cut a piece of brown felt large enough to cover the inside bottom of the crate. You can glue it in place if you want.
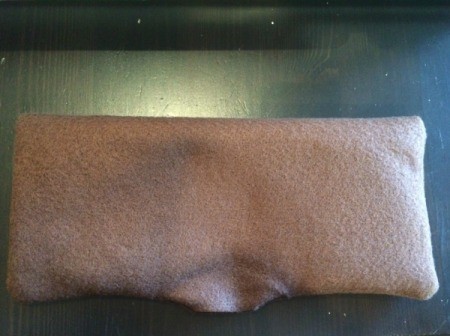
- Measure the width of the crate and cut pieces of felt that are 1-2 inches longer than the crate width (this will allow for seams). Decide how tall you want your "garden rows" to be. Cut pieces of felt to make the rows.
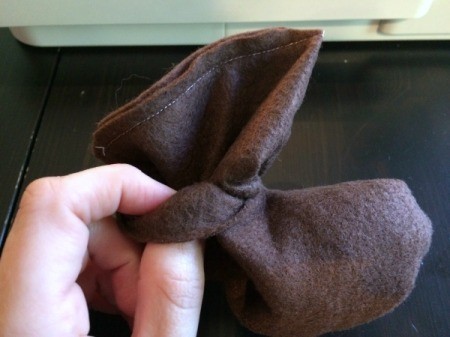
- Sew along the 3 sides of the felt, leaving an opening for turning and stuffing. Clip the corners.
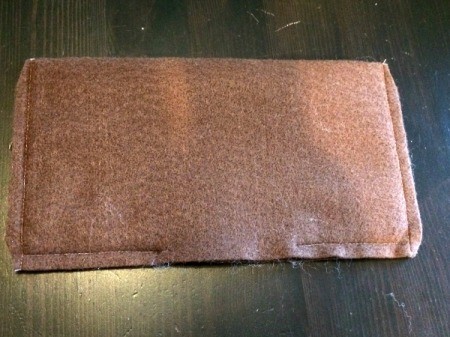
- Turn the sewn row right side out.
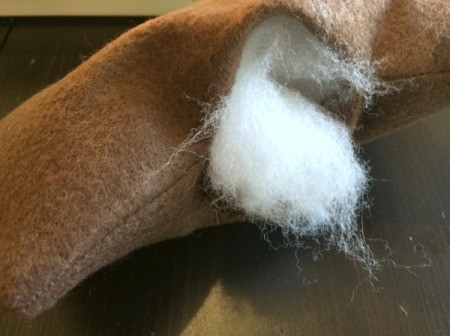
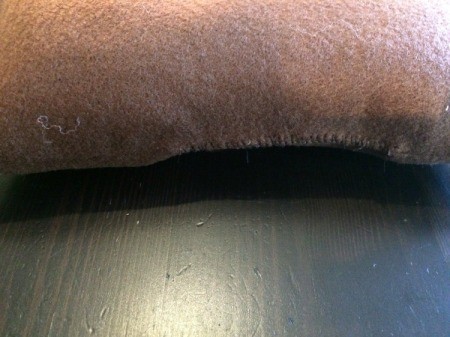
- Stuff with polyfil. Use a barrel stitch to close up the row. Make enough rows to fill the crate.
- Put the rows into the crate. You can glue them in place if you desire.

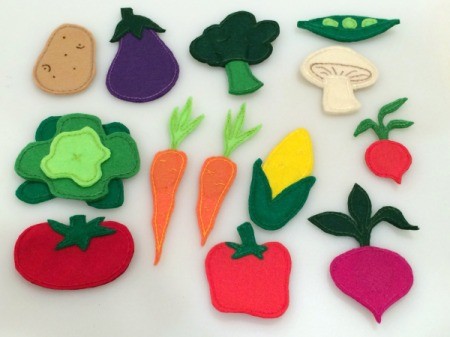
- Detailed instructions are below for all of the veggies pictured here:
- Cut out the pieces for each vegetable. Use embroidery floss to backstitch the pieces together.
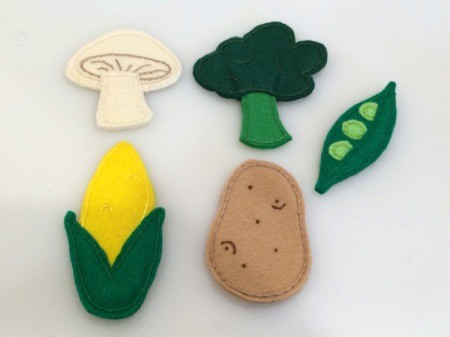
Mushroom: Cut out 2 (#1), 1 (#2), and 1 (#3). Sew the #1 pieces together, around the cap, then attach #2. Add the gills. Now stitch on the #3 piece.
Broccoli: Sew the #1 pieces together. Then put the top of the stem in between the #2 pieces. Sew around the outer edge. Add details to the head if you desire.
Corn: Sew the #1 pieces together. Put the ear in between the #2 pieces. Sew around the outer edge. Add extra stitches where the husk meets the ear for added security.
Potato: Sew the two potato pieces together. Add the eyes (using French knots) and other details.
Peas: Sew the #1 pieces to one of the #2 pieces. Now sew the #2 pieces together. Add the #3 piece and sew in place.
- Cut out the pieces for each vegetable. Use embroidery floss to backstitch the pieces together.
Pepper: Sew the #1 pieces together. Then place a #2 piece on each side. Sew the #2 pieces in place.
Eggplant: Sew the #1 pieces together. Then place a #2 piece on each side. Sew the #2 pieces in place.
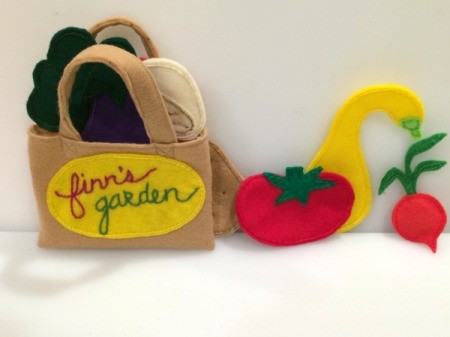
Tomato: Sew the #1 pieces together. Then place a #2 piece on each side. Sew the #2 pieces in place.
Carrots: Sew the #1 pieces together. Make two sets if you are making 2 carrots. Place a carrot top between the #2A pieces and the #2B pieces. Sew together.
- Cut out the pieces for each vegetable. Use embroidery floss to backstitch the pieces together.
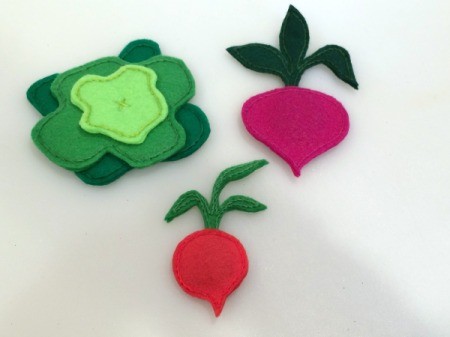
Lettuce: Sew the #1 pieces together. Sew the #2 pieces together. Sew the #3 pieces together. Layer the three pieces together, then sew together with an "x" in the center.
Beet: Sew the #1 pieces together. Then place the beet top between the #2 pieces. Sew around outer edge of the #2 pieces.
Radish: Sew the #1 pieces together. Then place the beet top between the #2 pieces. Sew around outer edge of the #2 pieces.
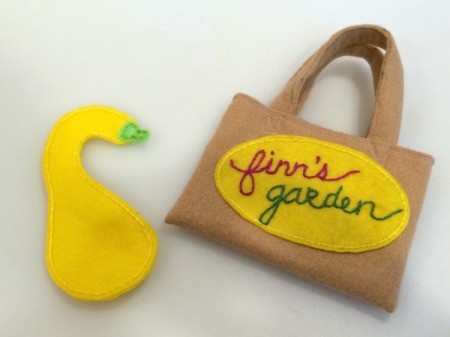
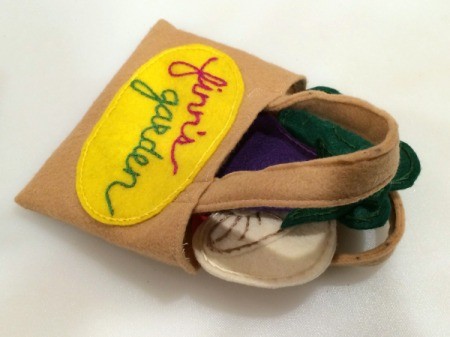
- We created a little shopping bag, to hold the extra veggies, out of scraps of felt. We also created a crook neck squash at the last minute. :)
- To plant the garden just simply tuck the veggies into the rows.
Add your voice! Click below to comment. ThriftyFun is powered by your wisdom!
February 26, 20150 found this helpful
ABSOLUTELY precious! My kids've always gardened with me; they would've LOVED to have this adorable toy to get them through the winter! Heck, I think a lot of adults might find 'planting' felt veggies therapeutic right now. Me included! GREAT job!
Anonymous
February 24, 20160 found this helpful
great for a play group
Add your voice! Click below to comment. ThriftyFun is powered by your wisdom!