lalala...
Gold Post Medal for All Time! 899 Posts 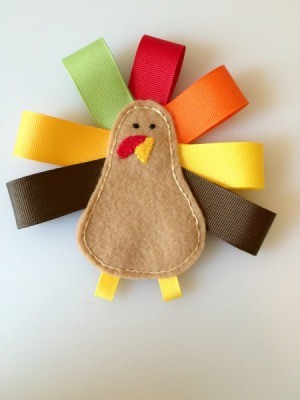 This colorful ribbon turkey can be used as an ornament, attached to elastic for a napkin ring, or even used as a baby toy!
Supplies:
- 7 1" wide ribbon (asst. colors, 5" long)
- 2 1/4" wide ribbon (yellow, 2" long)
- felt (lt. brown, yellow, and red)
- embroidery floss (lt. brown, black, yellow, and red)
- sewing needle
- scissors
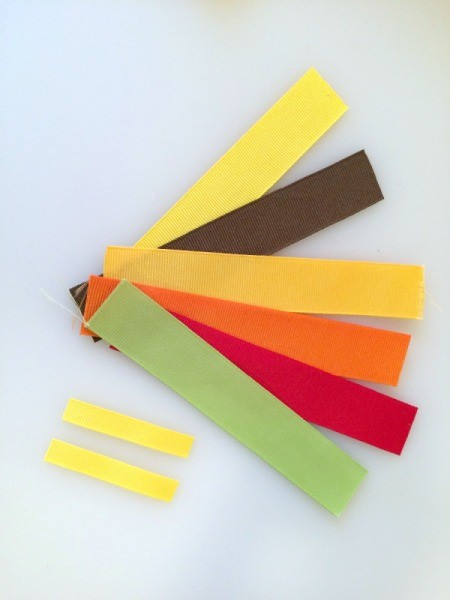
Steps:
- Create templates for the turkey body, beak, and waddle.
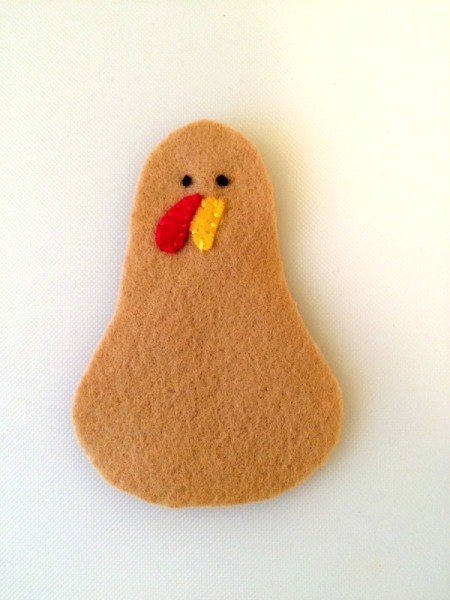
- Stick the templates to the felt (using rolls of tape) and cut out two bodies, a beak, and a waddle.
- Use coordinating embroidery floss to attach the beak to the turkey "front". Then attach the waddle.
- Create the eyes using a French knot.

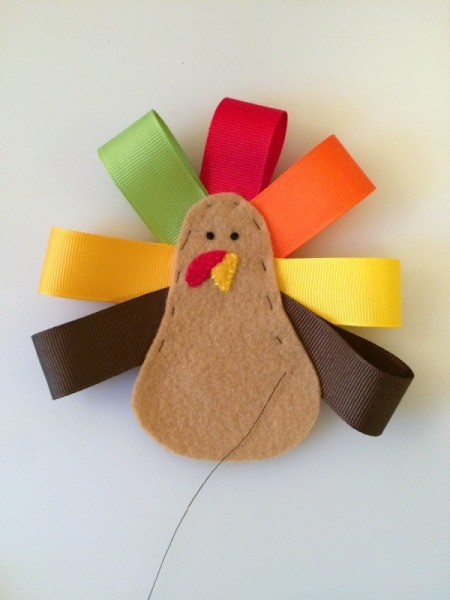
- Use a lighter to melt the ribbon edges to prevent fraying. Fold the pieces of ribbon over and pin them to the back of turkey "front" to create feathers. Use a basting stitch to attach the ribbons to the felt, then remove the pins.

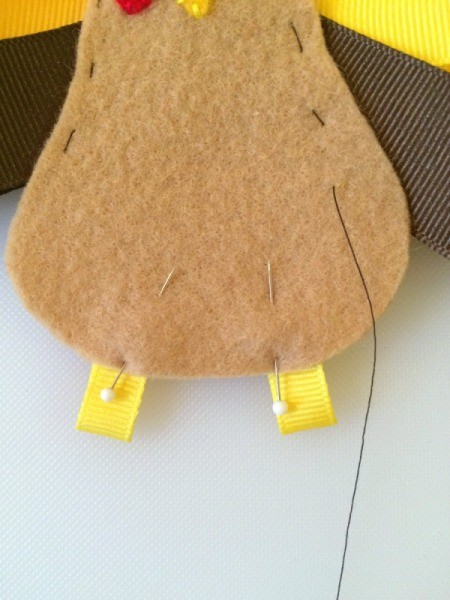
- Fold the 1/4" ribbon pieces in half to create feet. Pin them in place.

- Sandwich the ribbons between the turkey "back" and "front". Sew the bodies together using a backstitch. Remove the basting stitch.
- NOTE: To make napkin rings, attach a loop of elastic to the back to wrap around cloth napkins. To make an ornament, attach a loop of ribbon to the back to hang it from. Leave it as is for a baby toy.
Add your voice! Click below to comment. ThriftyFun is powered by your wisdom!

 This colorful ribbon turkey can be used as an ornament, attached to elastic for a napkin ring, or even used as a baby toy!
