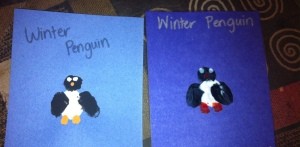
 This penguin craft is perfect to use with preschool age children and older. It provides almost instant gratification for those impatient little ones who want want immediate results. I incorporated this craft into the winter animal theme in my Pre-K class. You could also use it while learning the letter 'P' or after reading a book about penguins.
Total Time: 5 minutes to make and 30 minutes to dry
Yield: 1+
Source: Google
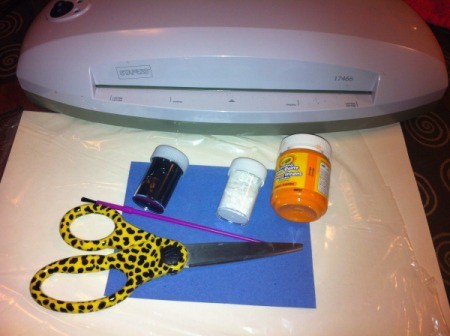
Supplies:
- 1/4 piece dark blue construction paper
- scissors
- finger paint (black, orange, and white)
- 1+ paint brushes
- laminator with sheet (optional)
- marker (optional)
- different color paper and paint (optional)
Steps:
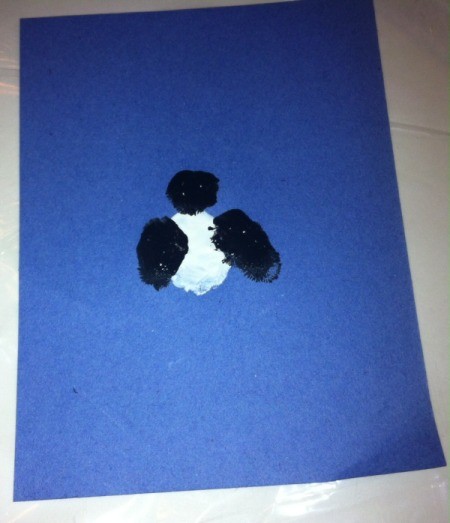
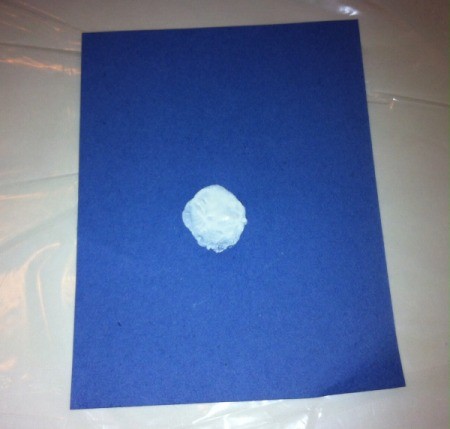
- Cut the blue paper into fourths. Use one square per penguin. Dip your thumb in white paint and press it into the paper. Lift your thumb and press down again. Repeat this to create a fluffier penguin belly.
- Dip your thumb or index finger in black paint. I found that it was easier for me to use my index finger and for my students to use their thumbs. Now place a print on the right and left sides of the white belly. Make the black prints slightly slanted away from the white print. Dip your index finger in black again a place a tip print on top of the belly print.

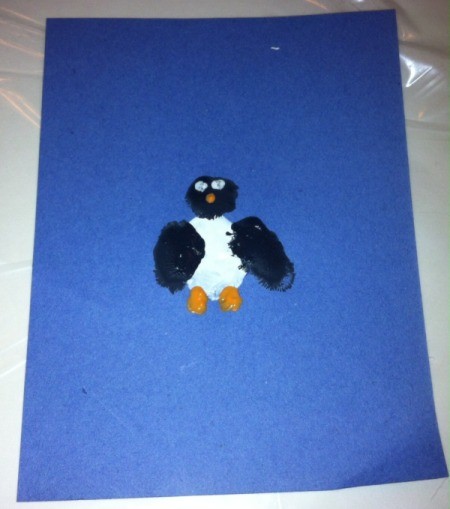
- Use a paint brush and orange paint to add the feet and nose. Add the eyes with white and black.

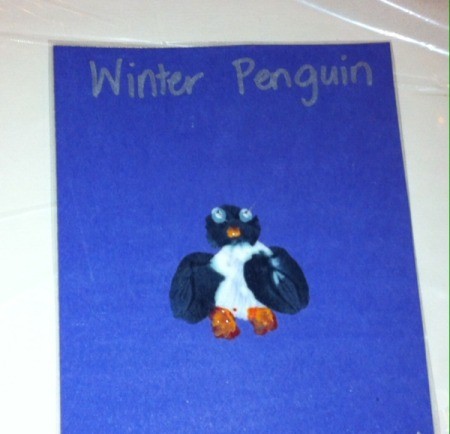
- Allow to dry and laminate for durability! You can also add a title, date, and name if you choose.

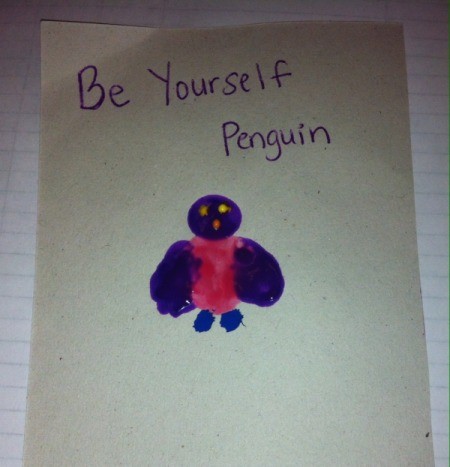
- Optional: Allow for some creativity. Children choose their own colors to create penguins. This could be used to celebrate each child's individuality.

 This penguin craft is perfect to use with preschool age children and older. It provides almost instant gratification for those impatient little ones who want want immediate results. I incorporated this craft into the winter animal theme in my Pre-K class. You could also use it while learning the letter 'P' or after reading a book about penguins.

