 Walking across the room to find puddles on the floor is never fun. But the good news for me was that I didn't have to run out in the heat of August to buy a new air conditioner. Who wants to deal with putting in a new one of those when it's 95 degrees out, right?
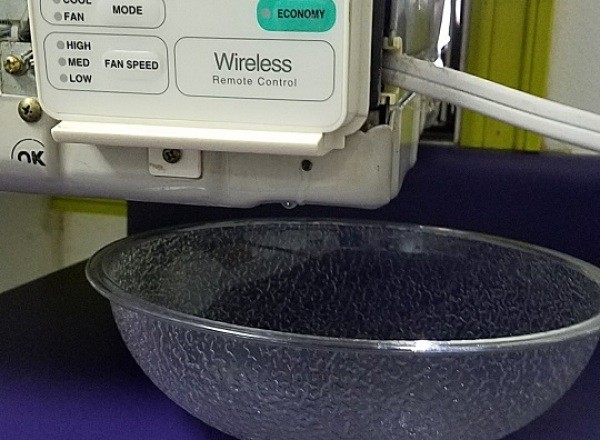
It took just 1 hour to figure out and required exactly 4 tools: a screwdriver, a flashlight, a spray bottle, and a pipe cleaner. Some paper towels, an old bath towel, and a wide salad bowl are handy to deal with the water. You might want to Google the brand and model number of your unit. You will be looking to see if the manual has disassembly instructions. Mine did.
Unplug the AC before you start.
Lift up and remove the front cover. This can be tricky, but prying on it until the little plastic part you can't ever replace breaks is absolutely NEVER the right choice. Mine had to be swung all the way up till it kinda clicked, and then pulled gently straight out towards my face.
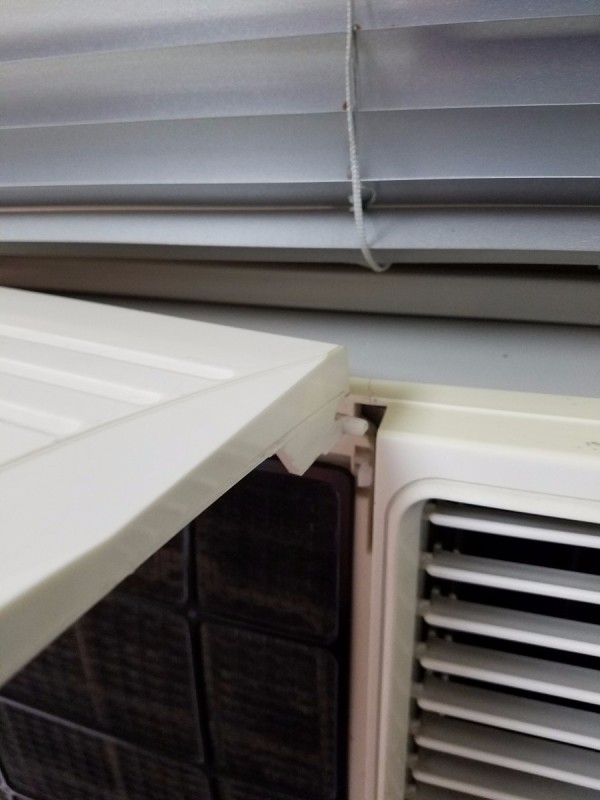
Lift off the filthy filter screen. Remember to ask nicely if you are going to get somebody to clean it for you while you work:=)
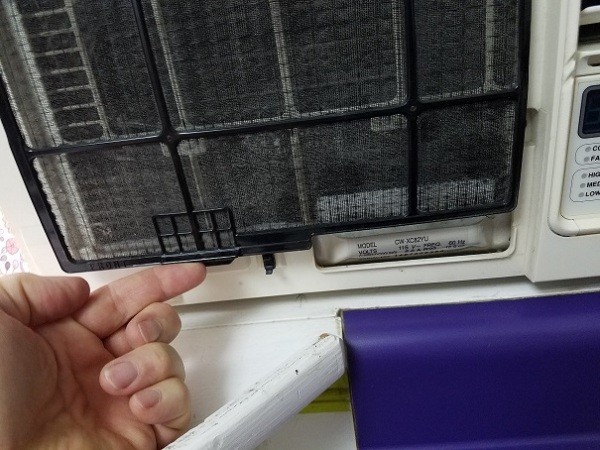
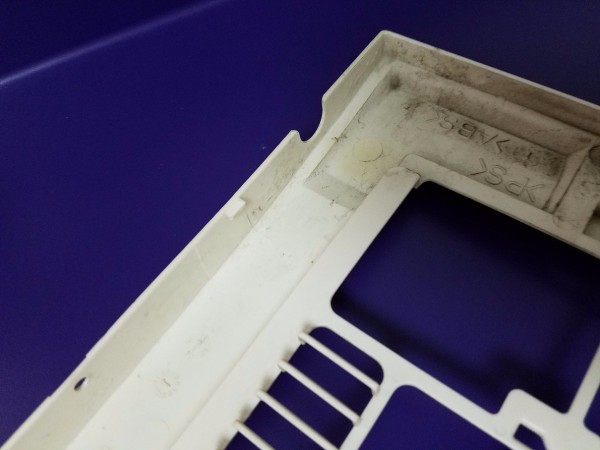
At this point there is always a big plastic cover on every AC I've ever touched. Usually there is a smaller section of plastic that includes the buttons and controls. Be sure to focus your efforts on the cover and leave the controls alone. Mine had three screws, and two plastic clips. The screws were found on the right and left side, and 1 in the middle. It can be a challenge to figure out the designer's mind once the screws are out. Just keep in mind that the screws are there to keep things from rattling. The hidden and sometimes infuriating little clips actually hold it together during the assemble process.
Again: prying on it until the little plastic part you can't ever replace breaks is absolutely NEVER the right choice.
The plastic clips usually require just a slight bit of pressure right or left or up or down. Then the thing typically swings up from the top front. Once up, it usually takes a tiny bit of lift up in the vertical. Don't lose patience. You really don't want to listen to that broken plastic rattle on those hot summer nights!
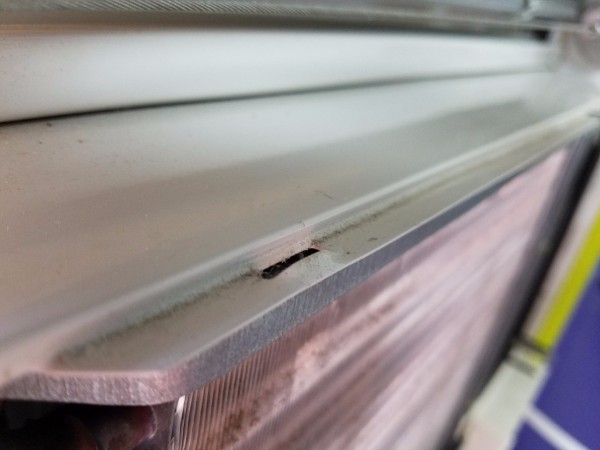
The AC itself is an open assembly mounted within a box. This box is mounted in your window. There is usually a handle of some sort that you can pull on to slide this partway into the room. Some units have a bent metal bracket with a screw or screws that prevent you from sliding it out without their removal. Your model may vary (YMMV).
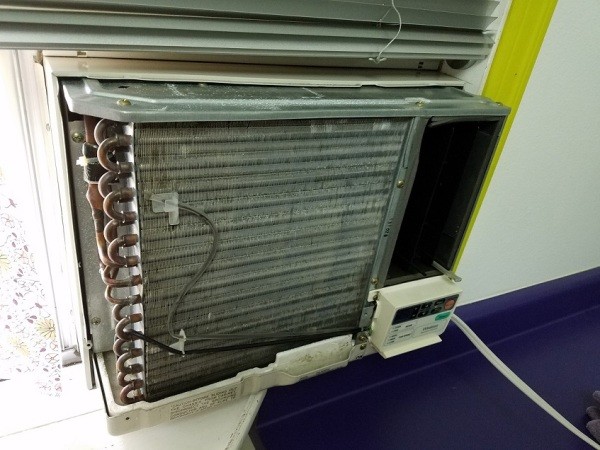
CAUTION: These AC units are very heavy. I have no idea how you have it mounted in the window. Mine is screwed up, down, right, and left. On my unit the bracket outside is bolted to the exterior wall and to the AC's box. Test that the AC is stable as you pull it out. Or, even better - get help to take it all the way out and put it on the floor or a stout table.
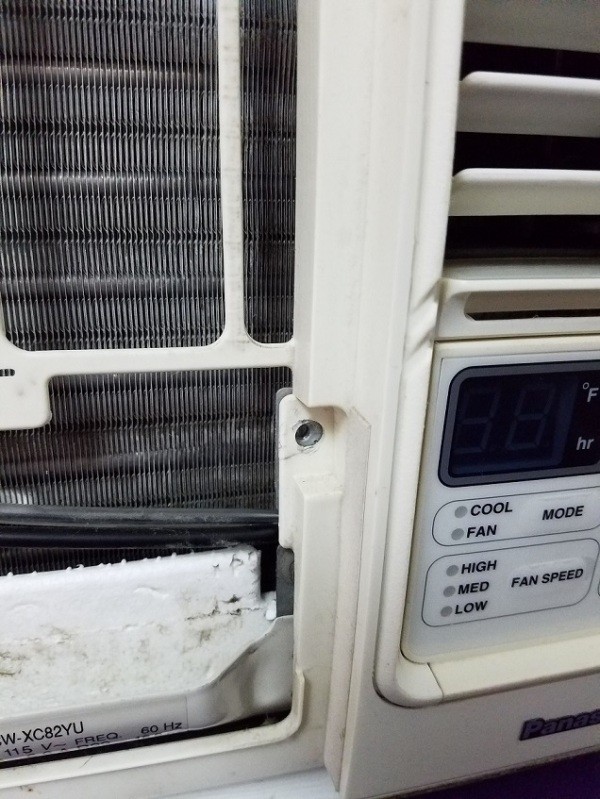
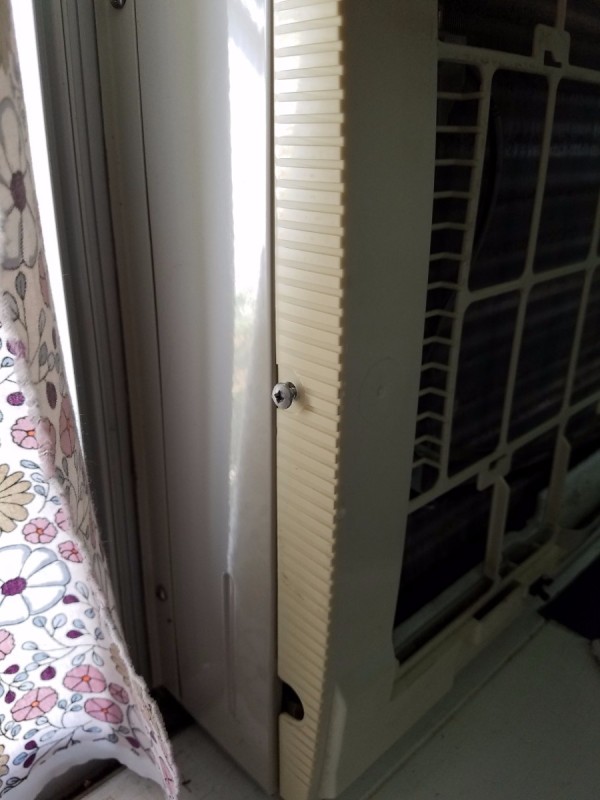
All AC units have a cool side indoors, and a hot side outdoors. The cool side makes water by pulling it from the air like a cold glass of ice tea on a humid day. This water is called condensate. Each side has a delicate object that looks like the radiator in your car. The outside one is called a condenser, the inside one is called the evaporator. Wikipedia has a great article on the science of the heat pump and refrigeration cycle: https://en.wikipedia.org/wiki/Heat_pump_and_refrigeration_cycle
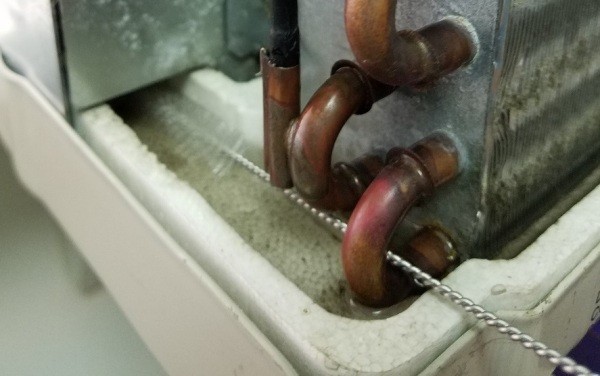
My unit has a Styrofoam box tray that sits under the evaporator and collects the condensate. A small path takes the condensate back to the evaporator. A fan splashes it all over the evaporator increasing the efficiency of the process. I typically hear a splashing sound when the unit gets turned off. This process also dries most of the water up, so my unit doesn't need a drain.
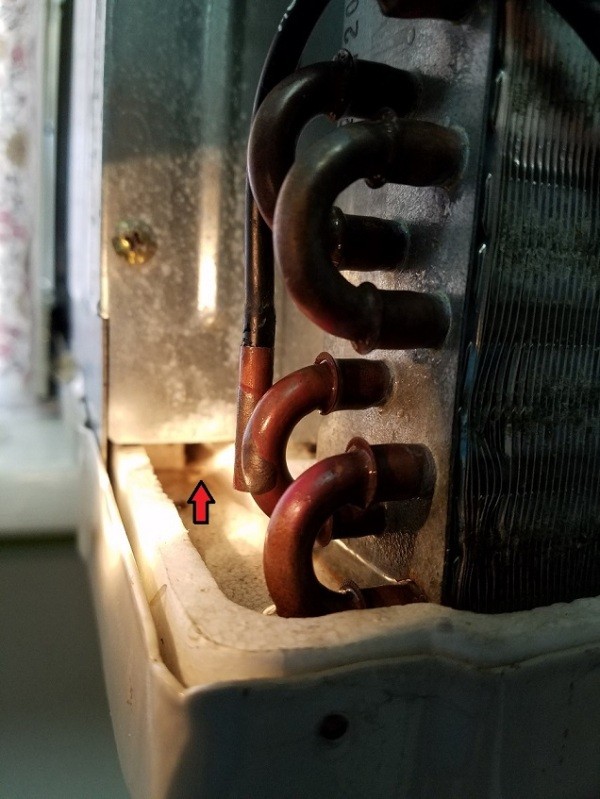
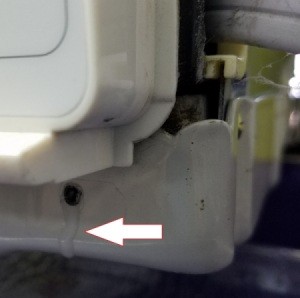
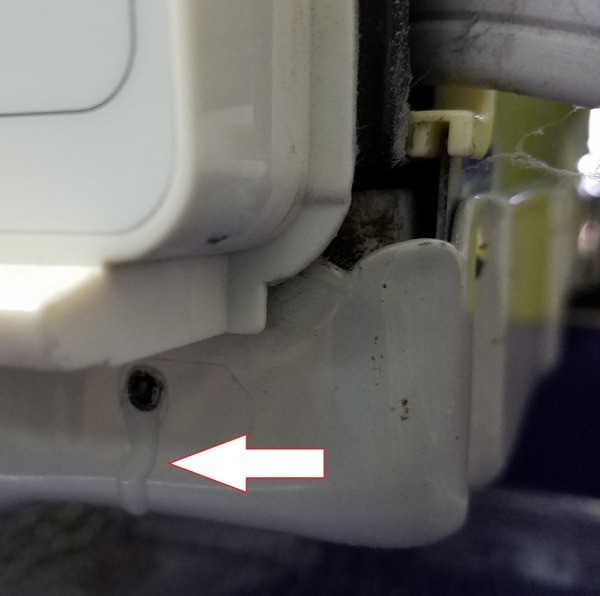
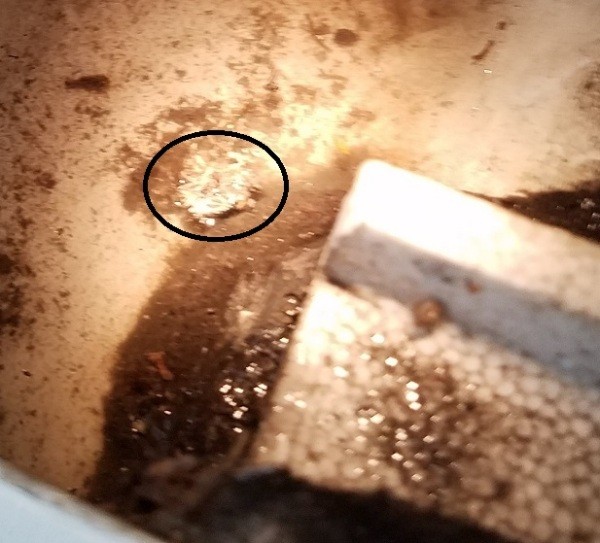
The water in mine was overflowing the Styrofoam box tray and leaking out the lowest possible point (picture of screw hole with drip).
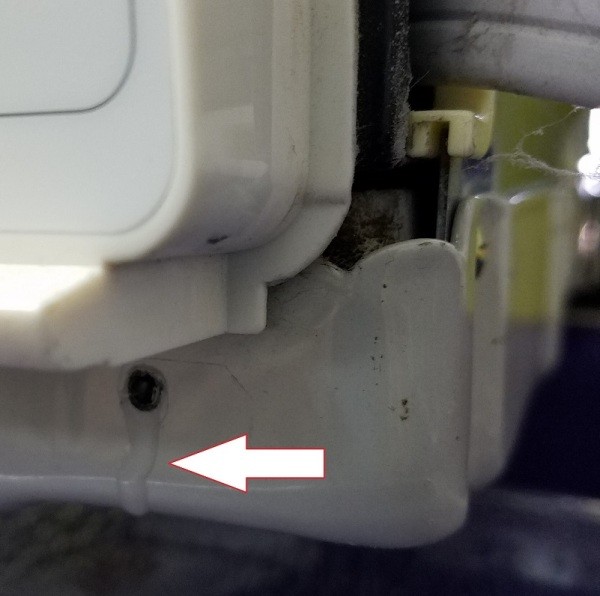
Some folks' first thought would be to just plug this with a screw and a plastic washer, but then the water would just find the next level somewhere else. I had noticed the splashing sound was absent.
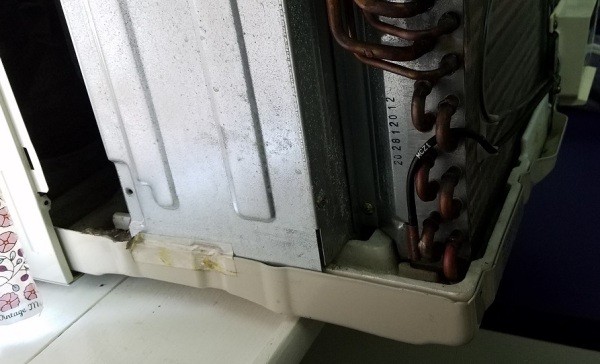
I used a paper towel as a wick to pull the water out of the tray and into a salad bowl or bucket. It does take some time. Likely not as much time as you would think. This was far easier than cleaning up water sloshing all over or getting my shop vacuum setup for wet vac mode. But, either of those would be much faster. And you could vac the fan side of the evaporator fins while you were there.

The next steps here were simple:
Congratulations! If that worked you just saved hundreds of dollars in service calls or a new AC.
Add your voice! Click below to comment. ThriftyFun is powered by your wisdom!