
DianaHM
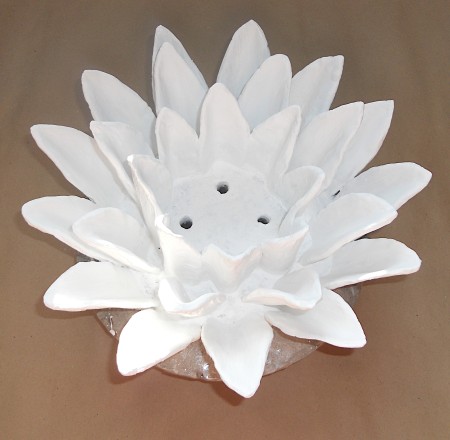
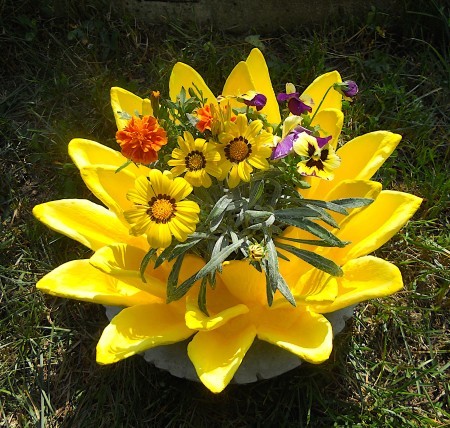
Silver Answer Medal for All Time! 440 Answers  Never throw away old jeans. Since denim is a fairly durable fabric and also absorbs concrete mix well, I used old jeans to make the petals of this flower-shaped flowerpot. This flowerpot looks beautiful not only on a lawn, but also on any hard surface in the yard or inside the house. It will delight you with its "bloom", even in winter.
This work is under CC BY-NC-SA 4.0.
Total Time: 3-4 Hours + 6-7 days for the concrete, varnish and paint to dry.
Yield: Flower pot about 4.5" high and 13" outside diameter.
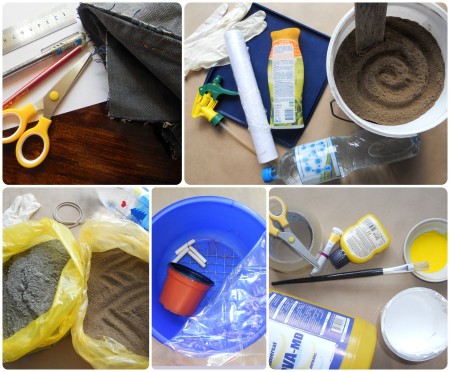
Supplies:
- old jeans
- Portland cement
- fine sand
- water without impurities
- exterior acrylic paint of white color and lemon colorant, yellow acrylic paint
- primer for concrete or PVA glue
- acrylic varnish for concrete
- reinforcing mesh, 14 × 14 cm
- food film
- Plastic bag
- plastic bottle with a curved shape for petal molds
- plastic bowl, bottom diameter 25 cm, top diameter 32 cm, height 15 cm
- plastic container for flowers with many holes in the bottom: bottom diameter 10 cm, top diameter 12 cm, height 10 cm
- 4 sticks, 7 cm long and 1 cm thick
- sandpaper
- strong rope, 1 m
- elastic rope, 50 cm
- sprayer
- brush with a long handle
- duct tape
- trays or a hard, flat surface
- paper or cardboard
- scissors
- pen
- ruler
- trowel for mixing sand, cement
- rubber gloves
- containers for mixing cement, sand, paints
- knife or blade
Steps:
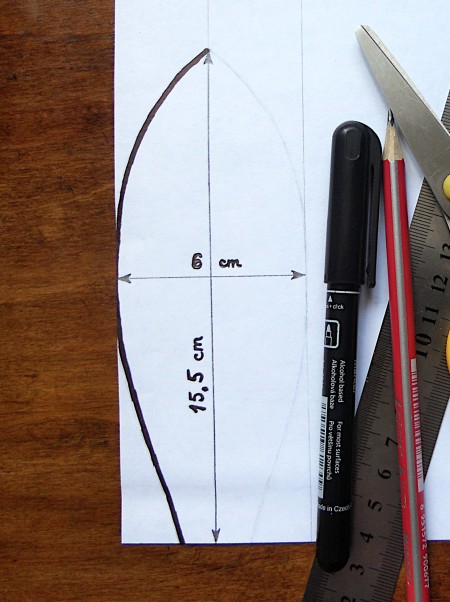
- Make a pattern out of paper or cardboard in the shape of future petals: length 15.5 cm, width 6 cm.

- Place the template on fabric, trace the outline with a pen and cut out the fabric petal. Cut out 29 petals out of old jeans.
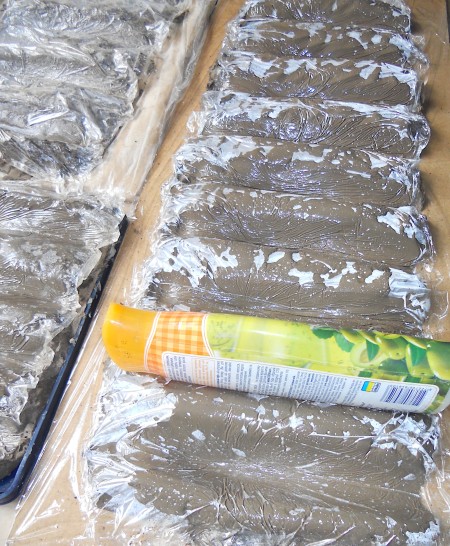
- Moisten the sand and lay it on tray or a flat hard surface. Cover it with food film and press down using a plastic curvy bottle to make the molds for the petals.
Straighten the food film in the mold so that the wrinkles are like streaks.
In total, you need to make 29 molds. 
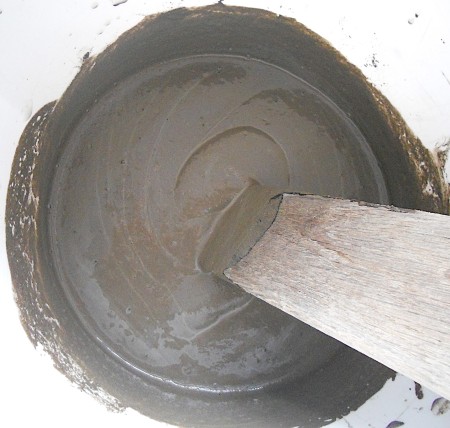
- Make concrete: mix 1 part of cement and 1 part of sand, add water to get a solution as on the photo.

- Dip each fabric petal into the concrete mix making sure it is completely soaked. Then lay them neatly and precisely in the molds. If the molds are narrow, then first pour a spoonful of concrete into it, and then lay a fabric petal dunk in the concrete.
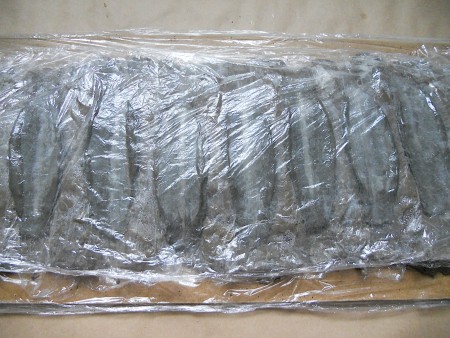
- Cover the concrete petals with food film so the drying will be slow.
If the edges of the petals are not even, then cut off the excess with a sharp knife or blade, when the cement hardens a little.
2-3 times every 6-8 hours, spray some water on the cement petals and cover with food film again. This will make the petals stronger. Wait for them to dry well. 
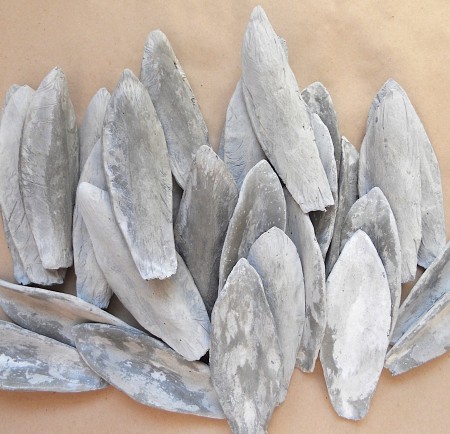
- Take out the petals from the molds. Ground edges and irregularities with sandpaper. Wash off cement dust with water.

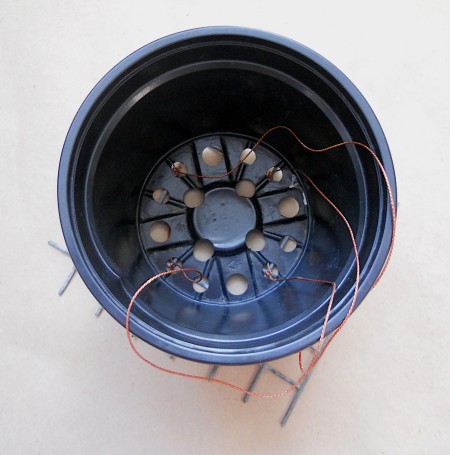
- Put the plastic flowers pot in the center of the reinforcing mesh so that the 4 holes do not intersect with the grid bars (these holes are needed for insert sticks to form water evacuation holes), and the other 4 holes intersect (these holes are needed to attach ropes to the wire mesh for easy removal from the mold). Mark this position.
Cut the rope in two and tie to the reinforcing mesh in 4 places, threading them through the holes in the plant container. 
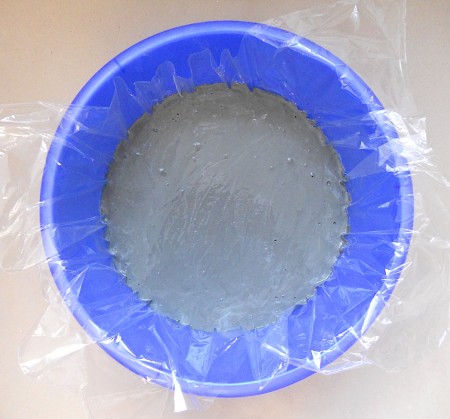
- Lay the film in the plastic bowl - mold for cement base.
Make concrete: mix 1 part of cement and 2 parts of sand, add water. Pour concrete into the bowl with a thickness of 5 cm. Shake the bowl gently to remove air bubbles of the concrete and avoid holes at the bottom. 
- Put the reinforcing mesh with the container tied to it in the center. Immerse the reinforcing mesh at the center of the cement base.
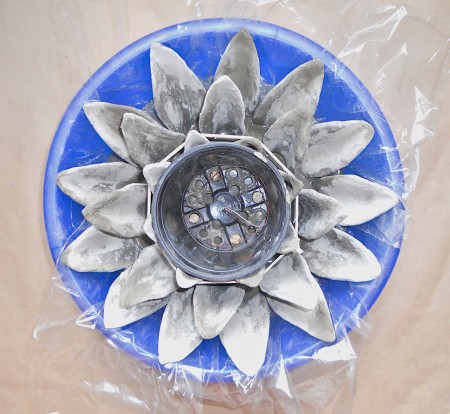
Put the pot on the surface of the cement base. Thanks to the attached threads, the container does not shift from the previously noted position. Insert 4 sticks into the holes. Check whether the sticks have reached the bottom, measuring the protruding end of sticks - it should be 2 cm. Proceed to the next step immediately. - Stick in the concrete base the first row of petals around the pot - 8 pieces. Fix them with the elastic rope. Then stick the second row of petals - 8 pcs, then the third row - 13 pcs. The third row of petals leans on the outer edge of the plastic bowl.
Cover with film and leave to harden and dry for several days. 
- After the final drying, remove the elastic rope, cut other ropes and remove the container.
There will be gaps between each petal of the inner row. As you don't want soil or water to flow away through those holes, you have to fill them. Use film to fill the outer part of the row and use cement mortar to fill in the holes. Let it dry.
Remove the film after drying. - Prime concrete surface and let it dry well.
- Since I like the contrast between the color of the concrete and the painted parts, I decided to leave the base of the flower planter unpainted. To get such contrast cover the base with duct tape.
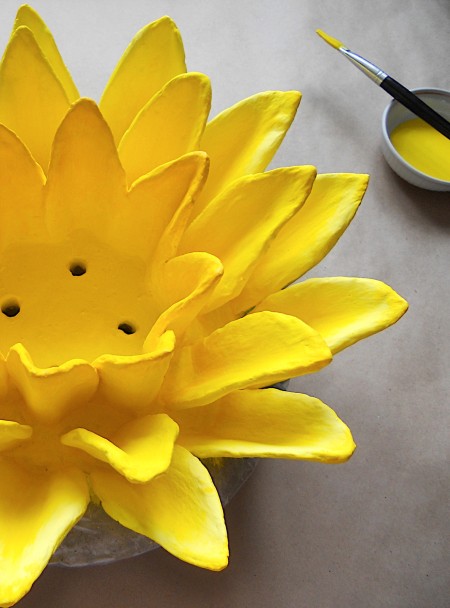
Paint the petals with white paint. Start to paint from the middle of the flower planter and the bottom of the petals. Apply two coats of paint. Wait for the paint to dry. 
- Add lemon colorant to white paint and color the petals. Use yellow acrylic paint for shadows.
Wait for the paint to dry. Remove the duct tape from the base of the flower planter. 
- To further protect the paint from the effects of rain apply an acrylic varnish.
Wait for everything to dry completely. - Add soil into the center of the flower planter and plant flowers. Transfer the flower planter to any place you like, holding it by base. Enjoy it!

Add your voice! Click below to comment. ThriftyFun is powered by your wisdom!

Marg
Gold Feedback Medal for All Time! 520 Feedbacks May 17, 20210 found this helpful
That looks absolutely fabulous! I can't imagine doing it myself but thumbs up to you. Fantastic!
Marg from England.

DianaHM
Silver Answer Medal for All Time! 440 Answers May 17, 20210 found this helpful
Thank you so much! I am really glad that you like my flowerpot. And thank you for voting!

July 4, 20210 found this helpful
Excellent Diana!!!
Add your voice! Click below to comment. ThriftyFun is powered by your wisdom!
 Never throw away old jeans. Since denim is a fairly durable fabric and also absorbs concrete mix well, I used old jeans to make the petals of this flower-shaped flowerpot. This flowerpot looks beautiful not only on a lawn, but also on any hard surface in the yard or inside the house. It will delight you with its "bloom", even in winter.
