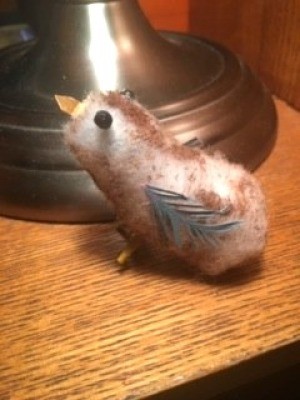
 After watching a few Youtube videos and using household items I had on hand, I made a little bird sculpture which could be used for garden or home crafting projects.
Total Time: 1 hour
Yield: 1
Supplies:
- aluminum foil
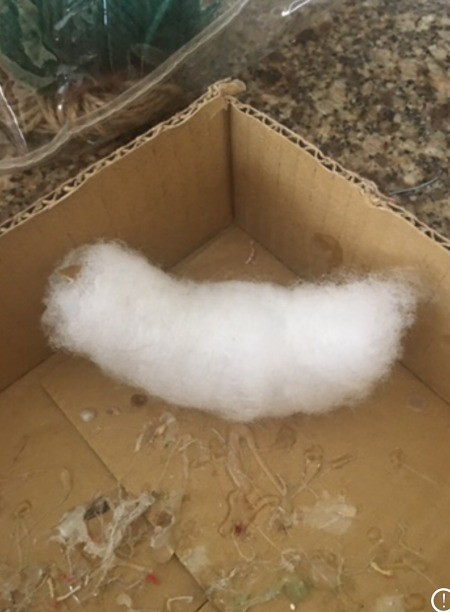
- batting or cotton
- acrylic paint
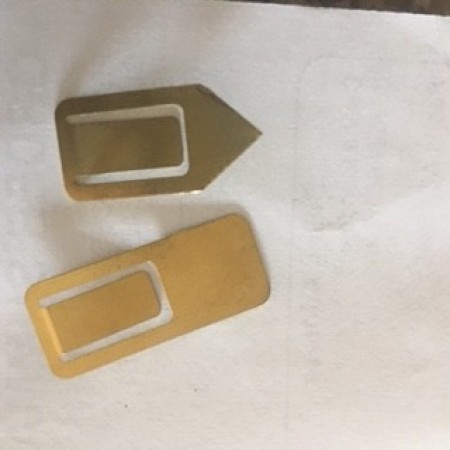
- square paper clip
- floral stems
- black beads for eyes
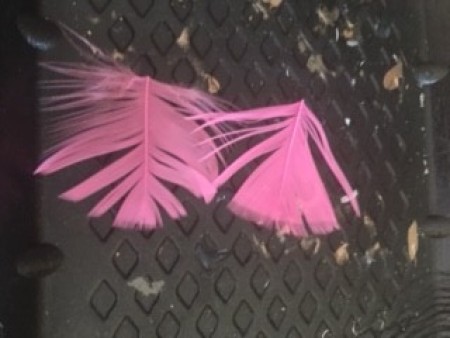
- two feathers
- paint brush
- glue
Steps:
- Crumple a piece of aluminum foil, estimating the size of bird you want to make. (This is just a guess.) Shape into a bird shape with head, body, and upturned end of bird's body.
- Wrap quilt batting around the foil sculpture and glue as you go. This is the step where I painted dabs of paint to give the bird some color (unless you want a white bird.)

- Next, I made a beak using a gold square paper clip, cutting it into a triangular shape and inserting the ends and glueing where the beak should be on the head. Then, I glued the eyes in place.

- Cutting two pieces of floral stems, I made the feet and painted them a gold color. These I inserted and glued to the bottom of the bird's body. This was an original idea I came up with after thinking what I might have that looked like birds feet!
- Because I had pink feathers, I painted mine blue and let them dry. Then, I glued them to the sides of the bird's body.

Add your voice! Click below to comment. ThriftyFun is powered by your wisdom!

August 31, 20200 found this helpful
This is so sweet! I might try to crochet one! Thanks for the inspiration!
---Robyn
Add your voice! Click below to comment. ThriftyFun is powered by your wisdom!

 After watching a few Youtube videos and using household items I had on hand, I made a little bird sculpture which could be used for garden or home crafting projects.