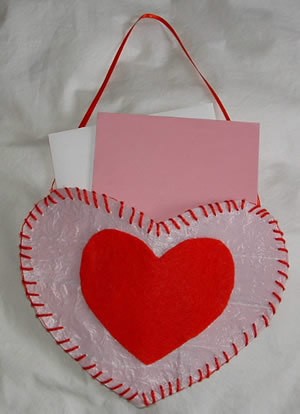
 Here is a quick fused plastic bag craft idea for Valentine's Day. This project involves no sewing or crocheting. It's makes a perfect kid's craft project that focuses on using recycled materials. This project was inspired by a recent comment I received from someone who wanted a recycled bag for Valentine's day but didn't know how to crochet.
So here's what I came up with. By using some pieces of red and white recycled plastic bags, some scrap yarn, a bit of ribbon and a small remnant of red felt, you or your children can put together this cute Valentine's heart bag.
Below you will find the picture tutorial that I made while I was creating this little Valentine's heart bag. Here is the step-by-step picture tutorial on how to DIY.
I used a retail plastic bag that had some red on it as I wanted my Valentine heart to have a red background. I cut out the store name and folded over the plastic so the red was all together in a block.

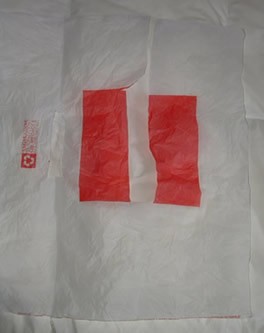
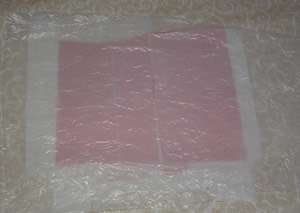
I then covered the red with a piece of plain white plastic bag. You must cover over the ink when fusing otherwise when the ink gets hot, it runs and gets real messy. I created two separate sheets for this project. Each sheet was made with 3 sheets of plastic. White on the bottom, red in the middle, and another white sheet covering over the red ink on the top.
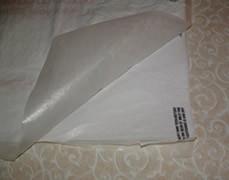
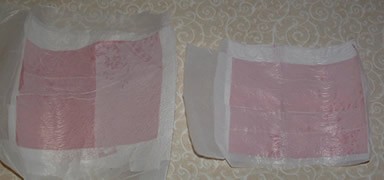
Next cover your plastic with a sheet of wax paper and apply heat using a medium setting on your iron. Don't get it too hot and keep your iron moving as you apply the heat. Let cool a moment and check your fusing. Repeat the process on the other side of the fused piece as you need to apply heat to both sides of your project. Make sure you have the wax paper completely over the plastic bag so you don't melt the plastic or create holes with the iron. If it needs more heat, apply heat from iron again but be careful not to get too hot as this will wrinkle up your plastic sheet. Once your fusing is to your liking, peel off the wax paper and here are the two pieces I created. As you can see the red is inside the plastic fused sheet I created but still shows through.


Next I cut a heart template using a piece of newspaper and then cut out my two hearts from the fused plastic pieces. Use whatever size of a heart that you want to make your project.

 Next I used some red yarn to lace around the outer edge. Put the two cut hearts together and I started by lacing through both layers on the upper right side as shown. I used a big darning needle which works well to poke the big holes into the fused plastic. I continued around by lacing through both layers until I got up to the left hand side to match the right side where I started. At this point I only laced through the front layer of the heart. This creates your opening for your cards.
Lastly, I cut a heart from a scrap of red felt I had and glued it onto the front of the fused plastic. I added a piece of red ribbon so that my Valentine's heart could be hung up. Fill your heart with Valentine's or candy and you are all done!
By Cindy from MyReycledBags.com
that is so neat, now I want to make one.
Zig

I read this too late for this year however I will
do one and printed out instructions for my
crafts to do for Valentine's.
Very cute!!!

Very good idea, thanks for sharing. Good luck.
I will so be trying this for my GrandPixies (pictured below in an April 2007 photo) for Valentine's Day next year! What an awesome idea. Boy my mind is just spinning with the possibilities for this idea!
God Bless, Sheila in Decatur, IL
