 Here's an easy way to do galaxy nail art without having to go to the salon for airbrushing or purchasing stick-on nail decals. It's so fun to do, too!
Total Time: 20 minutes
Yield: 10 beautiful galaxies
Supplies:
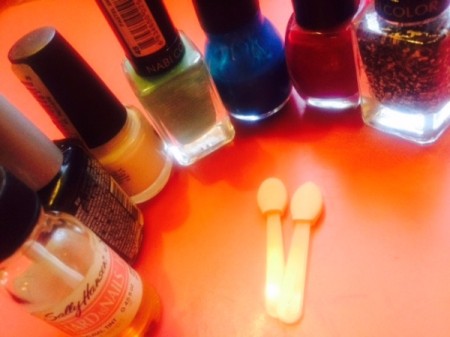
- 1 bottle of clear nail polish
- a few bottles of different coloured nail polish, including black or dark blue, and one white
- 1 bottle of glitter or confetti polish
- 2 mini eyeshadow sponge brushes

Steps:
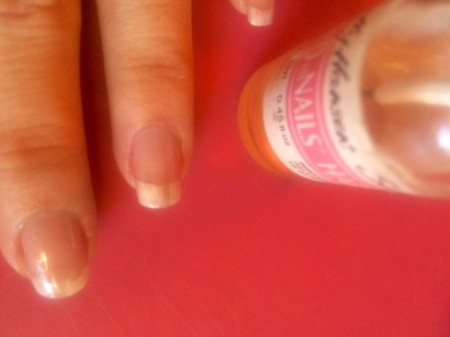
- Paint one coat of clear nail polish on your nails as a base coat. Let dry.

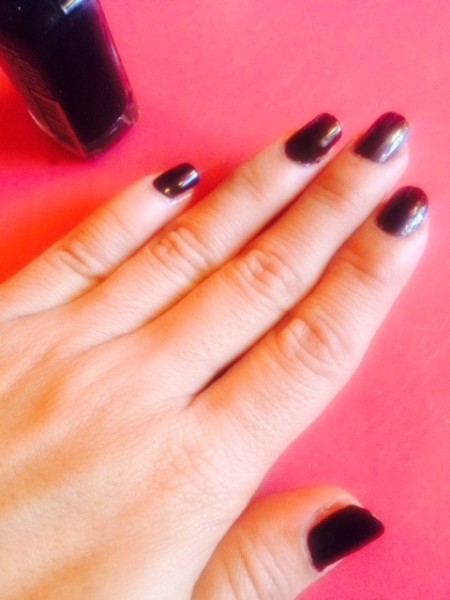
- Paint one coat of black or dark blue polish. This will serve as your your "space" backdrop.

- Dab a tiny bit of white nail polish onto one of your eyeshadow sponge applicators. Gently dab white on the centers of each nail.
- Dab a bit of blue (or whatever colour your fancy) onto another eyeshadow applicator. Gently paint around the white on your nails.
- On to the next colour! I chose vibrant pink. Get paint on the backside of one of the eyeshadow applicators (to be super thrifty) and dab lightly on the nails. If you want more pop, layer white on top and go round the nails. This makes them more flashy. Let them dry for a few minutes.
- Now to add the stars. Get your glitter or confetti nail polish and paint on top of all your nails. Let dry.
- Paint one last coat using the clear nail polish. This will serve as your topcoat. Shiny!
 Here's an easy way to do galaxy nail art without having to go to the salon for airbrushing or purchasing stick-on nail decals. It's so fun to do, too!

