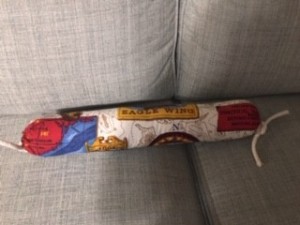
 Bolster pillows add a little variety with larger square or rectangle pillows for decorating on a bed or couch.
Total Time: 1 hour
Yield: 1
Supplies:
- fabric
- batting
- stuffing
- thread
- scissors
- unbleached muslin for pillow lining
Steps:
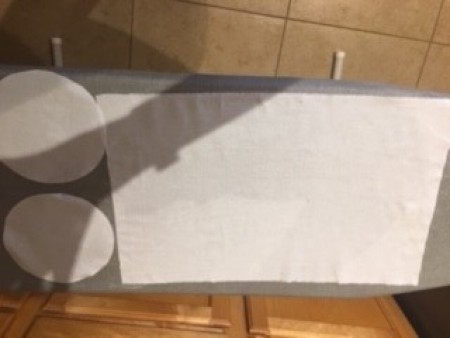
- Determine the diameter that you want for the two round ends of your finished bolster pillow. Draw a circle on paper using a pencil and compass with that diameter plus 1 inch. Cut the circle out. Determine the length and width of the rectangular fabric piece that will form the body of the bolster pillow. Calculate the perimeter of the round fabric pieces for the ends of the pillow by multiplying the diameter of the circles you drew by pi, or 3.14. Add 1 inch to the perimeter to get the cut length of the rectangular fabric piece. The width of the rectangular fabric piece is your desired finished width for the pillow, plus 1 inch. Do this step for both the outer fabric and the lining fabric.

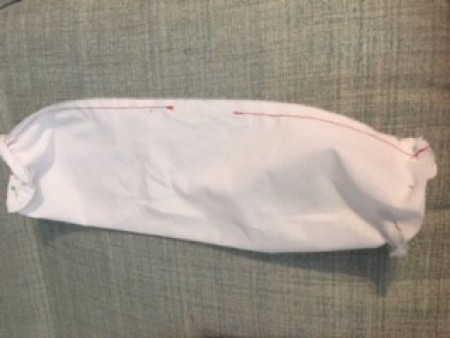
- Place the paper circle down onto your fabric and the lining fabric. Cut two circles from each fabric. Cut out two rectangles from the fabric and lining fabric to match the dimensions you determined for the body of the pillow. To make the inner bolster pillow, fold fabric piece in half lengthwise, right sides together. Pin and sew along lower edge. Turn right side out. This makes a rectangular tube.

- Repeat Step 2 for fabric bolster except finish the two ends by folding the raw edges under twice and sewing close to the edge before sewing the long lengthwise seam. Turn right side out. This makes a rectangular tube with a finished edge.
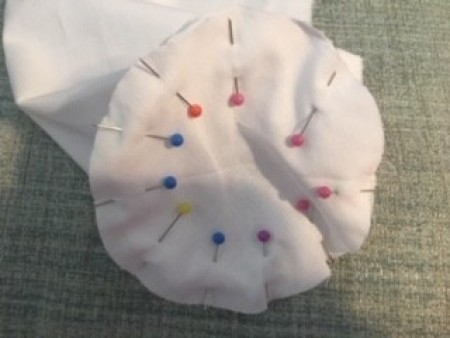
- Pin one of the circular fabric pieces into one open end of the fabric lining tube with the right sides together, matching the raw edges. Sew this seam using thread of a weight appropriate to your fabric, leaving a 1/2-inch seam allowance and taking care to keep the rest of the fabric out of the way of the needle. Repeat this with the second fabric circle and the other open end of the fabric tube, but this time stop sewing about 3 inches before you reach the end of the full circle. Snip with scissors into the seam allowance at approximately 1-inch intervals, close to but not into the stitching. This allows the excess fabric to ease into the seams and lie smoothly.

- Turn the pillow case right side out through the 3-inch gap you left in the second side seam. Stuff the pillow with polyester fiberfill through the gap. The handle of a wooden spoon or the blunt end of a thick knitting needle can be helpful for this task. Stop when the bolster pillow is as densely packed with stuffing as you desire. Sew opening closed. Insert bolster lining tube into fabric tube. I threaded rope through the hemmed end pieces using a safety pin to push it around the inside of the seam. When this was completed, I knotted the rope twice to keep the lining bolster inside of the pillow.
- Fold the raw fabric edges of the 3-inch gap in the side seam to the inside and pin. Neatly slipstitch the gap closed by hand with a needle and thread.
Add your voice! Click below to comment. ThriftyFun is powered by your wisdom!

 Bolster pillows add a little variety with larger square or rectangle pillows for decorating on a bed or couch.

