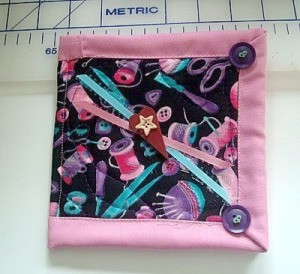
 Cute holder for needles, pins, and scissors. Compact so it can be tucked away in a drawer or taken to sewing classes.
Approximate Time: 45 minutes
Supplies:
- 2 pieces of fabric 6 x 12 inches
- 1 piece of fleece 6 x 12 inches (for batting)
- fleece to match fabric, 3 x 4.5 inches
- 2 pieces of white fleece, 4.5 x 5 inches
- strip of matching fabric 1.5 x 38 inches (can use store bought binding instead)
- buttons, ribbons, or other small decorations
Instructions:
- Cut the one end of the 3 x 4.5 inch piece of fleece to a point on one end.
- Take one of the 6 x 12 inch pieces and stitch the 3 x 4.5 inch piece of fleece on at an angle as shown in picture. This is the scissor holder. I did a fancy stitch, but just a normal straight stitch is fine.
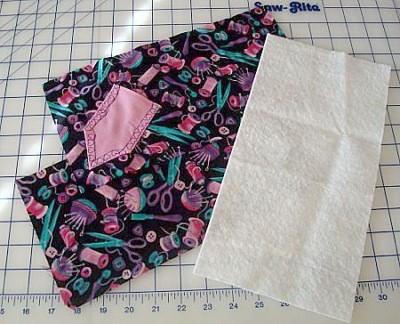
- Put the 2 pieces of 6x12 inch fabric together with the same size piece of fleece in the center. Pin together. Stitch designs avoiding the pocket. You can just stitch random swirls or X's or be fancy and stitch pictures like a sewing spool. I just did a random swirly design to quilt it together.
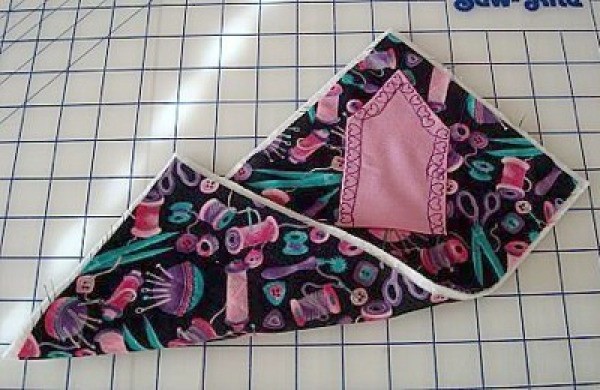
- Take the 38 inch strip of fabric or binding and sew the strip to one side then fold over and sew on the opposite side just as you would put binding on a quilt.
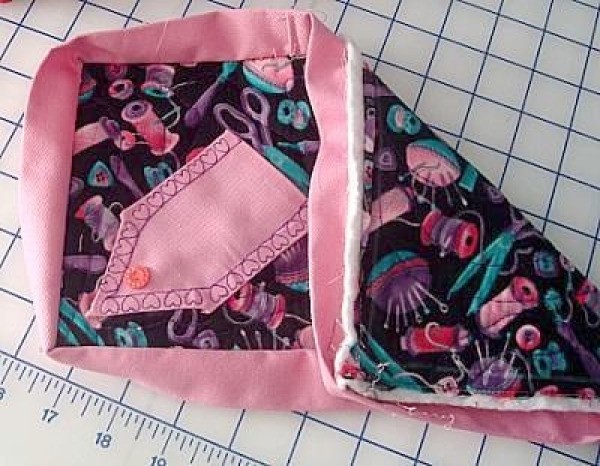
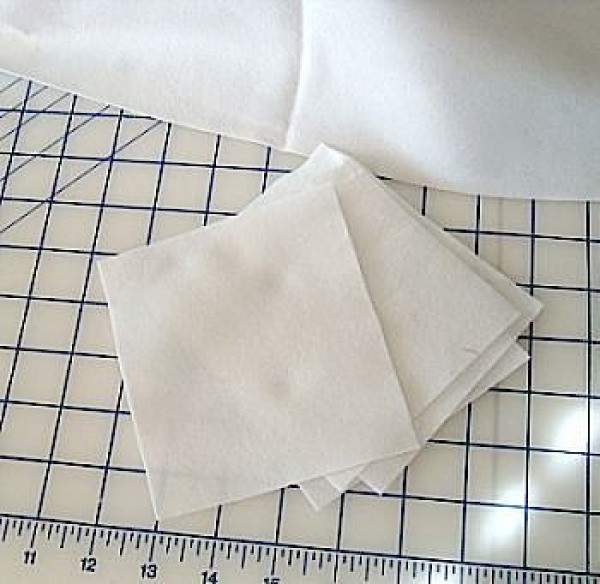
- Next take the 2 pieces of white fleece and place on the center of the organizer as shown. Fold the organizer in half and stitch from the outside as if you were making the binding of a book. This will keep the organizer folded and hold the "pages" in place. The white "pages" are used to keep pins and needles on as shown in pic.


- Decorate the front as you'd like. I used buttons on the corners and a wooden heart with ribbon at the center. Fill with needles and pins and add a small set of scissors to the inside pouch.
By Myst from Muncie, IN
Comments

meloney
Bronze Feedback Medal for All Time! 104 Feedbacks February 19, 20110 found this helpful
Nice and neat. Good idea.
Thumbs Up.
SuziQ 9
 Cute holder for needles, pins, and scissors. Compact so it can be tucked away in a drawer or taken to sewing classes.


