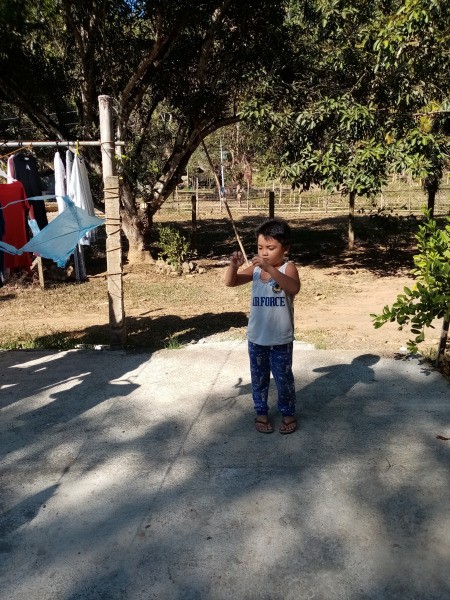
 It's a windy weekend, just perfect for flying a kite that my son has long been asking for. I have nothing in my pocket to buy those colorful kites in the store, but I have a brilliant idea on how to make it which I learned from my childhood.
Supplies:
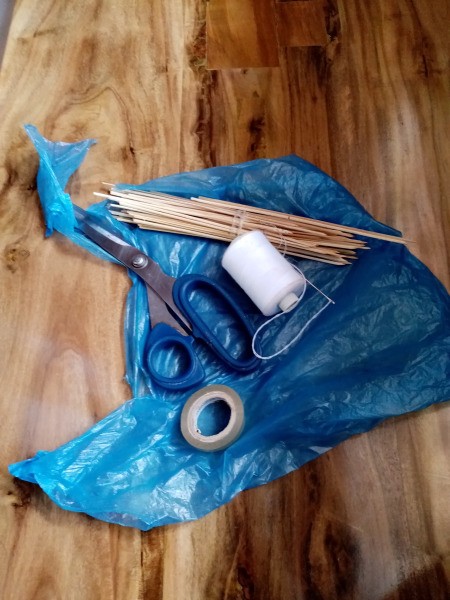
- plastic bag
- transparent tape
- scissors
- thread and needle
- skewers or bamboo sticks
Steps:
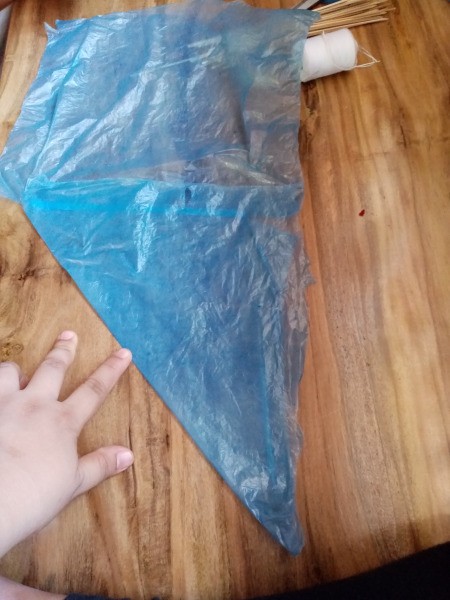
- Cut the handles off the bag and cut it open.
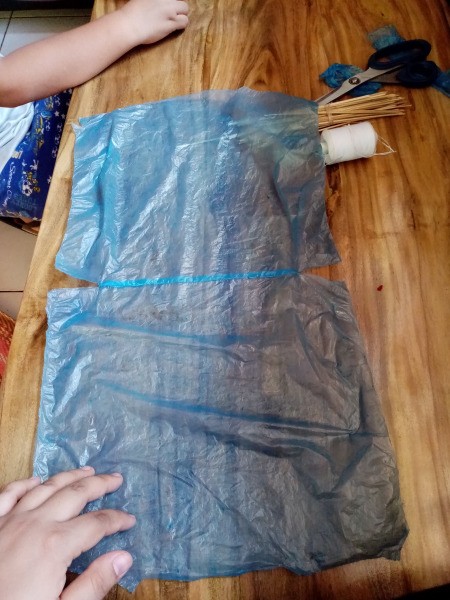
- Fold it diagonally to form a triangular shape.

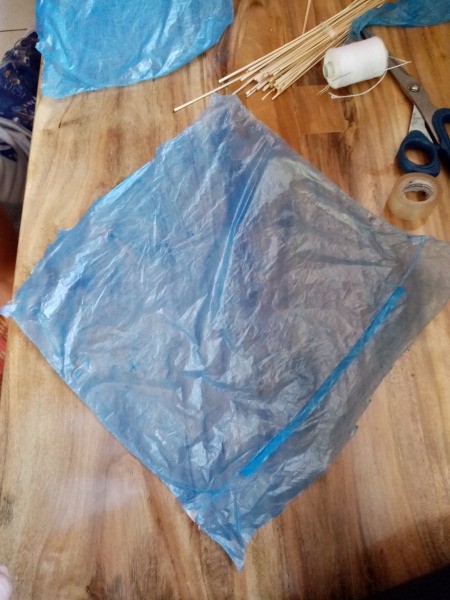
- Cut it out. As you see it created a diamond shape.

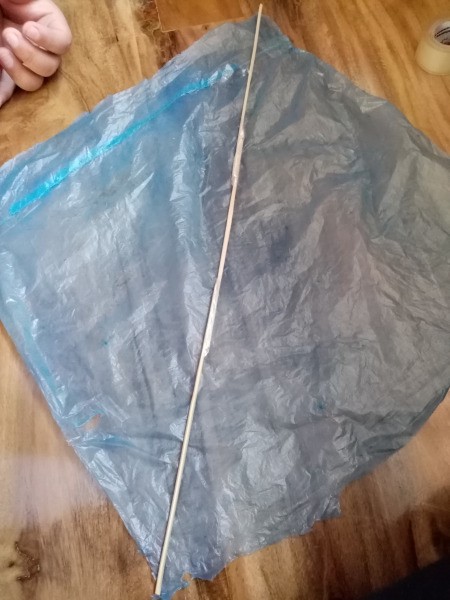
- Tie two to three sticks together to make a long stick. The length is based on height of the diamond.

- Make two of these.
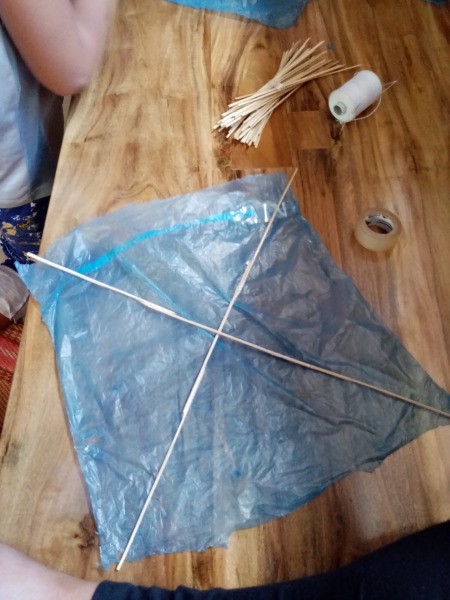
- Stick them together in different positions to form a cross. Use a tape to secure. Or it is best if you use thin rubber bands.

- Place it onto the diamond plastic.
- Stick the tips of the sticks onto the corners of the plastic.
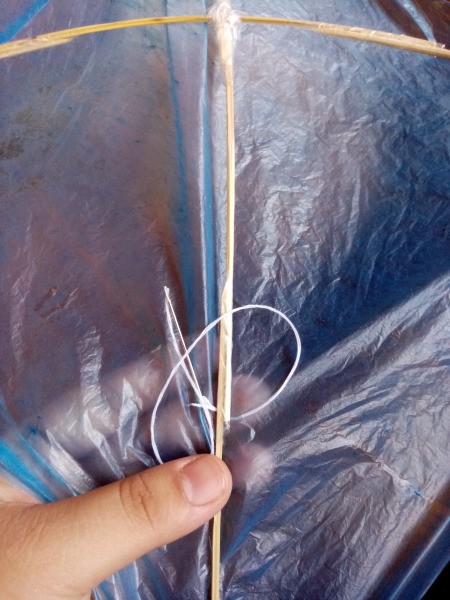
- Flip the kite. Sew three inches below the center of the sticks with the plastic.

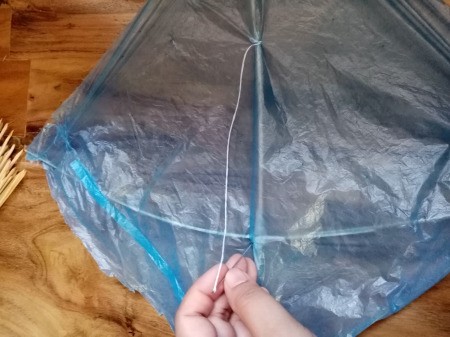
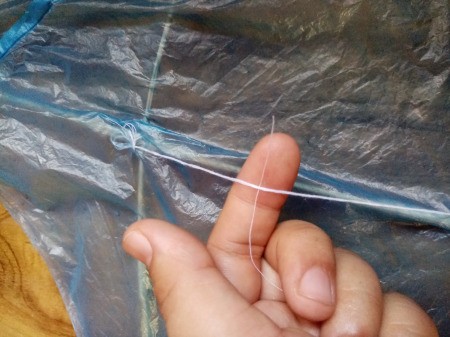
- Then pull the thread up and sew it on the center and lock. Now you have something like a thread handle.

- Tie a long piece of thread onto that handle.

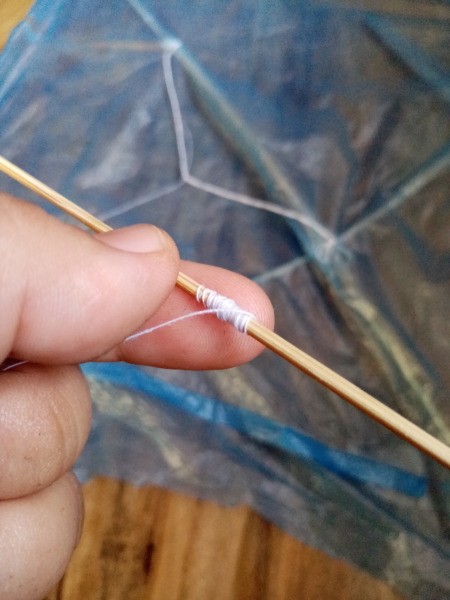
- Tie the other side/tip onto a piece of stick.

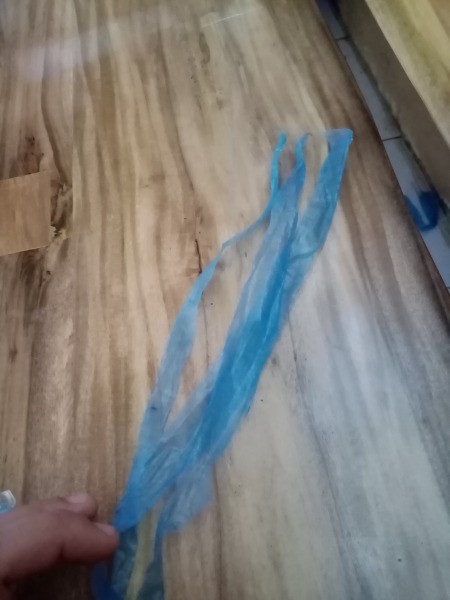
- Use the plastic bag trimmings to cut strips.

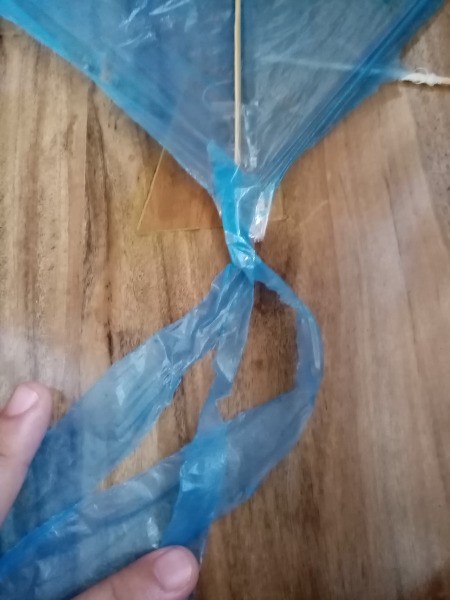
- Stick the strips onto the tips of the kite.

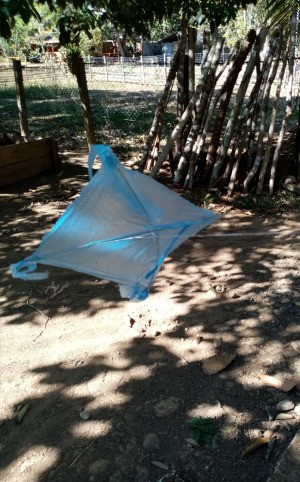
- Your kite is now ready to fly!

Note: This kite is only for kids. It doesn't fly very high like what adults and professionals make. But this can be improved by using thicker plastic and bigger sticks so it flies higher.
Add your voice! Click below to comment. ThriftyFun is powered by your wisdom!

 It's a windy weekend, just perfect for flying a kite that my son has long been asking for. I have nothing in my pocket to buy those colorful kites in the store, but I have a brilliant idea on how to make it which I learned from my childhood.

