social

How to Make a Paper-Cut Mason Jar LED Light

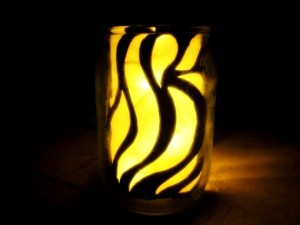
Paper-Cut Mason Jar Light - lighted jar
By creating an original design on a piece of construction paper that you can place in a mason jar you too can make this fun project. This page contains photos and instructions for making a paper-cut mason jar LED light to use at your next outdoor party or as indoor decor.
Advertisement


Diamond Post Medal for All Time! 1,246 Posts
June 8, 2019

Paper-Cut Mason Jar Light - lighted jarThis LED light fixture is fun and easy to make, and will look beautiful outside at your summer barbecues when the sun starts going down. They also work great indoors. I like to put some around the bathroom for bath time. :)

Total Time: 1 hour

Yield: 1 light

Supplies:
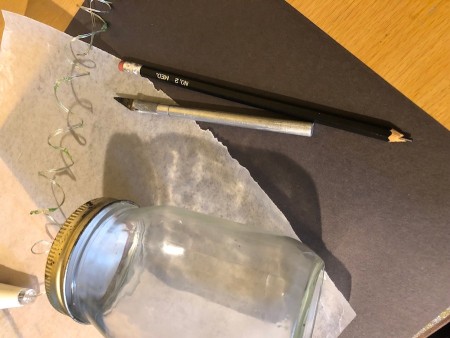
  • mason jar
  • black construction paper
  • scissors
  • pencil
  • X-acto knife
  • wax paper
  • LED lights
Paper-Cut Mason Jar Light - supplies
 

Steps:

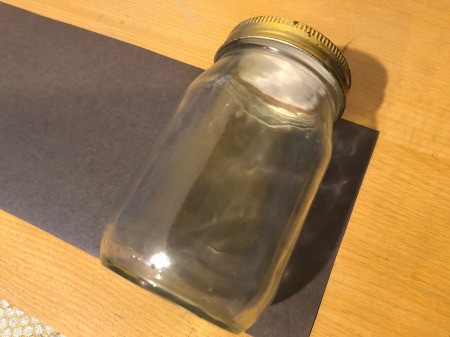
  1. Measure your black paper against the jar to see how high it should be cut. Allow 1 inch in excess so we can cover the bottom of the jar nicely.
  2. Paper-Cut Mason Jar Light - measure black paper against the jar
     
    Advertisement

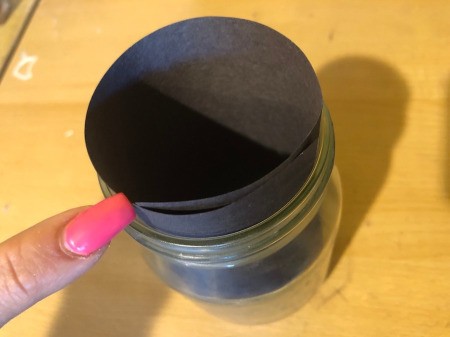
  3. Roll the black paper into a tube and place in the jar. Mark where it will need to be cut so it's just a couple millimeters in overlap.
  4. Paper-Cut Mason Jar Light - roll and place inside the jar, mark where to cut for a minimal overlap
     
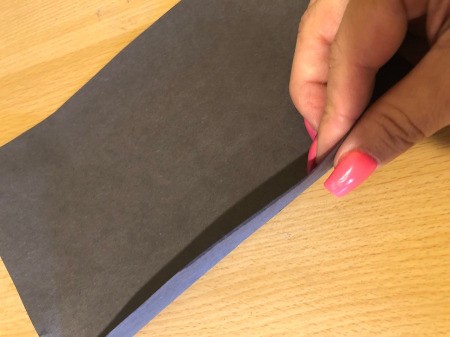
  5. Cut to size, then fold up the excess 1 inch upwards. This 1 inch of paper will not be drawn on nor cut with design.
  6. Paper-Cut Mason Jar Light - fold up excess at 1 inch
     
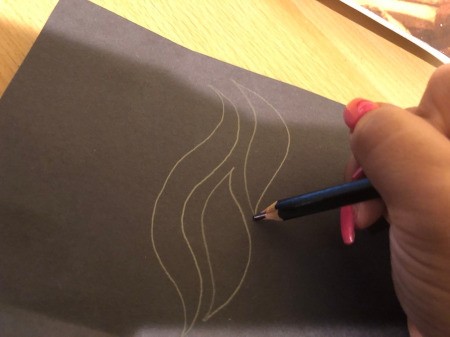
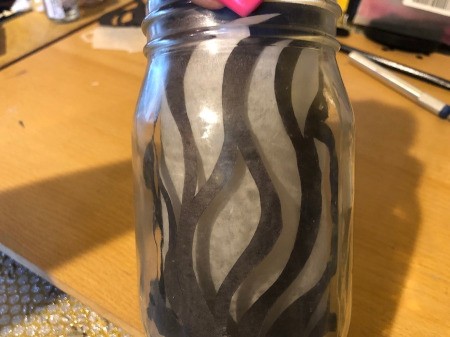
  7. Use your pencil to draw your design of choice onto the black paper. I went with random wave shapes.
  8. Paper-Cut Mason Jar Light - draw your design on the black paper
     
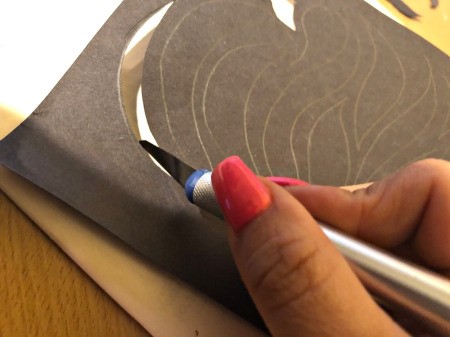
  9. Use your X-acto knife to carefully cut out the shapes you drew. Make sure you have something between your paper and your work surface. I used an old pamphlet.
  10. Paper-Cut Mason Jar Light - cut design out with and X-acto knife
     
    Advertisement

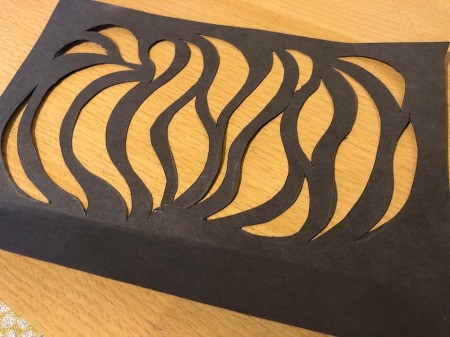
  11. Carefully cut out any fuzzy/rough bits from the edges.
  12. Paper-Cut Mason Jar Light - carefully cut out fuzzy bits
     
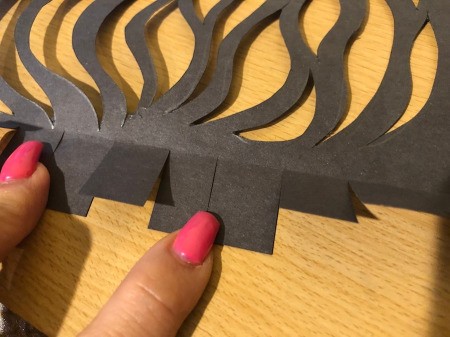
  13. Take the excess 1 inch fold of the paper and cut little notches into it. These will overlap when you roll the paper and create a nice base for the bottom.
  14. Paper-Cut Mason Jar Light - cut notches in the 1 inch fold
     
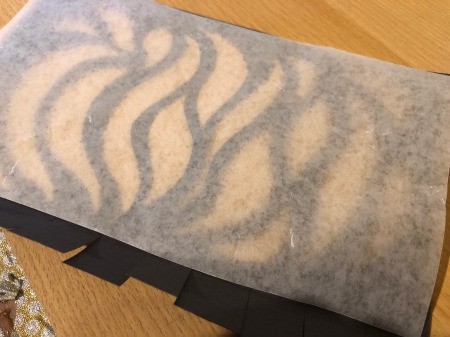
  15. Cut out a piece of wax paper the same size as your design segment. Lay it on the design.
  16. Paper-Cut Mason Jar Light - cut waxed paper to the same size as your design element
     
  17. Roll the 2 pieces of paper into a tube and stuff into the jar. Turn on your LED lights, place inside, and screw the lid onto the jar.
  18. Paper-Cut Mason Jar Light - roll the two pieces into a tube and place inside the jar, turn on the LED lights, place in the jar and replace the lid
     
    Advertisement

Comment Pin it! Was this helpful? 12
Categories
Crafts Home Decor DecorationsAugust 28, 2019
Pages
More
🍂
Thanksgiving Ideas!
🎃
Halloween Ideas!
Facebook
Pinterest
YouTube
Instagram
Contests!
Newsletters
Ask a Question
Share a Post
Categories
Better LivingBudget & FinanceBusiness and LegalComputersConsumer AdviceCoronavirusCraftsEducationEntertainmentFood and RecipesHealth & BeautyHolidays and PartiesHome and GardenMake Your OwnOrganizingParentingPetsPhotosTravel and RecreationWeddings
Published by ThriftyFun.
Desktop Page | View Mobile
Disclaimer | Privacy Policy | Contact Us
Generated 2022-10-25 09:50:16 in 4 secs. ⛅️️
© 1997-2022 by Cumuli, Inc. All Rights Reserved.
https://www.thriftyfun.com/How-to-Make-a-Paper-Cut-Mason-Jar-LED-Light.html