social

How to Make a Sushi Plush Toy


Diamond Post Medal for All Time! 1,246 Posts
April 20, 2017

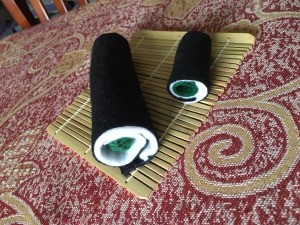
Sushi Plush Toy - two sushi rolls on matMy mother and I love to spoil my brother's daughter with loads of gifts. It's not quite in our budget to always buy her the latest trends in toys so we love to make our own renditions. Here is a homemade sushi plush toy. If you choose to seal with Velcro, you can unwrap the roll and make it more "ingredients" in the future! :)

Advertisement

Total Time: 1 Hour

Yield: 1 Sushi Plush

Supplies:
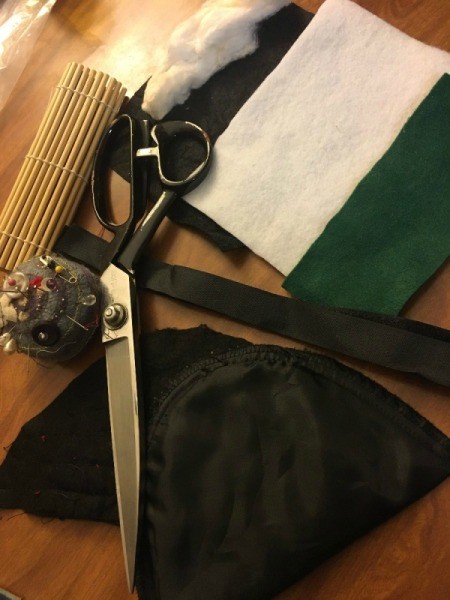
  • 1 piece black felt 6" X 6" (I opened up shoulder pads where black felt lives)
  • 1 piece white felt 6" X 5 1/2"
  • 1 piece green felt 6" X 2 1/2" for cucumber
  • some cotton
  • 2 pieces 2" black Velcro
  • needle and thread
  • scissors
  • sushi rolling mat (optional)
Sushi Plush Toy - supplies
 

Steps:

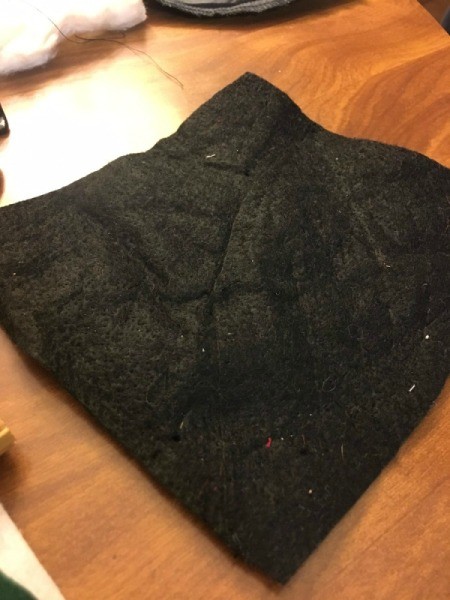
  1. If you're taking black felt from inside of old shoulder pads like I did, open them up and sew the two black triangles together to make your 6 X 6 "seaweed" sheet square.
  2. Sushi Plush Toy - sew the stuffing from shoulder pads together to make the "seaweed"
     
  3. Fold the piece of green felt and sew up the side and one end.
  4. Sushi Plush Toy - fold the green felt in half lengthwise and sew up long side and one end
     
    Sushi Plush Toy - closeup of sewing
     
    Advertisement

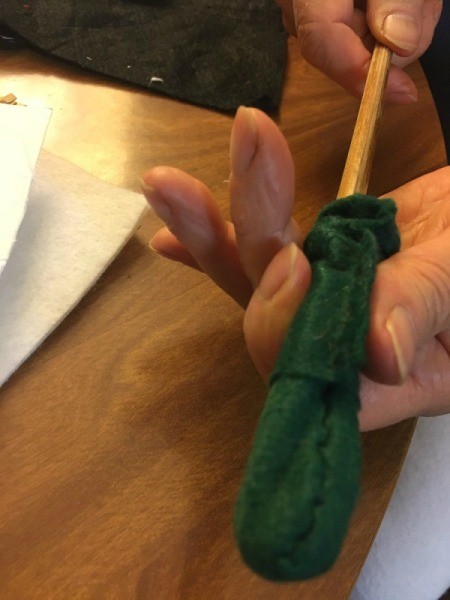
  5. Using a pen or chopstick, turn the green felt inside out.
  6. Sushi Plush Toy - turn the green felt right side out
     
  7. Put the cotton around the stick and stuff it into the green felt tube. Sew up the end.
  8. Sushi Plush Toy - put cotton around the chopstick and stuff inside the tube
     
    Sushi Plush Toy- sew up the end
     
    Sushi Plush Toy - closed end of green tube
     
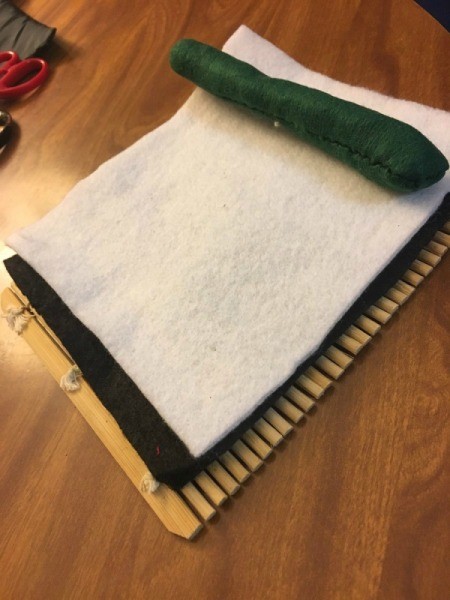
  9. Place the green roll on the white "rice" felt on the black "seaweed" felt. Roll! If you have a sushi rolling mat, you can use it for this part for fun. If not, just roll like a normal person! ;)
  10. Sushi Plush Toy - place green tube on top of white and black felt
     
    Advertisement

  11. If you want to be able to open up the sushi roll in the future and add other felt "ingredients," secure the sushi roll with Velcro. Otherwise, sew it up and you're set!
  12. Sushi Plush Toy - roll up using a sushi mat if you have one, sew closed or tie if you want to add other ingredients in the future
     

Comments


Gold Post Medal for All Time! 677 Posts
April 23, 20170 found this helpful

That is adorable!


Diamond Post Medal for All Time! 1,246 Posts
April 25, 20170 found this helpful

Thank you! :)

 
Categories
Crafts ToysJune 10, 2019
Pages
More
🌻
Gardening
👒
Mother's Day Ideas!
👔
Father's Day Ideas!
Facebook
Pinterest
YouTube
Instagram
Categories
Better LivingBudget & FinanceBusiness and LegalComputersConsumer AdviceCoronavirusCraftsEducationEntertainmentFood and RecipesHealth & BeautyHolidays and PartiesHome and GardenMake Your OwnOrganizingParentingPetsPhotosTravel and RecreationWeddings
Published by ThriftyFun.
Desktop Page | View Mobile
Disclaimer | Privacy Policy | Contact Us
Generated 2024-04-23 20:49:09 in 9 secs. ⛅️️
© 1997-2024 by Cumuli, Inc. All Rights Reserved.
https://www.thriftyfun.com/How-to-Make-a-Sushi-Plush-Toy.html