social

How to Make a Tin Can Unicorn Planter


Diamond Post Medal for All Time! 1,246 Posts
August 21, 2018

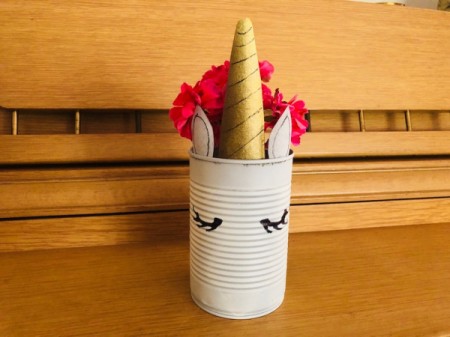
Tin Can Unicorn Planter - flower filled can outsideThis is a cute project using an old tin can and a cardboard tube from a roll of toilet paper. A bit of paint and glue will transform your junk into a mystical creature, carrying your pretty flowers. You can also use this as a pencil or makeup brush holder!

Advertisement

I used spray paint to hurry things up and get an even coat, but you can use acrylics. I used holographic gift paper for the tail to up its magical look. You could also use any colour gift tissue or yarn.

Total Time: 45 minutes plus paint dry time

Yield: 1 unicorn

Supplies:
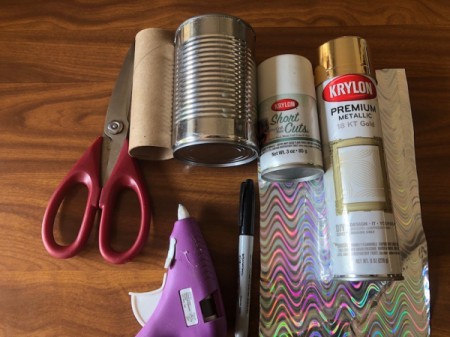
  • 1 cardboard tube from toilet paper
  • scissors
  • gold paint
  • white paint
  • black permanent marker
  • holographic or rainbow gift paper
  • hot glue gun with glue
Tin Can Unicorn Planter - supplies
 

Steps:

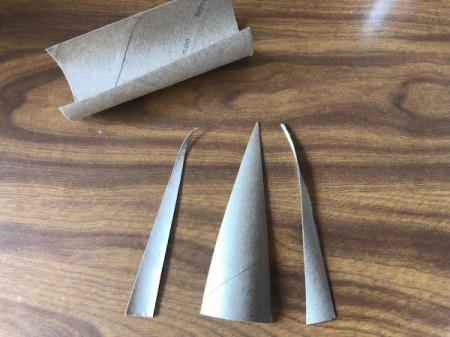
  1. Cut a long cone shape out of the cardboard tube.
  2. Tin Can Unicorn Planter - cut a cone shape from the TP tube
     
  3. Cut the pointy tip off so it's a bit rounded.
  4. Tin Can Unicorn Planter - cut the point off so it is rounded on the end
     
    Advertisement

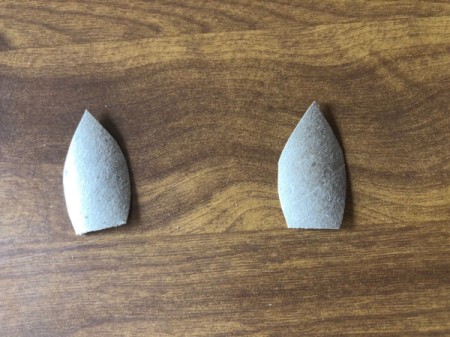
  5. Cut out 2 identical ears, a little smaller than half the length of the horn.
  6. Tin Can Unicorn Planter - cut out 2 ears slightly less in length than the horn
     
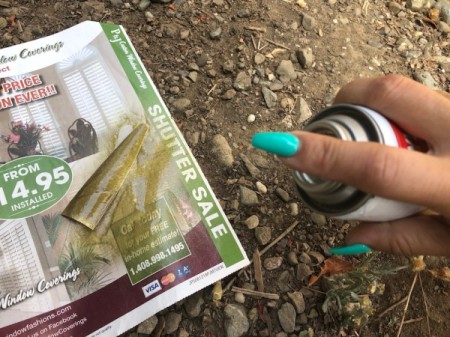
  7. Paint the horn gold.
  8. Tin Can Unicorn Planter - paint the horn gold
     
  9. Paint the entire can and two ears white. Allow to fully dry.
  10. Tin Can Unicorn Planter - paint ears and can white and allow to dry
     
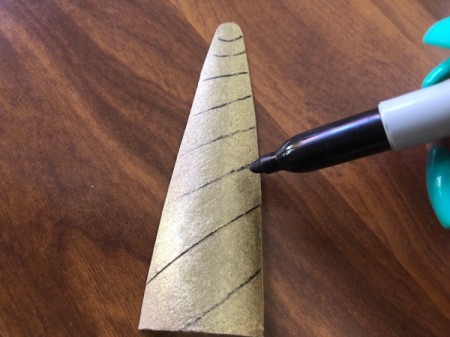
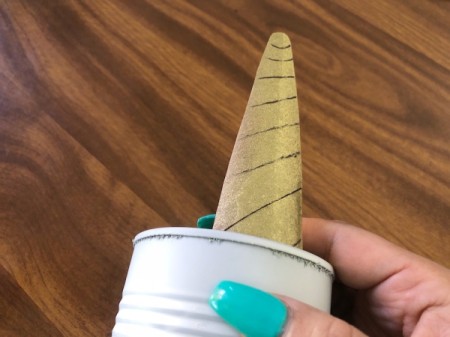
  11. Use the black marker to draw diagonal lines on the golden horn.
  12. Tin Can Unicorn Planter - draw diagonal lines on the horn using the marker
     
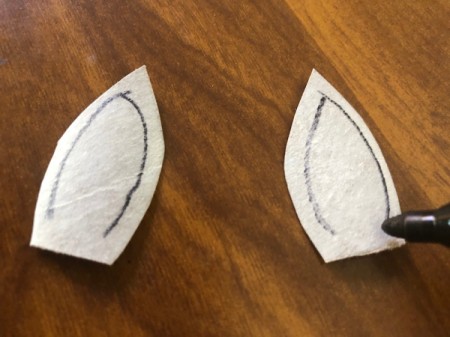
  13. Draw lobe details on the ears.
  14. Tin Can Unicorn Planter - draw details on the ears
     
    Advertisement

  15. Add a big dab of hot glue to the bottom of the front side of the horn, then press into the inside of the can.
  16. Tin Can Unicorn Planter - hot glue the horn in place
     
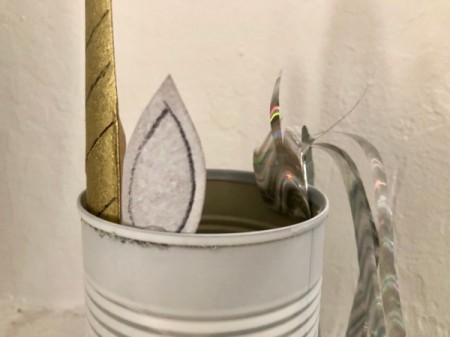
  17. Glue the ears on either side. Press to secure.
  18. Tin Can Unicorn Planter - glue the ears on either side
     
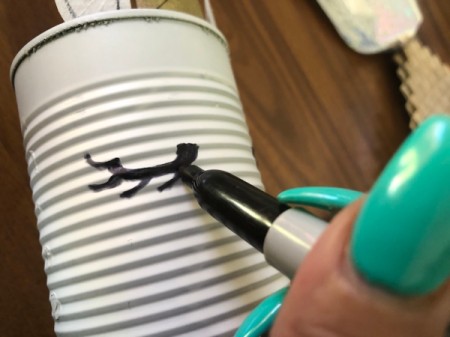
  19. Draw an eye under each ear. I went with closed eyes with long lashes.
  20. Tin Can Unicorn Planter - draw eyes under the ears
     
  21. Cut about an 8x2" strip from the gift paper.
  22. Tin Can Unicorn Planter - cut a strip from the gift paper
     
    Advertisement

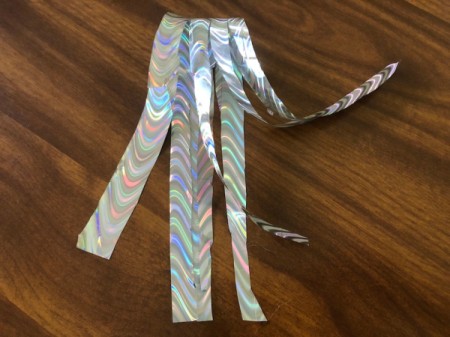
  23. Fold it in half then cut thin strips up to the fold, stopping half an inch from the fold.
  24. Tin Can Unicorn Planter - fold it in half and cut thin strips to within 1/2 inch of the fold
     
  25. Fold it in half horizontally and secure closed with a dot of hot glue.
  26. Tin Can Unicorn Planter - fold and glue
     
  27. Now hot glue the base of the tail on the inside of the can, opposite the horn.
  28. Tin Can Unicorn Planter - glue the tail in place
     
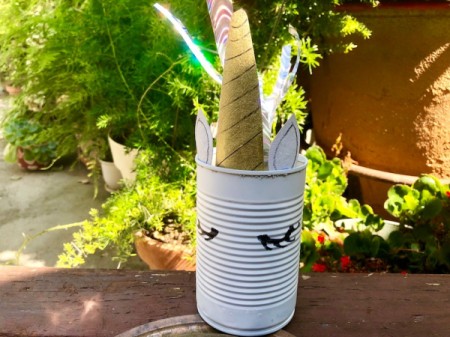
  29. The tail will dance in the wind when placed outside. Looks magical!
  30. Tin Can Unicorn Planter - unicorn outside with the tail blowing in the wind
     
    Advertisement

  31. Fill with flowers and enjoy. :)
  32. Tin Can Unicorn Planter - add flowers and you are done
     
Comment Pin it! Was this helpful? 11
In These Pages
Categories
Crafts Recycled Crafts PlantersNovember 21, 2019
Pages
More
🎃
Halloween Ideas!
🍂
Thanksgiving Ideas!
Facebook
Pinterest
YouTube
Instagram
Contests!
Newsletters
Ask a Question
Share a Post
Categories
Better LivingBudget & FinanceBusiness and LegalComputersConsumer AdviceCoronavirusCraftsEducationEntertainmentFood and RecipesHealth & BeautyHolidays and PartiesHome and GardenMake Your OwnOrganizingParentingPetsPhotosTravel and RecreationWeddings
Published by ThriftyFun.
Desktop Page | View Mobile
Disclaimer | Privacy Policy | Contact Us
Generated 2022-10-25 11:56:43 in 3 secs. ⛅️️
© 1997-2022 by Cumuli, Inc. All Rights Reserved.
https://www.thriftyfun.com/How-to-Make-a-Tin-Can-Unicorn-Planter.html